
TL;DR
Making ice cream without an electric machine relies on manual stirring, freezing with salt and ice, or no-churn recipes. Patience and proper technique create creamy textures even off-grid. This guide covers the best methods, tips, and safety advice.
Imagine a warm afternoon, and all you want is a cold, creamy scoop of ice cream. No fancy machines, no electricity—just your hands, a bit of ice, and some simple ingredients. Making ice cream this way isn’t just nostalgia. It’s a skill you can develop, perfect for off-grid kitchens and self-reliant cooks alike.
In this guide, you’ll learn practical techniques that turn basic ingredients into a smooth, flavorful treat. We’ll walk through the best methods, from basic manual stirring to the classic salt-and-ice freeze, plus tips for flavoring and avoiding ice crystals. Ready to turn your kitchen into an ice cream lab, no power needed? Let’s get started.
Consistent stirring during freezing prevents large ice crystals, resulting in creamier ice cream.
Salt and ice in a resealable bag create an effective, off-grid freezing chamber for homemade ice cream.
No-churn recipes with whipped cream and condensed milk cut down on prep and waiting time.
Using stabilizers or alcohol can improve texture and softness without electricity.
Safety first: handle dry ice and liquid nitrogen with PPE and proper ventilation.
The Best Ways to Make Ice Cream Manually (No Electric Needed)
Making ice cream without an electric machine comes down to a few tried-and-true techniques. The most straightforward is the manual stirring method, where you keep mixing your base regularly to prevent big ice crystals from forming. Then there’s the freeze-and-stir technique, which involves freezing your mixture and stirring it periodically. Lastly, the bag method uses salt and ice in resealable bags to freeze the mixture externally.
For each, you’ll need different tools—either a sturdy spoon, a freezer-safe container, or resealable bags. The key is patience and consistent effort. Let’s break down each method with real-world examples.

Elite Gourmet EIM402 Old Fashioned 4 Quart Vintage Wood Bucket Electric Ice Cream Maker Machine, Bonus Classic Die-Cast Hand Crank for Churning, Uses Ice and Rock Salt Churns Ice Cream in Minutes
4-QUART CAPACITY: Freeze up to 4 Quarts of cold and creamy ice cream, gelato, frozen yogurt or sorbet….
As an affiliate, we earn on qualifying purchases.
As an affiliate, we earn on qualifying purchases.
How to Make Ice Cream Using the Bag Method in 4 Simple Steps
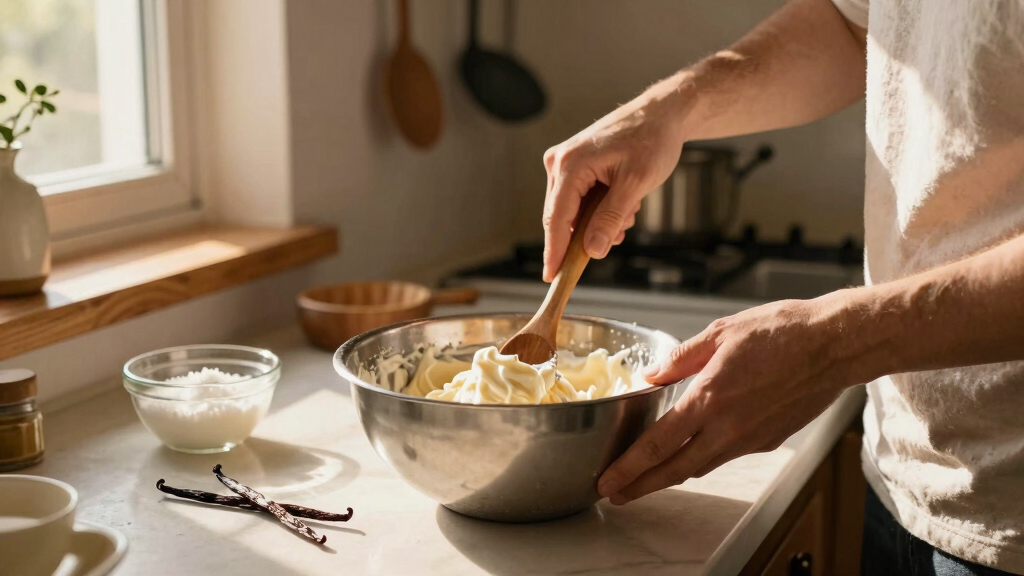
- Prepare your mixture: Combine heavy cream, milk, sugar, and flavorings in a small resealable bag. Seal tightly.
- Set up the ice bath: Fill a larger resealable bag with ice and sprinkle with ½ cup of coarse salt (rock salt works best). Place your smaller bag inside and seal.
- Shake and agitate: Shake the bags vigorously for about 5-10 minutes. Feel the cold bite through the bag. This is where the magic happens—your mixture turns icy and creamy.
- Check and serve: When the mixture reaches your desired consistency, carefully remove the inner bag, wipe off any saltwater, and enjoy right away or transfer to a container for further freezing.
This method’s quick, but it demands constant shaking. It’s perfect for a fun kitchen experiment or a quick treat on a hot day.

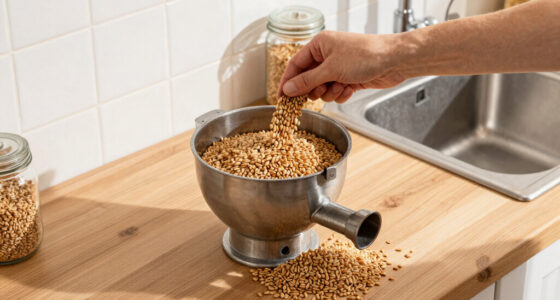
Nostalgia ice Cream Rock Salt, 4lb
4-Pound Bag: Rock salt is specially made to be used in combination with ice to aid in the…
As an affiliate, we earn on qualifying purchases.
As an affiliate, we earn on qualifying purchases.
Control Ice Crystals for Creamier Texture — Here’s How
Ice crystal size is the secret to smooth, scoopable ice cream. Larger crystals feel gritty and icy, much like biting into a frozen block of water. Smaller ones melt smoothly in your mouth, providing that luscious, creamy sensation we all crave. Why does this matter? Because the size of these crystals directly impacts the mouthfeel, texture, and overall enjoyment of your homemade ice cream. If crystals are too large, the ice cream feels icy or grainy, ruining the experience. Conversely, tiny crystals create a velvety, smooth texture that’s a delight to eat.
To keep crystals tiny, keep your mixture cold and stir it often during freezing. For example, imagine making a batch of vanilla ice cream. If you forget to stir, crystals grow large, making the final product icy. But if you stir every half hour, you break up forming crystals, resulting in a silky texture. Adding ingredients like alcohol or sugar lowers the freezing point, preventing large crystals from forming—think of it as giving your ice cream a little extra softness, even after hours in the freezer. Using stabilizers like gelatin or cornstarch acts like a buffer, thickening the mixture and further preventing icy textures, especially in hot kitchens where rapid crystal growth is more likely.
In practice, understanding these tradeoffs helps you decide whether to focus on stirring more often or to incorporate stabilizers. For instance, if you want a quick but still creamy result, adding a splash of alcohol might be enough. If you prefer a more traditional, velvety texture, regular stirring combined with stabilizers yields the best results.

No-Churn Ice Cream: Over 100 Simply Delicious No-Machine Frozen Treats
As an affiliate, we earn on qualifying purchases.
As an affiliate, we earn on qualifying purchases.
Comparison Table: No-Churn vs. Traditional Hand-Powered Ice Cream
| Method | Ingredients | Time | Best For |
|---|---|---|---|
| Hand Stirring & Freezing | Milk, cream, sugar, flavorings | 4-6 hours | Classic texture, control over ingredients |
| No-Churn (Whipped Cream + Condensed Milk) | Heavy cream, condensed milk, flavorings | 2-4 hours | Quick, rich, no churning |
While the traditional method offers more control, no-churn recipes are faster and require fewer steps. Both can produce creamy results, but texture depends on stirring and ingredient quality.

Propane Freezer 7.1 Cu.Ft,110V / LPG Gas Freezer,Chest Freezer with Removable Basket and Lock for Off Grid,Garage, RV,Food Truck,Cabins,Camping
Dual-Powered Propane Chest Freeze: Reliable in all situations, this freezer operates on 110V electricity or propane, ensuring food…
As an affiliate, we earn on qualifying purchases.
As an affiliate, we earn on qualifying purchases.
Safety Tips When Using Dry Ice or Liquid Nitrogen
Using dry ice or liquid nitrogen can freeze ice cream instantly, but safety comes first. Always wear PPE—gloves and goggles—when handling these substances. Never touch dry ice or liquid nitrogen directly with bare skin, as burns are common and serious.
Work in a well-ventilated area to avoid inhaling fumes. Use these methods outdoors or in a kitchen with good airflow. Remember: safety isn’t optional when dealing with ultra-cold materials.
Vegan and Dairy-Free Ice Cream — How to Make It Without Electric Power
Making dairy-free ice cream is straightforward and just as creamy. Use coconut milk, cashew cream, or almond milk as your base. Sweeten with natural maple syrup or agave. Flavor as you like—fruit purees or cocoa powder work well.
For best texture, add a stabilizer like a bit of xanthan gum or cornstarch. Follow the same freezing and stirring routines, or try the bag method with these plant-based ingredients for a quick, off-grid treat.
Frequently Asked Questions
Can I make ice cream without any special equipment?
Absolutely. Using methods like the bag technique or no-churn recipes requires only basic kitchen tools like resealable bags, bowls, and a freezer. No electric churning needed.How long does it take to make ice cream without power?
Most recipes take around 3-6 hours, including preparation, freezing, and periodic stirring. No-churn recipes are quicker, often ready in 2-4 hours.What ingredients give the best creamy texture?
Heavy cream, whole milk, and sugar are key. Adding stabilizers like gelatin or cornstarch can also boost creaminess and prevent icy results.How do I avoid ice crystals ruining my ice cream?
Stir regularly during freezing, add a splash of alcohol or extra sugar to lower freezing point, and keep your mixture as cold as possible before freezing. For example, in hot weather, pre-chill your mixture thoroughly and stir often to prevent large crystals from forming, which can turn your creamy treat into a gritty mess.Is handling dry ice or liquid nitrogen safe at home?
Yes, but only if you use proper PPE—gloves and goggles—and work in well-ventilated areas. Never touch these substances directly—risk of burns and inhalation hazards.Conclusion
Making ice cream without electric power is a skill rooted in patience, technique, and understanding your ingredients. With a few simple tools and a bit of effort, you can craft rich, creamy treats that rival store-bought—and do it off-grid.
Next time you crave a cold scoop, skip the machine. Instead, grab a bag, stir like a pro, and enjoy the satisfying taste of homemade ice cream—powered solely by your hands and a bit of science.