
TL;DR
Making ice cream without an electric machine is straightforward and cost-effective. It hinges on proper freezing, regular stirring, and using simple techniques like salt and ice or shaking in bags. With patience, you can enjoy creamy, homemade ice cream anytime—off-grid or not.
Consistent stirring during freezing prevents large ice crystals, resulting in creamier ice cream.
Salt and ice is a reliable, traditional method that speeds up freezing and is great for larger batches.
Shaking in a bag is a quick, portable alternative perfect for small servings or outdoor adventures.
Adding a splash of alcohol or fruit purees improves texture and flavor, especially in homemade recipes.
Patience and cold ingredients are your best allies for achieving a smooth, scoopable treat without electric tools.
What You Need to Make Ice Cream Without an Electric Machine
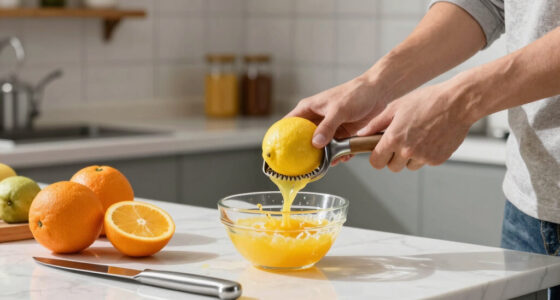
To make ice cream manually, you need a handful of basic ingredients and some simple tools. The core ingredients include heavy cream, milk, sugar, and flavorings. Good-quality ingredients boost flavor and texture, making your ice cream richer and creamier.
Tools are straightforward: a mixing bowl, a container for freezing, stirring utensils, and optionally, resealable bags or a homemade churner. For the classic salt-and-ice method, you’ll need a large bowl, ice, and rock salt. It’s all about accessibility—nothing fancy required.

Elite Gourmet EIM402 Old Fashioned 4 Quart Vintage Wood Bucket Electric Ice Cream Maker Machine, Bonus Classic Die-Cast Hand Crank for Churning, Uses Ice and Rock Salt Churns Ice Cream in Minutes
4-QUART CAPACITY: Freeze up to 4 Quarts of cold and creamy ice cream, gelato, frozen yogurt or sorbet….
As an affiliate, we earn on qualifying purchases.
As an affiliate, we earn on qualifying purchases.
How to Make Ice Cream Step-by-Step Without Electric Power
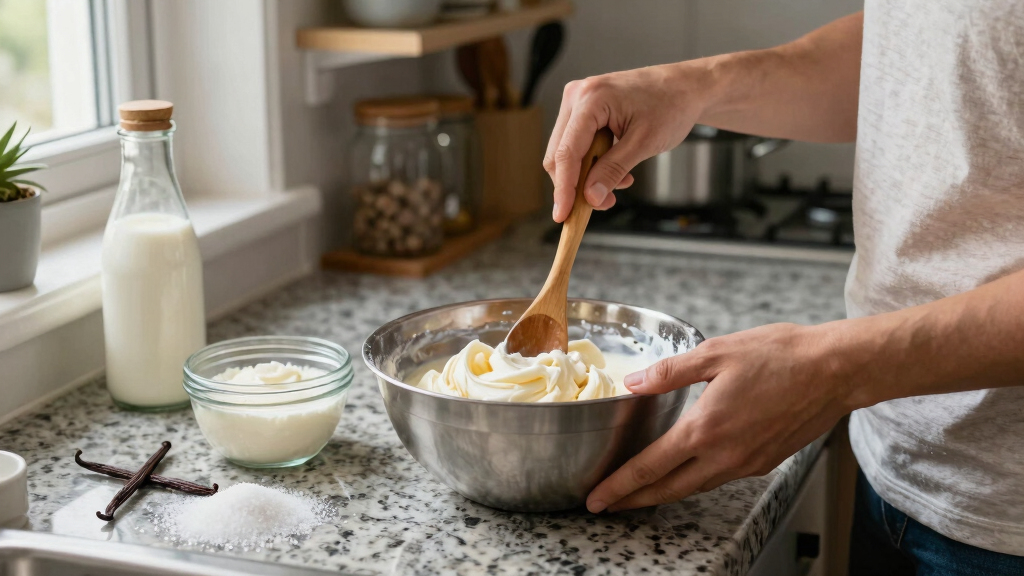
- Mix your ingredients: Combine 2 cups of heavy cream, 1 cup of milk, ¾ cup sugar, and flavorings in a bowl. Shake or whisk until sugar dissolves.
- Choose your method: Either freeze-and-stir or salt-and-ice. For freeze-and-stir, pour into a container, freeze for 30-minute intervals, and stir vigorously each time. For salt-and-ice, place the mixture in a bag inside a larger ice-salt bath, then shake or turn every 15-20 minutes.
- Repeat the stirring or shaking process for 3-4 hours. During this time, ice crystals form. Regular agitation breaks them up, keeping the texture smooth.
- Check for doneness: The ice cream should be firm yet scoopable. If it’s too hard, let it sit at room temperature for a few minutes before serving.
Patience is key. The more you stir or shake, the finer the ice crystals become, which directly impacts the creaminess of your final product. Larger ice crystals create a gritty, icy mouthfeel that diminishes the enjoyment of your ice cream. Conversely, consistent agitation promotes the formation of tiny crystals, resulting in a velvety texture. Understanding this tradeoff helps you decide how much effort to put in—more stirring yields better texture but requires more time and energy. Choosing the right method depends on your batch size and available tools, but mastering the science behind ice crystal growth enables you to produce superior homemade ice cream with simple techniques.

Morton Ice Cream Salt, Rock Salt, (4 lb), 4-Pack – Ideal for Making Ice Cream
ON YOUR TABLE FOR GENERATIONS – Morton has been a household staple since 1848.
As an affiliate, we earn on qualifying purchases.
As an affiliate, we earn on qualifying purchases.
Traditional Salt and Ice Method vs. Shaking in a Bag — Which Works Better?
| Feature | Salt and Ice Method |
|---|---|
| Setup | Large bowl with ice and salt, container inside |
| Ease of Use | Requires some patience, stirring every 10-15 mins |
| Speed | Faster cooling, about 2-3 hours for firm ice cream |
| Portability | Less portable, needs a stable setup |
| Feature | Shaking in a Bag |
|---|---|
| Setup | Small resealable bag with mixture, larger bag filled with ice and salt |
| Ease of Use | Fun, simple, just shake for 10-15 mins at a time |
| Speed | Faster for small batches, about 20-30 mins of shaking |
| Portability | Highly portable, great for camping or picnics |
Both methods have their strengths, but understanding their implications helps you select the best approach for your needs. The salt and ice method is ideal for larger batches, allowing you to make more ice cream at once, which is great for family gatherings or parties. It also provides a more traditional, hands-on experience that can deepen your understanding of the freezing process—important if you’re interested in the science behind it. However, this method requires more setup space and is less portable, making it less convenient for outdoor adventures.
Shaking in a bag, by contrast, emphasizes speed and portability. It’s perfect for small servings and outdoor activities, providing instant gratification and a fun, interactive experience—especially for kids. The tradeoff is that it may require more effort to achieve the same firmness and creaminess as the salt-and-ice method, often needing more frequent shaking. Recognizing these tradeoffs enables you to choose the method that aligns with your goals, environment, and patience level, ensuring a satisfying homemade ice cream experience regardless of your setup.

Popsicle Bags Ice Cream Bags 100 Pack -Clear Ice Pop Bags with Silver Bottom and Cool Words
Popsicle Bags Size: 7.5 x3.2"
As an affiliate, we earn on qualifying purchases.
As an affiliate, we earn on qualifying purchases.
How to Prevent Ice Crystals and Get That Smooth, Creamy Texture
Ice crystals are the enemy of creamy ice cream. To keep them small and ensure a smooth texture, frequent agitation—every 30 minutes or so—is essential. This continual motion prevents the crystals from growing large and grainy, which would ruin the mouthfeel. But beyond stirring, ingredient choices matter greatly. Incorporating alcohol, stabilizers, or fruit purees can significantly influence crystal formation by lowering the freezing point and altering the crystallization process. For example, adding a tablespoon of vodka to your mixture introduces alcohol that doesn’t freeze, helping keep the overall mixture softer and preventing large ice crystals from forming. Fruit purees, like mashed strawberries or mango, contain natural sugars and acids that interfere with crystal growth, promoting a smoother texture. Additionally, starting with very cold ingredients and chilling your tools minimizes initial crystal formation, speeding up the freezing process and helping you achieve a velvety result. Understanding why these techniques work allows you to troubleshoot and refine your process for the best possible homemade ice cream.
Choosing ingredients like alcohol or fruit purees isn’t just about flavor—these additives modify the physical properties of your mixture. Alcohol, for instance, lowers the freezing point, making the ice cream softer and less prone to large crystal formation. Fruit purees introduce natural sugars and acids that disrupt the crystallization process, resulting in a smoother mouthfeel. Starting with well-chilled ingredients and tools minimizes the initial formation of ice crystals, giving your mixture a head start toward a creamy texture. Recognizing the science behind these techniques allows you to make informed adjustments based on your ingredients and environment, ultimately producing a more luxurious, scoopable ice cream with a velvety consistency.

ZOKU Original Slush and Shake Maker, Compact Make and Serve Cup with Freezer Core Creates Single-Serving Smoothies, Slushies and Milkshakes in Minutes, BPA-free, Green
FROZEN TREATS FAST: The Zoku Slush & Shake Maker can make refreshing slushies, milkshakes, frozen alcoholic drinks and…
As an affiliate, we earn on qualifying purchases.
As an affiliate, we earn on qualifying purchases.