TL;DR

Get kitchen gear delivered free with Prime
- Fast, free delivery on millions of items
- Prime Video, Amazon Music and more included
- Member-only deals all year
Properly seasoning a cast iron skillet creates a durable, non-stick surface that improves with each use. Using high-smoke-point oils and baking at the right temperature ensures a lasting finish. Regular maintenance keeps your skillet in top shape for decades.
Always clean and dry your skillet thoroughly before seasoning.
Use high-smoke-point oils like flaxseed or vegetable oil for best results.
Apply a very thin, even coat of oil — too much causes sticky spots.
Bake the skillet upside down at 375-450°F for about an hour to cure the seasoning.
Re-season periodically to build a durable, non-stick surface that lasts for decades.
Start with a Clean Slate: How to Prep Your Cast Iron for Seasoning
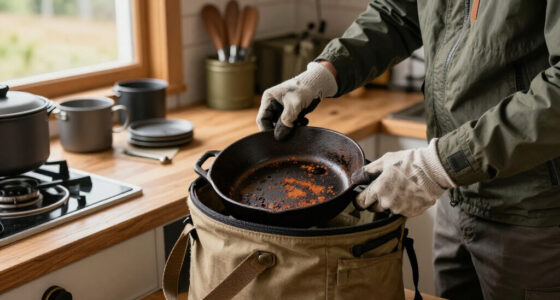
Before you add any oil, your skillet needs a thorough cleaning. Think of it like prepping a canvas before painting. Use hot water and a stiff brush or salt scrub to remove any rust, old seasoning, or factory coating. Avoid soap — unless it’s a mild one — because it can strip away good layers. Once clean, dry the skillet completely with a towel or heat it on the stove to evaporate remaining moisture. A dry surface is key to prevent rust and ensure your seasoning bonds well.
As an affiliate, we earn on qualifying purchases.
Pick the Right Oil — The Secret to a Durable Seasoning Layer
Choosing the right oil makes all the difference. High smoke point oils like flaxseed, vegetable, or canola are popular. Flaxseed oil, in particular, is favored for its ability to polymerize quickly and form a hard, durable coating. Think of it like laying a tough, flexible armor over your skillet. The type of oil you choose impacts the longevity and quality of your seasoning. Oils with higher smoke points tend to create a more stable, resilient layer because they can withstand the high temperatures of baking without breaking down or leaving sticky residues. Conversely, oils with lower smoke points can burn or polymerize unevenly, leading to sticky spots or weaker coatings. This choice is a tradeoff: high smoke point oils often produce a more durable finish but may be more expensive or have different flavors, while cheaper oils might not provide the same level of protection. Understanding this helps you tailor your seasoning process for a long-lasting, non-stick skillet.
best high smoke point oils for cast iron
As an affiliate, we earn on qualifying purchases.
As an affiliate, we earn on qualifying purchases.
Apply Oil Like a Pro: How to Coat Your Skillet for Perfect Seasoning
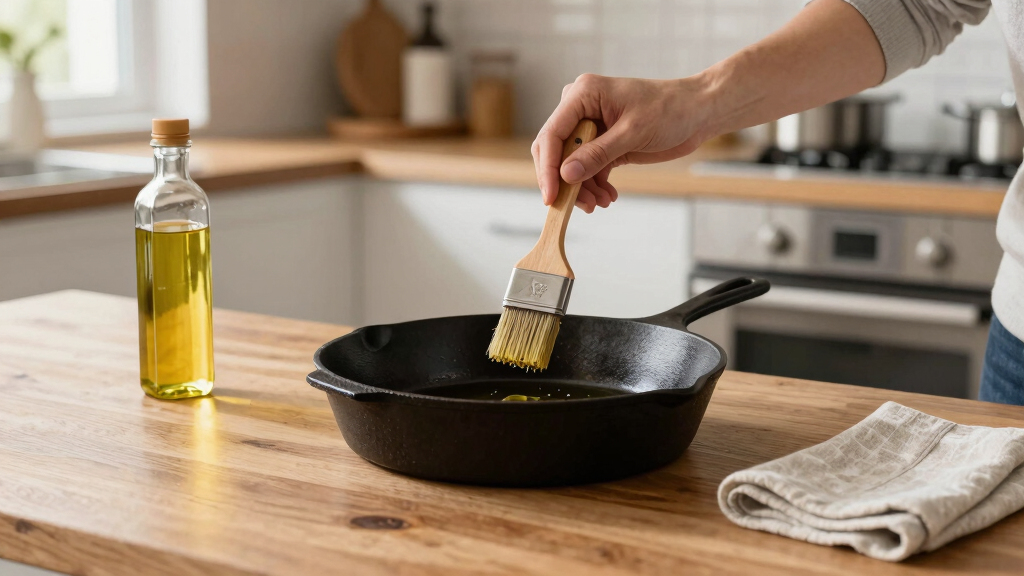
- Use a paper towel or cloth to spread a thin layer of oil over the entire skillet — inside, outside, and handle. Think of it like applying a light coat of varnish — too much and it gets sticky, too little and it won’t bond.
- Wipe off any excess oil. The surface should look shiny but not drippy.
- Repeat this process 2-3 times for a solid base layer.
As an affiliate, we earn on qualifying purchases.
Bake It Right: How to Cure Your Skillet for Long-Lasting Non-Stick
Heating is what turns oil into that durable seasoning layer. Place your oiled skillet upside down in a preheated oven at 375-450°F (190-232°C). Place a sheet of aluminum foil on the rack below to catch drips. Bake for about an hour. This high heat causes the oil to polymerize, bonding it to the cast iron. For example, baking at 425°F for an hour creates a tough, shiny coating that resists sticking and rust.
After baking, turn off the oven and let the skillet cool inside. This prevents warping and ensures the seasoning sets evenly. Repeating this process multiple times builds up a more robust, long-lasting layer. Each cycle of heating and cooling helps the polymerized oil bond more thoroughly to the cast iron, increasing resistance to wear, sticking, and rust. Skipping or shortening this step can result in a weak or uneven coating that wears out quickly. Therefore, patience and precision during baking are vital for a durable, non-stick surface that can withstand years of cooking.
As an affiliate, we earn on qualifying purchases.
Repeat and Reinforce: Building a Non-Stick Surface That Lasts
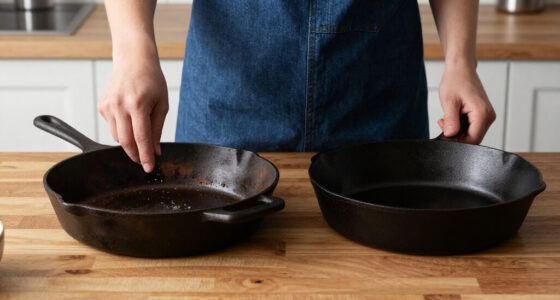
Every use and re-seasoning layer makes your skillet better. Think of it like layering armor — each coat adds strength. After the initial bake, maintain your skillet by wiping it with a light coat of oil after every wash. When food begins to stick or rust shows up, give it a quick re-season. You might repeat the baking process every 6 months or when needed. This ongoing care transforms your skillet into a non-stick powerhouse.
Troubleshooting Sticky, Rusty, or Uneven Coatings
If your skillet is sticky, it’s likely due to too much oil or insufficient heating. To fix it, scrub the surface with steel wool, then reapply a thin layer of oil and bake again. Rust appears when moisture sneaks in; remove it with abrasive scrubbers, then thoroughly re-season. Uneven coatings typically result from inconsistent oil application or uneven heating. Always wipe off excess oil and bake in a hot oven for a full hour.
For example, I once had a skillet that developed sticky spots after a quick seasoning. A good scrub with salt and a fresh round of baking fixed it — now it’s my go-to for searing steaks.
How to Maintain Your Seasoned Skillet for Years of Perfect Cooking
Keep your skillet in top shape by wiping it with a light coat of oil after each wash — no soap needed. Use a paper towel to spread the oil evenly. Avoid harsh detergents or soaking, which strip seasoning. If food starts sticking or rust appears, re-season briefly or do a full overhaul. Think of your skillet as a living surface — it improves with love and regular care.
Frequently Asked Questions
How often should I re-season my cast iron skillet?
Typically every 6 months to a year, or whenever food starts sticking or rust appears. Regular maintenance after each use also prolongs the need for full re-seasoning.Can I use soap to clean my cast iron skillet?
Yes, in moderation. Modern advice allows mild soap if you reapply a thin layer of oil afterward. Just avoid harsh detergents that strip seasoning.What oil is best for seasoning?
High smoke point oils like flaxseed, vegetable, or canola oil work best. Flaxseed creates a hard, durable coating, but any good quality oil with a high smoke point will do.Why is my skillet sticky after seasoning?
Too much oil or baking at too low a temperature can cause sticky spots. Use thin coats of oil and bake at the recommended temperature for a clean, hard finish.How do I fix a rusty cast iron skillet?
Scrub away rust with steel wool or abrasive scrubbers, then re-season thoroughly. Rust indicates moisture exposure, so keep your skillet dry and well-oiled afterward.Conclusion
Think of seasoning your cast iron skillet as planting a seed. With patience and good habits, it grows into a tough, slick surface that improves with each use. Your skillet isn’t just cookware — it’s a trusted partner in your kitchen for years to come. Keep it clean, keep it seasoned, and enjoy cooking in a pan that gets better with age.Halloween Picks
halloween
As an affiliate, we earn on qualifying purchases.