
TL;DR
Percolator coffee is known for its bold flavor, but brewing it right requires controlling grind size, timing, and heat. Regular cleaning and experimentation unlock its full potential for a robust, satisfying cup.
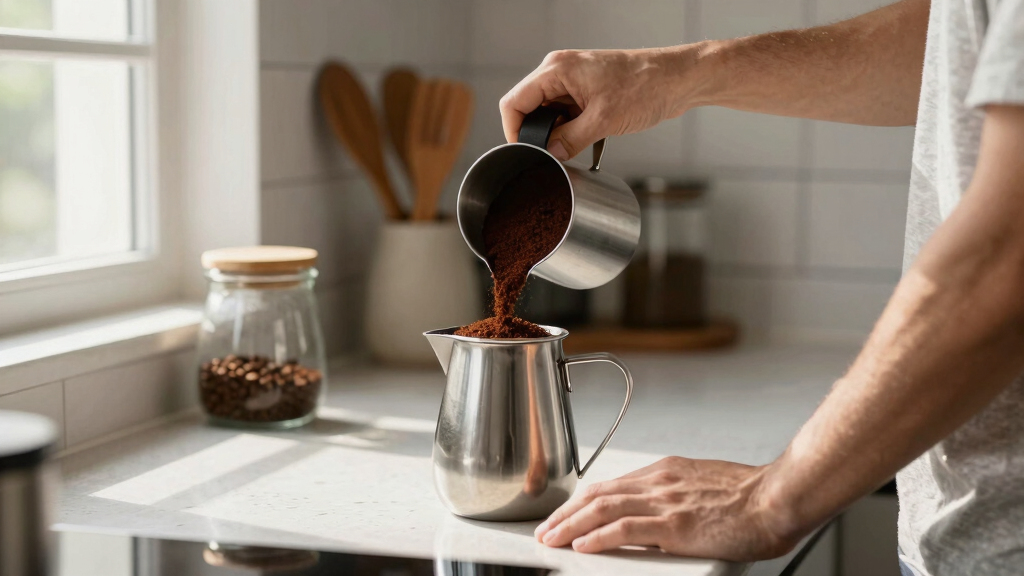
Use a medium to medium-coarse grind for even extraction and rich flavor.
Control brewing time carefully—around 5-8 minutes—to prevent bitterness.
Maintain consistent, moderate heat to optimize flavor without scorching.
Regularly clean your percolator with warm water and vinegar to keep it functioning well.
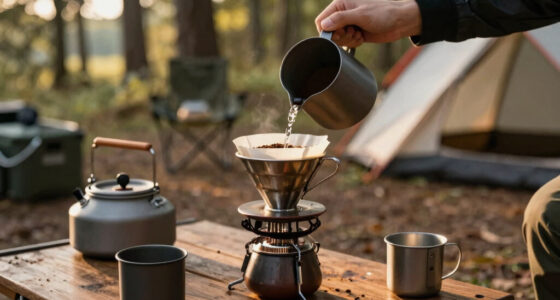
Choose between stovetop or electric models based on your lifestyle and off-grid needs.
What Makes Percolator Coffee So Unique? (And Why You Should Care)
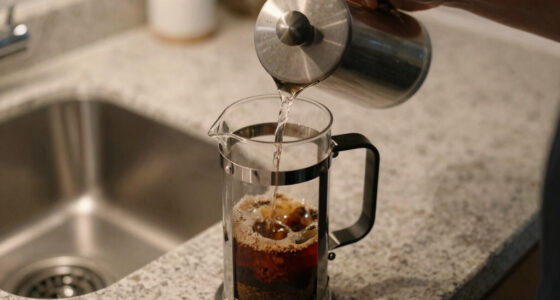
Percolator coffee stands out because of its intense, robust flavor—think of it as the espresso of drip methods. It’s a process where hot water repeatedly cycles through coffee grounds, extracting deep, bold notes. This repeated percolation creates a rich aroma and a full-bodied taste that’s hard to match with other brewing styles.
Imagine the crackling sound of boiling water rising through the metal tube, then splashing over the coffee bed. That’s the heart of the percolator experience. If you love coffee with a punch and a complex flavor profile, mastering this method is worth the effort.
Compared to drip or French press, percolator coffee often has a more pronounced bitterness and stronger body — but only if overdone. When you dial in the process, it becomes a reliable way to get a satisfying, full-flavored cup, especially in off-grid settings where simplicity and durability matter most.

Presto 02811 Stainless Steel Electric Coffee Percolator – 12-Cups, Easy-Pour Spout, Stay-Cool Handle, Make 2-12 Cups
RAPID BREWING: Our coffee percolator is designed to brew exceptional coffee, hot and rich, as fast as a…
As an affiliate, we earn on qualifying purchases.
As an affiliate, we earn on qualifying purchases.
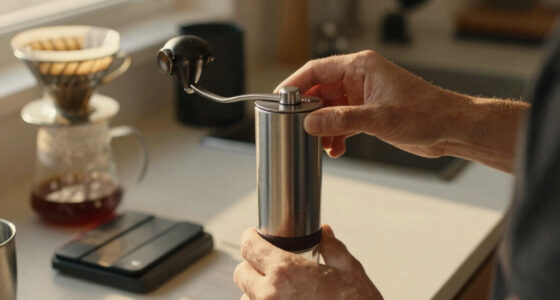
Pick the Right Grind Size for Percolator Coffee
The key to good percolator coffee is a medium to medium-coarse grind. Think of the texture like coarse sea salt — not too fine, not too chunky. Too fine, and the water will struggle to pass through, causing over-extraction and bitterness. Too coarse, and the water won’t extract enough flavor, resulting in weak coffee.
For example, if you’re using a vintage stovetop percolator, start with a grind similar to French press coffee. If you notice a bitter, burnt taste, try a slightly coarser grind. Adjust until you find the sweet spot that delivers rich flavor without bitterness.
In practice, a consistent grind size helps your coffee brew evenly and predictably, especially in manual setups. It’s worth investing in a decent burr grinder — even a hand-crank model — to control this aspect precisely.
medium coarse coffee grinder
As an affiliate, we earn on qualifying purchases.
As an affiliate, we earn on qualifying purchases.
How Long Should You Percolate? The Secret to Not Overdoing It
Percolator coffee typically takes about 5 to 10 minutes to brew. The challenge is timing it right. If you leave it too long, it turns bitter; too short, and it’s weak and flat.
For stovetop models, start with 5 minutes, then taste. If it’s too weak, extend to 7 or 8 minutes. Watch for a steady, gentle boiling — not a violent, rolling boil that can scorch the grounds. Electric percolators often have built-in timers or temperature controls, making it easier to hit that sweet spot.
Imagine your favorite dark roast bubbling softly, filling your kitchen with that rich, roasted aroma. When you hear that gentle percolation, it’s a sign your brew is ready for tasting and adjusting.
electric stovetop percolator
As an affiliate, we earn on qualifying purchases.
As an affiliate, we earn on qualifying purchases.
Controlling Temperature for Better Tasting Coffee
Consistent, moderate heat is the cornerstone of a good percolator brew. Too high, and you risk over-extraction and bitterness. Too low, and the water won’t cycle properly, leading to weak coffee.
For stovetop models, use a low to medium heat setting. If your burner has temperature control, aim for around 185-195°F (85-90°C). Electric percolators often have built-in thermostats that keep the water within this range, which is ideal for extracting flavor without bitterness.
Picture a gentle, steady boil — that’s what you’re after. Adjust your heat source accordingly and keep an eye on the percolation cycle to prevent scorching or under-brewing.
percolator cleaning vinegar
As an affiliate, we earn on qualifying purchases.
As an affiliate, we earn on qualifying purchases.
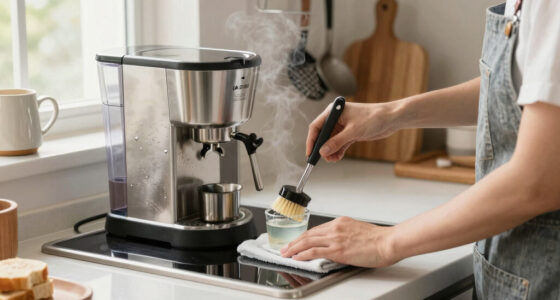
Cleaning and Maintaining Your Percolator
Regular cleaning is essential to keep your percolator brewing at its best. Coffee oils and mineral deposits can build up, dulling flavor and clogging parts.
After each use, disassemble all parts and wash with warm, soapy water. For stubborn mineral deposits, run a vinegar solution — equal parts vinegar and water — through the brew cycle, then rinse thoroughly.
Imagine the rich aroma of freshly cleaned metal, ready for your next brew. Keeping your equipment spotless ensures every cup tastes as fresh as the first.
Compare Different Types of Percolators: Which One Fits Your Needs?
| Type | Manual (Stovetop) | Electric |
|---|---|---|
| Ease of Use | Requires attention during brewing | Set-and-forget with controls |
| Portability | Highly portable, no power needed | Less portable, needs outlet |
| Control | Adjust heat manually | Precise temperature settings |
| Cost | Generally cheaper | Usually more expensive |
If you prefer off-grid, go for a sturdy stovetop model. For convenience and consistency, an electric percolator with adjustable temperature can make your mornings smoother.
Top Tips for Brewing Perfect Percolator Coffee Every Time
- Use fresh, quality beans — dark roasts add richness.
- Match grind size to your percolator type.
- Start with a 1:15 coffee-to-water ratio and adjust to taste.
- Keep an eye on brewing time — 5 to 8 minutes is usually ideal.
- Maintain your equipment with regular cleaning.
- Experiment with brew time and grind size to find your perfect flavor balance.