TL;DR
No-knead bread relies on long fermentation and high hydration dough, baked in a preheated Dutch oven to mimic professional steam ovens. It’s a straightforward method that delivers crusty, airy loaves with little hands-on effort—perfect for home and off-grid kitchens.
A preheated Dutch oven is essential for a crispy crust and bakery-quality loaf.
Long fermentation (12–18 hours) develops flavor and gluten without kneading.
High hydration (70–80%) dough creates an airy, open crumb but may feel sticky — handle carefully.
Always cool your bread for at least an hour before slicing to avoid a gummy interior.
Safety matters: handle hot Dutch ovens with care, check knob ratings, and avoid thermal shock.
How to Make No-Knead Bread in a Dutch Oven
A simple mix, a long fermentation and a blazing-hot cast-iron pot turn four basic ingredients into a deeply browned, crackling loaf with an airy artisan crumb.
Four ingredients. One remarkable loaf.
Stir only until no dry flour remains. The mixture should look rough, wet and sticky—not smooth like traditionally kneaded dough.
Flour
about 400–430g
Instant yeast
a little goes far
Fine salt
up to 1½ tsp
Water
about 350–375ml
A sticky, gloppy dough is not a mistake. Resist adding lots of extra flour: that moisture becomes steam and helps create the light, irregular crumb.
Mix tonight. Bake tomorrow.
The schedule is forgiving. Watch how the dough behaves rather than treating every time as an exact deadline.
Mix
Combine flour, yeast and salt. Add water and stir until a shaggy, uniformly moistened dough forms.
3–5 minFerment
Cover and leave at room temperature. The dough is ready when expanded, bubbly and webbed with gluten.
12–18 hrShape gently
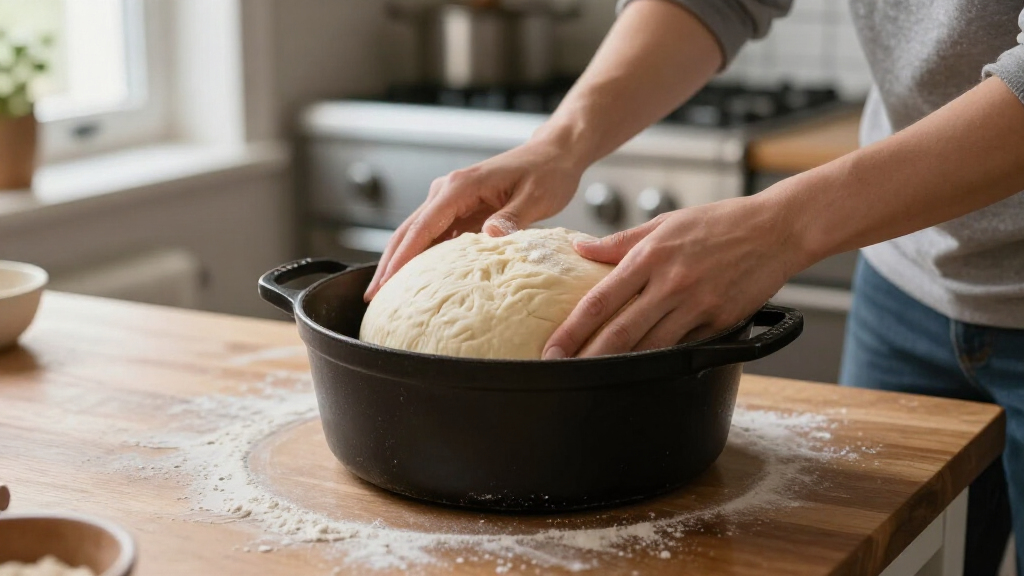
Turn onto a lightly floured surface, fold the edges inward and tuck into a round. Preserve the trapped gas.
2–3 minProof
Rest the shaped dough on parchment until slightly puffed. A gentle press should spring back slowly.
1–2 hrPreheat
Place the empty, dry Dutch oven and lid inside while the oven reaches 450°F / 232°C.
30 minTransfer + score
Use parchment as a sling to lower the dough into the hot pot. Cut one confident slash across the top.
1 minBake covered
Seal in the dough’s own steam. This delays crust setting so the loaf can expand to its full height.
20–30 minBrown + cool
Remove the lid, bake until deep golden, then cool on a rack before slicing so the crumb can set.
15–20 minA miniature steam oven inside your oven.
Heavy cast iron stores heat while the tight lid captures moisture released by the dough. Together they deliver rapid lift, even baking and a crisp crust.
Stored heat drives lift
The hot pot transfers energy immediately, accelerating gas expansion for strong oven spring.
Trapped steam delays the crust
A flexible surface can keep expanding before it sets, producing a taller loaf and thinner crust.
Dry heat builds color
Once the lid comes off, moisture escapes and the exterior caramelizes into a crisp, deeply browned shell.
Steam stays trapped • crust remains flexible • loaf expands
Moisture escapes • crust browns • flavor deepens
Hydration and time do the heavy lifting.
More water encourages an open interior; more fermentation develops structure and complex flavor. Both also demand gentler handling.
Hydration changes texture
Higher percentages generally produce a more open crumb—but stickier dough.
The fermentation sweet spot
Room temperature changes the clock: warmer kitchens move faster.
| Method | Typical time | Flavor | Handling | Best use |
|---|---|---|---|---|
| Fast-rise dough | 2–4 hours | ~ Mild | Less sticky | Same-day bread |
| No-knead counter rise | 12–18 hours | ✓ Complex | Wet but manageable | Classic method |
| Cold fermentation | 1–3 days | ✓ Deepest | Easier when chilled | Flexible scheduling |
| High-yeast shortcut | About 2 hours | ✗ Less developed | Beginner-friendly | Speed over nuance |
Read the loaf, then adjust one variable.
Most problems trace back to fermentation, temperature, hydration or patience. Small changes are easier to diagnose than changing everything at once.
Not enough lift
Yeast may be stale, the water may have been too hot, or the dough may not have fermented long enough.
Moisture is still trapped
The loaf may be underbaked—or it may simply have been sliced while the interior was still setting.
Weak structure
Underproofing limits expansion, while aggressive shaping knocks out the gas created during fermentation.
Too much dry heat
A very thick shell usually points to excessive uncovered baking or an oven running hotter than its setting.
From wet dough to crackling crust
Cool the loaf on a rack for at least 60 minutes. The crumb is still releasing steam and setting after it leaves the oven; slicing early turns that moisture into gumminess.
Why Your Dutch Oven Is the Secret Weapon for No-Knead Bread
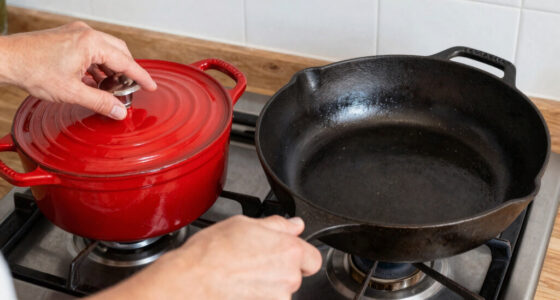
Your Dutch oven acts like a mini bread oven inside your kitchen. Its heavy, cast-iron walls evenly radiate heat, while the lid traps steam that helps the bread rise beautifully.
When you preheat the pot, it creates a hot, steamy environment. This steam keeps the crust soft during the first crucial minutes, allowing the dough to expand fully — that’s called oven spring. Once the lid comes off, the dry heat crisps up the crust into that satisfying crunch.
For example, a 6-quart enameled Dutch oven heated to 450°F can produce a loaf with a deep, caramelized crust and an open crumb. That’s why most bakers swear by it — no fancy steam injectors needed.
As an affiliate, we earn on qualifying purchases.
Step-by-Step: How to Make No-Knead Bread in Your Dutch Oven
- Mix your ingredients: 3 cups flour, ¼ teaspoon instant yeast, 1¼ teaspoons salt, and 1½ cups water. Stir until just combined — no kneading needed.
- Cover and let ferment: Leave it at room temperature for 12–18 hours. The long rise develops flavor and gluten, making the dough elastic and tangy.
- Shape gently: Lightly flour a surface, turn out the dough, and fold it into a round. No punching down needed; just a gentle tuck.
- Proof: Let the shaped dough rest for 1–2 hours until it puffs slightly and holds shape.
- Preheat your Dutch oven: Place it in the oven at 450°F for at least 30 minutes. The pot must be hot before baking.
- Transfer and score: Using parchment paper, lift the dough into the hot pot. Score the top with a sharp blade or razor to control expansion.
- Bake covered: Bake for 20–30 minutes with the lid on. The steam inside creates that crispy crust and airy crumb.
- Finish uncovered: Remove the lid and bake another 15–20 minutes until deep golden brown.
- Cool: Let the bread rest on a rack for at least 1 hour before slicing. This final step ensures the crumb sets properly.
As an affiliate, we earn on qualifying purchases.
The Key to Great Flavor: Long Fermentation and Hydration
The secret behind artisan flavor is the long fermentation — 12 to 18 hours at room temperature. This slow rise allows enzymes to break down the flour, creating complex, slightly tangy notes.
High hydration, often 70–80%, makes the dough sticky and easy to handle once you get used to it. For example, a dough with 75% hydration will feel wet and gloppy but will produce a light, open crumb.
Many bakers add just a tiny amount of yeast — about ¼ teaspoon — because the extended fermentation does the work of flavor development and gluten formation. This results in bread that tastes rich, with a chewy crust and airy interior.
Understanding these fermentation and hydration principles helps you control the final texture and flavor. Longer fermentation times deepen the flavor and improve digestibility, while high hydration enhances the open crumb and crust crispness. However, higher hydration can make shaping tricky and may require more practice to handle without sticking. Balancing these factors depends on your environment and your desired bread characteristics.
As an affiliate, we earn on qualifying purchases.
Preheating Your Dutch Oven: How Hot Is Hot Enough?
Preheating your Dutch oven to 450°F (232°C) is the key to that bakery-style crust. Place the empty, dry pot in your oven while it heats for at least 30 minutes. This ensures it’s blazing hot when you add the dough.
Be cautious: some enameled Dutch ovens have knobs rated only to about 400°F. Check your manufacturer’s guidance or replace the knob with a metal one to avoid melting or cracking.
For example, Le Creuset recommends not heating an empty enameled pot above 500°F to prevent damage. So, aim for 450–475°F, and always handle with oven mitts.
Properly preheating ensures the heat is evenly distributed and the surface is hot enough to give your bread an immediate oven spring, which is critical for a good rise and crust formation. Under-heating results in a dull crust and less oven spring, while overheating risks damaging your cookware. Achieving the right temperature balances safety and performance, giving you a professional-quality loaf.
As an affiliate, we earn on qualifying purchases.
Troubleshooting Common No-Knead Bread Problems
If your bread turns out dense or gummy, don’t worry — it’s a common issue with simple fixes. Here are some quick tips to troubleshoot:
- Dense loaf: Check your yeast activity. Use fresh yeast and avoid hot water that kills yeast (above 105°F). Underproofed dough lacks enough rise, resulting in a dense crumb. Extending fermentation or proofing time can help develop more oven spring and a lighter texture.
- Gummy crumb: Slice after at least 1 hour of cooling; slicing too early traps residual moisture, making the interior gummy. Ensuring thorough cooling and proper scoring also helps moisture escape during baking. Gummy texture often results from underbaking or slicing before the bread has cooled sufficiently, trapping steam inside. Recognizing this, you can adjust baking times or patience to improve crumb quality.
- Flat or underproofed: Let it ferment longer or proof in a warm spot until the dough springs back gently when pressed. Underproofed dough doesn’t develop enough gluten structure, which limits rise and results in a flatter loaf. Overcoming this involves understanding how fermentation impacts gluten development; a properly proofed dough has a slight bounce, indicating readiness.
- Crust too hard: Reduce baking time slightly or lower oven temperature. Also, ensure proper cooling for a softer crust. An overly thick or hard crust can come from over-baking or baking at too high a temperature. Adjusting bake time and allowing the bread to cool properly can yield a more balanced crust that complements the crumb.
Remember, each mistake teaches you something. Adjust hydration, timing, or handling next round, and you’ll improve with experience. The key is understanding how each factor influences the final bread so you can troubleshoot effectively and refine your technique.
Safety Tips for Handling Your Hot Dutch Oven
Handling a preheated Dutch oven requires attention and care. Always use thick oven mitts or pot holders. The lid handle gets extremely hot — test it with your fingers first or use tongs if unsure.
Never pour cold water into a hot, empty enameled Dutch oven. This thermal shock can cause cracking. Instead, wait for the pot to cool slightly before cleaning or rinsing.
Most enameled Dutch ovens have knobs rated to around 400°F — check yours before preheating. If yours isn’t rated for high heat, replace the knob with a metal one or remove it during baking.
Handling hot dough and steam also means being mindful. Keep a clear workspace, and don’t rush when transferring or removing the lid. Always prioritize safety to prevent burns or damage to your cookware, ensuring a smooth and enjoyable baking process.