TL;DR
Listen free for 30 days with Audible
Thousands of audiobooks and originals — cancel anytime.
Start your free trialAs an affiliate, we earn on qualifying purchases.
Searing steak in cast iron hinges on high, stable heat and dry surface. Flip frequently for even cooking, and use proper oil and resting techniques to maximize flavor and texture. A simple method can turn an ordinary cut into restaurant-quality fare.
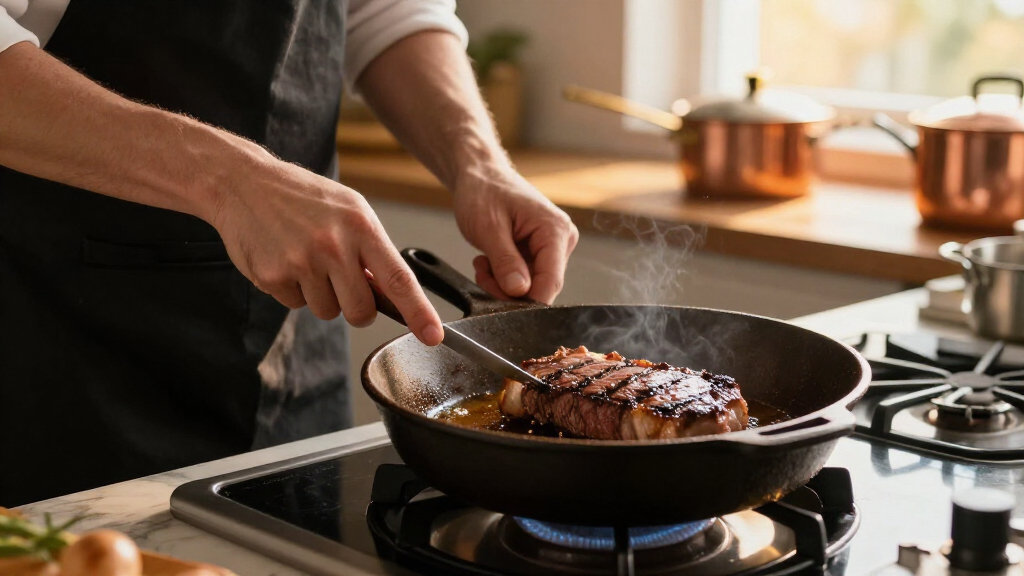
Ever wondered why that restaurant-quality crust on your steak looks so perfect? It’s all about heat, moisture, and patience. Cast iron, with its heavy, heat-retentive surface, turns simple steak cooking into a science experiment you can master in your own off-grid kitchen.
In this guide, you’ll learn how to get the most out of your cast iron pan—searing techniques, common mistakes to avoid, and the science behind that irresistible crust. Whether you’re cooking over a fire, a propane stove, or an induction cooktop, these practical tips will help you produce better steaks—every time.
Preheat your cast iron for at least 5-7 minutes until just smoking for the best sear.
Pat steaks dry, salt early, and choose high smoke-point oils to develop a deep crust.
Flip every 20-30 seconds to promote even browning and prevent hot spots.
Rest steaks for 5-10 minutes after searing to maximize juiciness and flavor.
Regularly maintain your cast iron with hot water and a light oil coat to keep it seasoned and nonstick.
Searing Steak in Cast Iron
Restaurant-quality crust comes down to three controls: stable heat, a dry surface, and precise timing. Master those variables and cast iron turns an ordinary cut into a deeply browned, evenly cooked steak—whether the heat comes from fire, propane, or induction.
Why heavy iron builds a better crust
Cast iron is not uniquely capable of becoming hot. Its advantage is thermal mass: it stores substantial heat and loses less surface temperature when cold meat lands in the pan. That stability keeps browning active instead of letting the steak steam.
Stable energy
A properly preheated skillet supplies continuous heat after contact. Lighter pans can cool sharply, slowing crust formation just when browning should accelerate.
Dry beats damp
Water must evaporate before the surface can brown. Patting the meat dry—and dry-brining uncovered when time allows—removes the biggest barrier to a crisp crust.
Maillard magic
Heat transforms amino acids and sugars into hundreds of aromatic compounds. The result is nutty, roasted depth—not a moisture seal, but a flavor-building reaction.
The browning window
The Maillard reaction becomes meaningful around 280–330°F. A searing-hot skillet supplies enough energy to evaporate surface moisture and move rapidly into the flavor zone.
Six moves from raw to rested
Preparation matters as much as pan time. Build dryness first, establish stable heat, then use frequent flips and a thermometer to control the narrow window between crust and overcooking.
Dry & salt
Pat thoroughly dry. Salt 30 minutes to 24 hours ahead.
Preheat
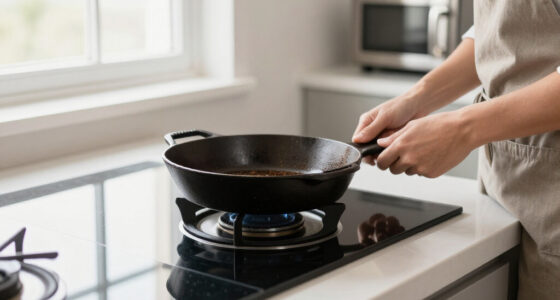
Heat the empty skillet for 5–7 minutes until just smoking.
Add oil
Use a thin film of refined, high smoke-point oil.
Sear & flip
Turn with tongs every 20–30 seconds for even browning.
Baste late
Add butter, garlic, and herbs only in the final minute.
Rest
Wait 5–10 minutes before slicing across the grain.
Set the surface up to brown
Blot every side with paper towel. Salt generously; for maximum dryness, leave the salted steak uncovered on a rack in the refrigerator for 12–48 hours.
Letting the steak sit out for 20–30 minutes is optional. Surface dryness and final internal temperature matter far more than reaching true room temperature.
Listen for immediate sizzle
Preheat gradually on induction to reduce hot spots. Add only enough oil to film the pan, then lay the steak away from you. If it does not sizzle loudly, the pan was not ready.
Do not pry at sticking meat. Once a crust forms, the steak releases more readily. Use a thermometer—not guesswork—to decide when cooking is complete.
Oil first. Butter last.
The initial sear needs a fat that tolerates intense heat without scorching. Butter belongs in the finishing phase, where its milk solids can brown gently while carrying the flavor of garlic and herbs.
| Cooking fat | Initial sear | Late basting | Heat behavior | Best use |
|---|---|---|---|---|
| Refined avocado oil | ✓ Excellent | ~ Optional | Very high heat tolerance | Hard, clean sear |
| Grapeseed oil | ✓ Excellent | ~ Optional | High smoke point | Neutral all-purpose searing |
| Canola or safflower | ✓ Good | ~ Optional | Reliable at high heat | Accessible everyday option |
| Whole butter | ✗ Avoid | ✓ Excellent | Milk solids burn quickly | Final-minute aromatic baste |
| Extra-virgin olive oil | ~ Limited | ~ Limited | Can smoke and turn bitter | Lower-temperature cooking |
Finish: lower the heat, add butter with crushed garlic and thyme or rosemary, then spoon the foaming butter over the steak for 30–60 seconds.
Temperature beats the clock
Two to three minutes per side is a useful starting estimate for a 1–1.5 inch steak, but thickness, burner power, pan temperature, and starting temperature all change the result. An instant-read thermometer gives the reliable answer.
“Flip only once.”
Frequent flipping can produce a more even pink interior with no sacrifice in crust. Turn every 20–30 seconds once browning begins.
“Searing seals in juice.”
The crust creates flavor through browning; it does not form a waterproof barrier. Juiciness depends on doneness and resting.
“More steaks save time.”
Crowding lowers pan temperature and traps steam. Use one steak—or two small steaks—in a 12-inch skillet.
Every great crust has a cause
The finished steak is the product of a connected system. Break one link—especially dryness or heat stability—and the crust becomes pale, patchy, or soft.
Steaks over 1.5 inches benefit from an oven finish or reverse sear: cook gently first, then finish with an intense cast-iron crust.
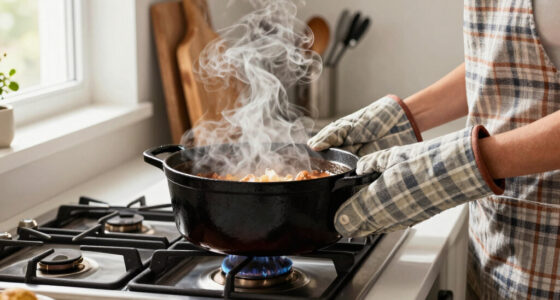
Run the hood, open a window, and keep combustible clutter away. A hard sear produces real smoke even with the correct oil.
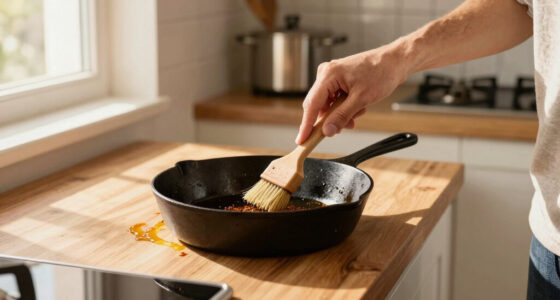
Rinse the warm pan with hot water, scrub away residue, dry over heat, and wipe on an extremely thin coat of oil.
Rest for 5–10 minutes, then cut across the grain. This shortens muscle fibers and makes each bite feel more tender.
Dry. Hot. Flip. Measure. Rest.
Preheat cast iron for at least 5–7 minutes until the oil shimmers and the pan is just smoking.
Pat the steak dry, salt ahead, and use a refined high smoke-point oil for the initial sear.
Flip every 20–30 seconds, baste with butter only at the end, and pull a few degrees early.
Rest 5–10 minutes before slicing, then clean, dry, and lightly oil the skillet for next time.
Why Cast Iron Is the Best Tool for Searing Steak
Cast iron’s secret sauce is its high heat retention. When you heat a cast iron skillet over high heat for at least 5 minutes, it builds a stable, hot surface that doesn’t drop temperature when cold meat hits it. This constant heat is what creates a perfect Maillard reaction—the browning that adds flavor and texture.
Unlike stainless steel or nonstick, cast iron doesn’t get hotter than a certain point, but its thermal mass keeps the heat steady. That means your steak gets a deep, caramelized crust without sticking or burning, even if you add a cold piece straight from the fridge.
For example, a 12-inch cast iron skillet preheated for 5-7 minutes over medium-high heat can reach around 500°F, perfect for searing. This is why many professional chefs swear by cast iron for steak—it’s durable, heats evenly, and develops a natural nonstick surface over time.
Understanding this, it’s clear that the benefit of cast iron isn’t just its durability but its ability to deliver consistent, high heat that’s crucial for browning. This consistency allows you to develop complex flavors through the Maillard reaction—each browning stage adds depth, aroma, and a richer taste profile. The tradeoff is that cast iron requires proper preheating—skipping this step can result in uneven searing and sticking, which diminishes the crust quality and flavor development.
As an affiliate, we earn on qualifying purchases.
How to Prepare Your Steak for a Perfect Sear
- Pat the steak dry with paper towels. Moisture on the surface turns to steam, preventing browning and creating a gray, steamed exterior.
- Salt the steak generously 30 minutes to 24 hours before cooking. This draws out moisture, then reabsorbs, helping to dry the surface even further.
- Bring the steak to room temperature—about 20-30 minutes out of the fridge—so it cooks evenly. But don’t obsess; recent tests show it’s less critical than you might think.
- Choose a high smoke-point oil like refined grapeseed or avocado oil. Avoid butter or olive oil for the initial sear—they burn too easily at high heat.
Imagine a thick, 1.5-inch ribeye. The key is a dry surface, well-seasoned, and at room temperature. When you place it in the hot cast iron, the surface sizzles immediately, sealing in juices and forming that perfect crust. Proper prep matters because moisture and temperature directly influence the Maillard reaction—dry, well-seasoned, and at the right temperature, your steak will develop a deep crust with complex flavor notes. Conversely, neglecting these steps may lead to uneven browning, sticking, or a less flavorful crust, compromising the overall quality of your sear.
As an affiliate, we earn on qualifying purchases.
The Perfect Searing Technique: Flip Less or More? Here’s the Truth
The old rule was ‘flip once only,’ but recent food science shows that flipping every 30-60 seconds doesn’t harm the crust and actually promotes more even cooking. Frequent flipping keeps the surface at a consistent temperature, avoiding hot spots and cold spots.
For example, start with the steak on high heat. Flip every 20-30 seconds, using tongs to turn it gently. This method ensures the crust develops uniformly and internal doneness is controlled better.
Testers found that frequent flipping produces a more even pink interior and a richer crust—no need to wait for a perfect one-sided sear. It’s a myth that flipping too often ruins your crust; instead, it can make your steak better by preventing overcooking on one side and encouraging uniform Maillard browning. The key is timing and consistent heat—if the pan is properly preheated, frequent flipping enhances crust development while maintaining juiciness and internal temperature control.
As an affiliate, we earn on qualifying purchases.
Oil, Butter, or Nothing? Which Is Best for Searing?
Choosing the right fat is critical. For the initial sear, use a high smoke-point oil like refined safflower, canola, or grapeseed. These oils withstand high heat without burning, which is key for a good crust.
If you want extra flavor, add butter, garlic, and herbs during the last minute. Baste the steak with the foaming butter for a rich, restaurant-style finish. But don’t rely on butter alone at the start—it burns quickly.
Imagine sizzling a thick-cut steak: you pour a splash of oil into the hot skillet, and it shimmers immediately. When the steak hits the pan, hear that loud sizzle—that’s your cue that the oil is working. The choice of oil affects the sear because oils with lower smoke points can burn prematurely, creating bitter flavors and potential smoke issues. Using a high smoke-point oil ensures the surface reaches the ideal temperature for Maillard browning, while adding butter later allows for flavor layering without risking burning during the initial sear.
digital meat thermometer for steak
As an affiliate, we earn on qualifying purchases.
As an affiliate, we earn on qualifying purchases.
How Long to Sear and When to Flip for Perfect Doneness
For a 1–1.5 inch steak, 2-3 minutes per side over high heat usually hits medium-rare. Use an instant-read thermometer to check: 130–135°F internal temp is ideal for juicy, tender steak.
Flip every 20-30 seconds to develop a deep crust while avoiding overcooking the inside. Thicker cuts (over 1.5 inches) benefit from reverse searing or finishing in the oven after searing.
Remember, carryover heat will raise the internal temp by about 5°F after removing from heat, so pulling the steak slightly early is essential to prevent overcooking and achieve the desired doneness. The timing and frequency of flipping directly influence crust formation and internal temperature control, which are critical for consistently perfect results. Proper timing ensures the Maillard reaction occurs evenly across the surface while preserving juiciness inside.
Rest, Rest, Rest: Why Steaks Need a Chill After the Sear
After searing, let your steak rest for 5-10 minutes. Resting allows juices to redistribute, ensuring every bite is juicy and tender.
Imagine cutting into a steak immediately—most juices run out, leaving it dry and less flavorful. Resting turns that around, giving you a moist, flavorful cut. The science behind this is that during cooking, juices are pushed toward the center of the meat due to heat contraction. Resting allows these juices to reabsorb and settle, resulting in a more evenly moist steak. Skipping this step can lead to a loss of flavor and a drier texture, undermining the effort put into searing. Proper resting also prevents the residual heat from overcooking the interior, ensuring your steak reaches the perfect level of doneness without turning tough or dry.
Cleaning and Maintaining Your Cast Iron After a Sear
After a good sear, clean your pan with hot water and a stiff brush—no soap needed if it’s well-seasoned. Avoid harsh detergents that strip the seasoning.
If bits stick, scrub with coarse salt and a paper towel. Dry thoroughly and apply a light coat of oil before storing.
Regular maintenance builds a natural nonstick surface, making future sears even easier. Think of it as caring for a trusty tool—patience pays off.
Troubleshooting Common Searing Problems
If your steak is sticking, your pan might not be hot enough, or the surface isn’t properly seasoned. Preheat longer or reseason if needed.
If the crust is pale or gray, your pan isn’t hot enough or moisture is present. Pat dry thoroughly and increase heat.
Too smoky? Use an exhaust fan or sear outside if possible. Searing produces smoke, but proper ventilation keeps your kitchen comfortable and safe.
Beyond these basics, consider that uneven heat distribution or uneven seasoning layers can cause sticking or uneven browning. Ensuring your cast iron is properly seasoned and preheated helps create a consistent surface, reducing these issues. Also, adjusting your heat levels during cooking can prevent burning or under-searing, leading to more reliable results and a better crust every time.
Frequently Asked Questions
How hot should my cast iron be for searing steak?
Aim for around 500°F, which you can test by watching for a faint smoke or dropping a water droplet—if it dances and evaporates immediately, you’re there.Should I flip my steak once or multiple times?
Flip every 20-30 seconds. Frequent flipping promotes even browning and a better crust without sacrificing juiciness.Can I sear a frozen steak?
Yes. Searing from frozen reduces overcooked bands, creates a good crust, and shortens overall cook time—just add a couple of extra minutes per side.What’s the best way to clean my cast iron after searing?
Use hot water and a stiff brush or coarse salt. Dry thoroughly and lightly oil the surface to preserve the seasoning. Avoid soap that can strip the patina.How long should I rest my steak after searing?
Rest for at least 5 minutes, up to 10, to allow juices to redistribute and finish cooking gently. This step makes a noticeable difference in tenderness.Conclusion
Mastering the art of searing in cast iron isn’t about fancy gadgets or secret ingredients—it’s about understanding heat, moisture, and patience. When you get these right, even a modest cut of meat transforms into a flavorful, crusty masterpiece.
Next time you fire up your pan, remember: the real magic lies in simple science and steady technique. That crust isn’t just a surface; it’s a sign of your skill.
Fall yard work Picks
leaf blowers
As an affiliate, we earn on qualifying purchases.