TL;DR

Get kitchen gear delivered free with Prime
- Fast, free delivery on millions of items
- Prime Video, Amazon Music and more included
- Member-only deals all year
Test knife sharpness with a careful visual inspection, a paper slice, and a light-pressure cut through a ripe tomato or onion. Each test shows how the edge behaves on one material, so check more than one part of the blade and never run a finger along the edge or shave hair to judge a kitchen knife.
A knife can glide through a sheet of paper and still skate across a tomato. That’s because sharpness depends on the cut, the food, and the part of the edge you use—not just how keen the blade seems in one quick test.
You can get a useful home check without touching the edge or buying a measuring tool. This guide walks you through a visual inspection, the paper test, and practical tomato and onion cuts, then explains how to read mixed results and choose between honing and sharpening. Think of each test like checking a boot on different ground: a smooth floor tells you something, but it doesn’t predict how it grips wet grass.
Use a stable cutting board, keep your fingers out of the blade’s path, and work with light pressure. A sharp knife cuts with less force and more control than a dull one, but no test makes a knife harmless. The aim is steady, predictable cutting—not a stunt or a perfect score.
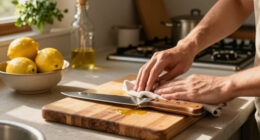
Inspect the blade under good light for chips, rolls, rust, or uneven reflections; never test the edge by running a finger along it.
Use paper for a quick screen, then test a ripe tomato or onion with light pressure to learn how the knife behaves on food.
Check more than one section of the edge and note where it snags, slips, or crushes instead of relying on one pass.
Skip shaving tests: they add injury risk and don’t predict kitchen performance.
Honing can maintain an intact edge; sharpening removes material and may be needed for a worn or damaged edge.
Kitchen skills / Edge check
How to Test Knife Sharpness
Use a visual inspection, a controlled paper slice, and a light-pressure cut through ripe tomato or onion. Each material tells you something different, so check more than one section of the blade and keep your fingers clear.
“A clean paper slice can still skate across tomato skin.”
Paper and slippery produce challenge different parts of the cutting action. One quick pass is never a complete score.
Test with control, not force
Set up a stable board, clear the cutting path, and compare repeatable cuts. If a test feels awkward, skip it and move to a safer check.
Inspect
Under good light, look for chips, rolls, rust, or uneven bright reflections along the edge.
Slice paper
Hold paper by one edge, fingers outside the blade path, and draw down through the free section.
Try produce
Use a gentle sawing motion on a ripe tomato or a controlled slice through an onion.
Compare edge
Check more than one blade section. Note where it snags, slips, or crushes instead of cutting.
Different materials, different clues
Sharpness is how effectively the edge starts and continues a cut. Blade geometry, edge angle, food texture, and technique also shape the result.
Listen for snags
A smooth slice suggests the edge can cut thin material. Tearing, catching, or slipping may point to a dull or damaged spot. Paper type changes the result.
Watch the start
A ripe tomato tests whether the edge starts through taut, slippery skin without crushing the flesh. Ripeness and skin condition matter.
Notice the pressure
A controlled edge moves through layers without a heavy push. Skating or crushing can signal an edge that needs attention—or an awkward angle.
Not a kitchen test
Shaving hair risks cuts or irritation and says little about performance on food. A finger test is also unsafe: inspect visually instead.
Stabilize first
Use a firm board. If it slides, put a damp towel underneath. Curl fingertips back and stop if the food rolls or the cut feels uncontrolled.
Look for patterns
One section may cut well while another catches. Repeat the same motion and material to locate uneven performance along the blade.
Paper is a clue, not a verdict.
A knife can glide through paper and still struggle to start on tomato skin. Smooth paper plus crushed tomato suggests the materials are revealing different edge behavior. Compare consistent cuts on the foods you prepare most often.
Maintain or renew the edge?
There is no universal household sharpness score or fixed sharpening schedule. Let performance and the blade’s condition guide what comes next.
Honing and sharpening do different jobs
Honing can realign or maintain an intact edge. It will not repair a chip or a significantly worn blade.
Sharpening removes material to create a new edge. Choose a suitable method and follow the knife maker’s guidance, especially if the edge is damaged.
Continue safe use; reassess when performance changes.
Honing may help maintain the edge. Recheck with the same cut.
Stop using it for food until the edge is appropriately repaired or sharpened.
Start with a safe check that never touches the edge
Knife sharpness is how effectively an edge starts and continues a cut, not how shiny or pointed the blade looks. Begin by checking the blade under good light for chips, rust, rolled spots, or uneven reflections, then test it with a controlled cut. For example, a bright kitchen lamp can reveal a small shiny flat spot near the heel that you may miss while chopping.
Set the knife down or hold it securely by the handle while you inspect it; never slide a finger along the edge to “feel” for a burr. A damaged section can catch skin even when the rest of the blade cuts well. If you see a chip, keep the blade away from food until you decide how to address it, because a loose fragment can end up on the board.
Next, choose a test that resembles your actual cooking. A paper slice offers a quick, repeatable clue, while a tomato or onion tells you more about food prep. The edge is a tiny saw meeting different landscapes: dry paper, slick tomato skin, and layered onion each offer a different challenge.
Keep your board from rocking and clear the counter around it. If your board slides, place a damp towel underneath. That simple setup gives you a safer, more honest read on whether the knife is doing the cutting or your hand is forcing it through.
Products Worth Considering

Ninja Crispi Glass Air Fryer (Stone) – 4‑in‑1

KitchenAid 5.5-Qt Bowl-Lift Stand Mixer, Porcelain White (KSM55SXXX)

Vitamix Propel Series 510 Professional-Grade Blender, 3 Programs, Black
As an affiliate, we earn on qualifying purchases.
Use the paper test as a quick first check
The paper test shows whether the edge can make a clean slice through thin material, and it works best as a quick screen rather than a final verdict. Hold a sheet by one edge with your fingers clear of the cutting path, then draw the knife downward through the free section. A sharp, undamaged area usually moves through smoothly; snagging, tearing, or slipping can point to a dull or damaged spot.
Use the same kind of paper and motion each time. Printer paper is easy to find, but a thin receipt or a heavier sheet behaves differently, so don’t compare results as if they were identical. If the blade cuts near the tip but catches halfway along, repeat the slice with that section of the edge. A localized catch can be easier to miss when you test only once.
Paper has limits. A knife may slice it neatly but still struggle to start a cut on slippery tomato skin, since smooth paper doesn’t recreate the rounded, taut surface of produce. Conversely, a knife that tears a flimsy sheet may still handle a firm squash well if the blade’s shape and your technique suit the task.
Keep the blade moving away from your holding hand, and don’t try to catch a falling sheet with your fingers. If the paper test feels awkward or uncontrolled, skip it and use a stable board with food instead. A test should improve your judgment, not add a risky trick to the kitchen.
Try a tomato cut to see how the edge starts on food
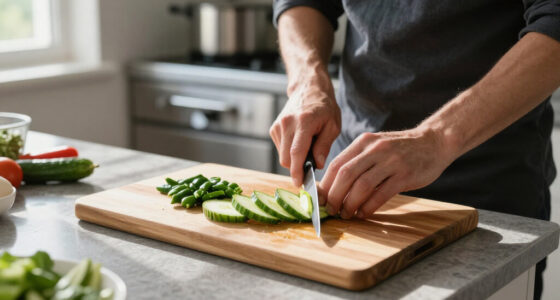
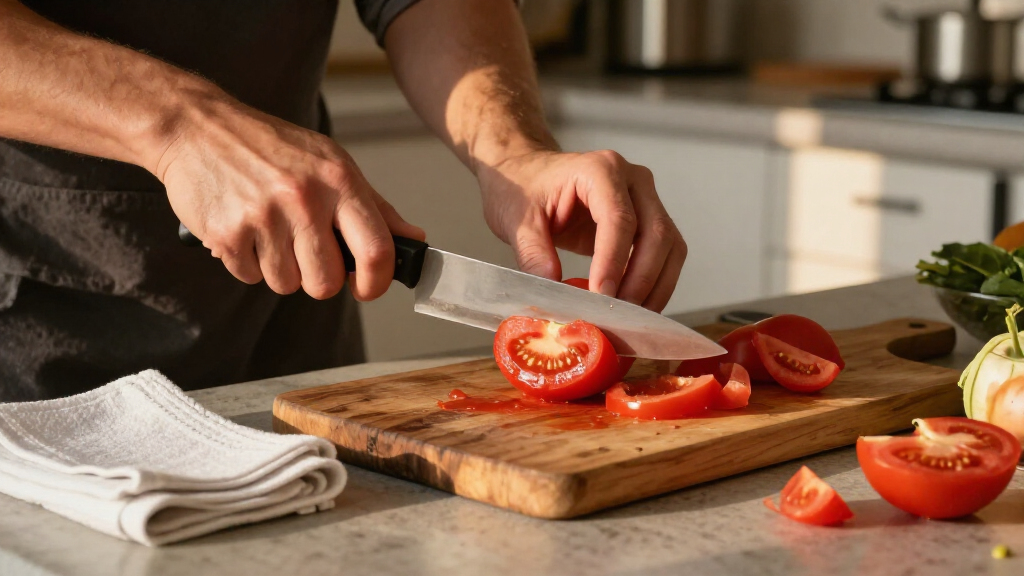
A ripe tomato tests whether the knife can start a cut through a soft, slippery skin without crushing the flesh. Put the tomato on a stable board and use a gentle sawing motion with little downward force. A keen edge should open the skin with a light touch, leaving a clean slice rather than a squashed, leaking wedge.
Choose a tomato that is ripe but still holds its shape. An overripe tomato may collapse under almost any blade, while a firm, thick-skinned variety can be a harder challenge than a delicate cherry tomato. Imagine preparing a sandwich: if the knife slides over the skin and flattens the fruit, the edge may need attention—or the tomato may simply be unusually tough.
Try the cut with the middle of the blade and, if you can do so safely, another section. Differences along the edge matter. If the heel starts the cut but the tip slips, that suggests a patchy edge or a change in your cutting angle. Keep the non-cutting hand curled back and away from the blade, even during a gentle test.
A tomato cut is more representative of many kitchen jobs than paper, but it still doesn’t deliver a universal sharpness score. Food ripeness, skin tension, blade geometry, and your motion all affect the result. Treat it as one useful piece of evidence, not a pass-or-fail exam.
Check an onion cut for slipping, crushing, or extra force
An onion cut reveals whether your knife can pass through layered produce without excessive force. Set a peeled or unpeeled onion securely on the board, depending on the task you want to judge, and make a controlled slice with light pressure. If the edge skates over the outer layer or crushes the layers before it enters, the knife may be dull, poorly aligned for the cut, or moving at an awkward angle.
For a practical example, notice what happens when you slice an onion for soup. A knife that needs a heavy push can compress the onion and make pieces uneven; a controlled edge lets you guide the blade and keep your fingertips curled safely behind your knuckles. The difference feels a little like using a hand saw with sharp teeth: the tool does more work, so your arm doesn’t have to.
Onions vary in size, firmness, and outer-skin dryness. A dry, papery layer can resist an edge even when the flesh cuts cleanly, so peel it back if it keeps interfering. Then compare how the same knife moves through the inner layers. Use a stable board and stop if the onion rolls.
Tomato and onion results can disagree, and that’s useful information. A knife might start well on tomato skin but drag through dense onion layers, or the reverse. Food texture and blade shape influence each cut, so judge the knife by the jobs you actually do most often.
Read mixed test results instead of chasing one perfect score
No single household test measures every part of knife performance, so combine a visual check with a repeatable cut and look for patterns. A smooth paper slice plus a tomato that crushes under light pressure means the knife handles thin material better than slick produce. If both tests snag at the same section, a localized dull or damaged patch becomes more likely.
Blade geometry, edge angle, steel, wear, food texture, and user technique all affect the result. This is why two knives can behave differently on the same onion, and why a single “sharp or dull” label can hide useful detail. Professional and research settings can measure cutting force or edge performance under controlled conditions, but those measurements don’t translate into one simple score for every kitchen knife.
For a fair home comparison, use the same paper, similar produce, and light pressure. Record what happened in plain terms: “tip cut paper cleanly; middle snagged; tomato skin slipped.” That note is more useful next week than a vague memory that the knife felt fine. A short test log can help you see whether maintenance improves the specific problem.
Don’t make shaving hair your benchmark. It’s a popular stunt, but it risks cuts or skin irritation and says little about how the blade performs on food. You need a knife that starts a controlled cut on your board, not one that wins an unrelated demonstration.
Follow these steps to test a knife without taking shortcuts
A safe sharpness check takes a few consistent steps: inspect the edge, use a paper slice if comfortable, then try a food cut that matches your cooking. Keep your work area stable and your fingers clear. If you’re checking a knife before dinner, take a minute to set the board and choose an intact tomato rather than rushing through a test beside a cluttered sink.
- Secure your setup. Place a cutting board on a dry, stable counter; if it slides, put a damp towel underneath.
- Inspect the edge visually. Under good light, look for chips, rust, rolls, and uneven reflections. Don’t run a finger along the blade.
- Test a section on paper. Hold the sheet by one edge with fingers clear, then make a controlled downward slice. Note snags rather than forcing through them.
- Test on food. Use light pressure on a ripe tomato or onion and watch whether the edge starts cleanly or slips and crushes.
- Compare sections and results. Repeat only as needed, using a stable position. Stop if you lose control or see damage.
These steps give you a repeatable routine, not a laboratory measurement. If you test with the blade at a different angle or press harder each time, the result tells you more about your technique than the edge. Keep the pressure light and let the knife do the work.
After testing, wash and dry the knife, especially if tomato juice or onion residue remains on the blade. Put it away safely rather than leaving it under a towel or in a sink where someone could reach for it unseen.
Choose honing or sharpening based on what you found
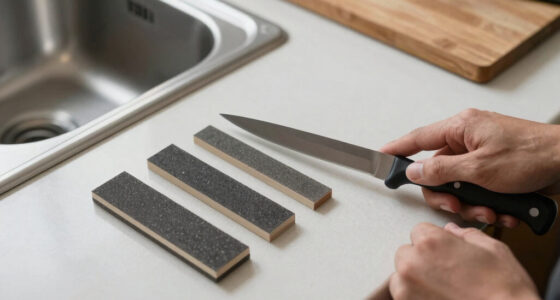
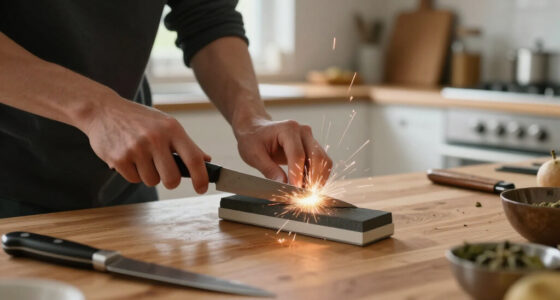
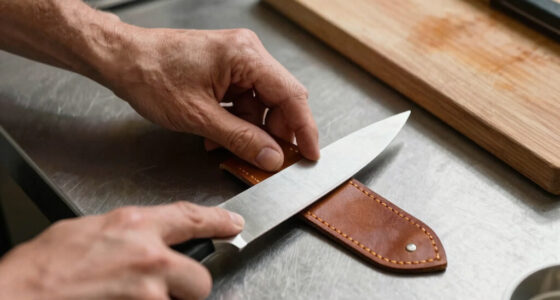
Honing helps maintain or realign an edge, while sharpening removes material to create a new edge. If your knife has gradually lost its easy bite but shows no major chips, a suitable honing method may help. If it remains dull after that, has significant wear, or shows damage, sharpening may be needed; a honing rod cannot repair a chipped or badly worn blade.
For example, a cook who slices vegetables daily might notice the knife slowly starts slipping on onion skin. If the edge is intact and the knife’s maker permits a honing rod, gentle honing followed by another controlled cut can show whether maintenance helped. If a visible nick remains or the tomato test still fails, repeated honing won’t remove the underlying damage.
There is no universal sharpening calendar. How often you sharpen depends on how much you use the knife, what you cut, how you store it, and the blade itself. A knife used daily on a hard surface can lose performance sooner than one used occasionally on wood or plastic. Check performance rather than following a fixed date.
Use a method suited to the knife and follow its manufacturer’s guidance. If you’re unsure how to deal with a deep chip or a specialty blade, ask a qualified knife sharpener. When you finish maintenance, repeat the same tomato or paper test with light pressure so you can compare like with like.
Frequently Asked Questions
What is the easiest way to test a kitchen knife’s sharpness?
The paper test is quick: hold paper by one edge with your fingers clear and make a controlled slice. A tomato or onion test tells you more about how the knife performs on food, so use both if you want a fuller picture.
How can I tell if my knife is dull without touching the edge?
Inspect the edge under good light for chips, rolled spots, rust, or bright flat reflections. Then watch whether a controlled cut snags, slips, or crushes produce; keep your fingers away from the edge throughout.
Is shaving hair a good sharpness test?
No. Shaving hair is unnecessary and potentially unsafe, and the result does not reliably predict how a knife will cut food. Use paper and a stable-board food test instead.
Why does my knife cut paper but not tomatoes well?
Paper and tomato skin challenge an edge differently. A knife can slice paper cleanly yet slip on smooth, taut skin, especially if the tomato is firm or your cutting angle changes.
Should I hone or sharpen my knife?
Honing maintains or realigns an intact edge; sharpening removes material to create a new edge. A chipped or significantly worn blade needs more than a honing rod, and the right approach depends on the knife and its condition.
How often should I sharpen a kitchen knife?
There is no fixed schedule that fits every kitchen. Sharpen when performance declines, based on your use, cutting surface, storage, and knife; use a suitable honing method if the edge remains intact and the maker recommends it.
Can a sharp knife still be dangerous?
Yes. A sharp knife can still injure you, so use a stable board, keep your non-cutting hand clear, and store the blade safely after testing. Sharpness helps the knife cut with less force, but it does not replace careful handling.
Conclusion
Use a visual inspection, a controlled paper slice, and a light food cut to build a practical picture of your knife’s edge. Pay attention to where it slips or snags, and test the kind of produce you actually cook. If the edge is intact, suitable honing may help; worn or damaged steel calls for sharpening.
Keep the board steady, your fingers clear, and your pressure light. A good kitchen knife should move through an onion with quiet confidence, like a well-tuned hand tool doing its share of the work.