
TL;DR
Frothing milk without an electric frother is straightforward with simple tools like jars, French presses, or whisks. Proper heating, technique, and patience can yield café-quality foam, perfect for lattes and cappuccinos anytime.
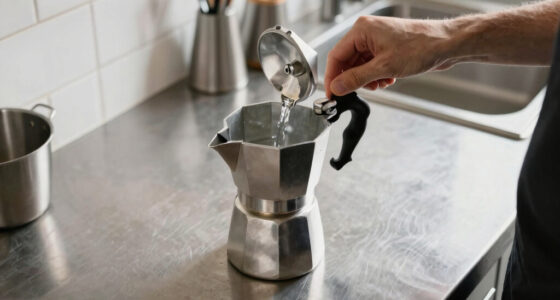
Frothing milk by hand might sound old-fashioned, but it’s surprisingly effective—and satisfying. No need for pricey gadgets or electricity. Instead, you rely on simple tools and a little elbow grease to create that velvety foam you crave on your morning espresso. Whether you’re off-grid or just want more control over your process, mastering manual frothing opens up a world of coffee possibilities.
In this guide, you’ll learn how to turn regular milk into a smooth, creamy cloud using everyday kitchen tools. Expect practical tips, real-world scenarios, and techniques that deliver café-quality results—without the fuss or expense of electric devices.
Manual methods like shaking or French press can produce microfoam comparable to electric frothers, with proper technique.
Heating milk to about 150°F is key for smooth, stable foam—use a thermometer for accuracy.
Choose your tool based on how much effort you want and how fine a foam you need.
Start with cold, fresh milk and add small ingredients like sugar to improve foam stability.
Patience and practice are your best allies for perfect milk foam at home or off-grid.
How to Froth Milk Without an Electric Frother
TL;DR: Café-style foam is possible with simple tools: a jar, French press, whisk, saucepan, or manual pump. The real secret is controlled heat, steady air, and patience. Aim for about 150°F, start with fresh cold milk, and match the tool to the texture you want.
Manual frothing can create fine microfoam comparable to an electric frother when temperature and motion are controlled.
Possible foam volume with strong manual methods.
Warm enough to stabilize bubbles without scalding.
Small bubbles make latte-ready microfoam.
Steady aeration beats wild shaking every time.
What makes milk foam actually work?
Frothing traps tiny air bubbles inside warm milk. Fat, protein, temperature, and technique decide whether the result is silky microfoam or big unstable bubbles. Whole milk and 2% milk are reliable, while newer oat and soy milks can also foam beautifully.
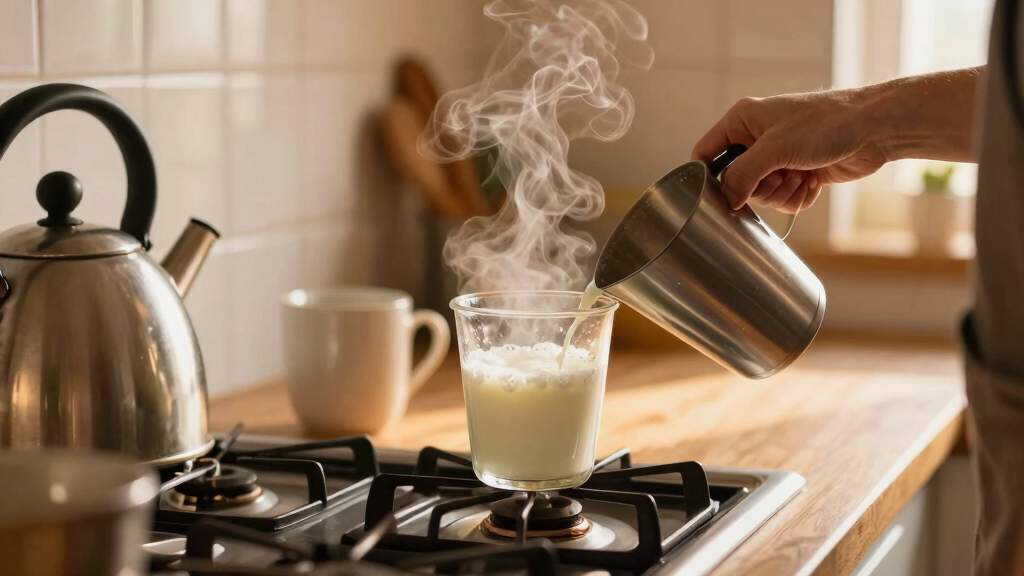
Heat gently, stop early
Milk around 150°F creates stable foam and a sweet flavor. Above 160°F, it can scorch and collapse into coarse bubbles.
Best for texture controlFresh and cold wins
Start from the fridge. Whole milk gives creaminess, 2% balances body and lift, and barista-style oat milk is a strong plant-based option.
Best for foam stabilityAdd air in stages
Shake, pump, or whisk with rhythm. Controlled air creates smaller bubbles, smoother foam, and a better pour for lattes or cappuccinos.
Best for microfoamThe temperature zone for smooth foam

Bodum, Latteo Manual Milk Frother, 8 Ounce, Black
Milk frother manual milk frother creates an airy foam in less that 30 seconds for a Cafe style…
As an affiliate, we earn on qualifying purchases.
As an affiliate, we earn on qualifying purchases.
Choose the tool that matches your coffee style.
Each method trades effort, control, and foam quality differently. A jar is fastest, a French press is most balanced, and a manual pump gives the most consistent café-style texture.
Fast, portable, one-cup foam
Fill a clean jar halfway with cold milk, seal it tight, and shake for 30–60 seconds. Remove the lid and microwave briefly to set the foam.
Fine microfoam with control
Pour warm milk into the press and pump rapidly for 20–30 seconds. The plunger adds air evenly for cappuccinos and small latte batches.
Flexible, technique-driven froth
Whisk hot milk vigorously for about a minute. It takes more effort, but the reward is adjustable foam with no dedicated frothing device.
Simple texture without tools
Warm milk in a saucepan and stir quickly in circles. Expect a lighter top layer rather than dense microfoam, ideal for casual drinks.
Consistent foam for serious cups
A pump-action frother forces air into warm milk with each press. It needs rhythm and arm strength, but gives polished cappuccino foam.
Foam potential by method

Milk Frother, HomeGoal Stainless Steel Manual Milk Foamer, Handheld Coffee Milk Frothing Pitchers,Manual Operated Milk Foam Maker For Cappuccino Coffee Latte Hot Chocolate(14-Ounce/400ml)
Milk frother can creates a frothy rich foam for topping delectable hot or cold beverages in 60 seconds…
As an affiliate, we earn on qualifying purchases.
As an affiliate, we earn on qualifying purchases.
Which manual frother suits your style?
Pick the method by occasion: speed for a weekday cup, control for microfoam, or consistency for repeatable cappuccinos.
| Method | Ease | Foam Quality | Best For | Microfoam | Tradeoff |
|---|---|---|---|---|---|
| Jar Shake | High | Good, larger bubbles | Single cup, quick froth | ~ decent | Simplicity over precision |
| French Press | Medium | Very fine microfoam | Rich cappuccinos, small batches | ✓ strong | Needs a press and rhythm |
| Whisk | Medium | Varies by technique | Flexible, quick use | ~ variable | Requires steady effort |
| Stovetop Stir | Low | Light airy top layer | No special tools | ✗ limited | Least refined texture |
| Manual Pump | Low | Consistent microfoam | Serious foam lovers | ✓ strong | Needs strength and cadence |

Zulay Kitchen Milk Frother Handheld Electric Whisk – Frother Wand, Durable Drink Mixer, Coffee Frother, Hand Blender, Frother for Protein Powder, Matcha & More – Black
CREAMY VELVETY FROTH IN SECONDS: Making coffee-shop-style recipes at home is as simple as it can be with…
As an affiliate, we earn on qualifying purchases.
As an affiliate, we earn on qualifying purchases.
Perfect foam is a five-step ritual.
The best manual foam comes from a calm sequence: cold milk, gentle heat, steady aeration, a brief rest, and a controlled pour.
Start cold
Use fresh milk straight from the fridge for denser, more stable froth.
Warm gently
Heat toward 150°F and stop before boiling or scalding.
Aerate steadily
Shake, pump, or whisk with rhythm rather than force.
Let it settle
Rest the foam briefly so larger bubbles rise and weaken.
Pour low
Spoon or pour slowly for a creamy cap on coffee, cocoa, or matcha.
Overheating
Past 160°F, milk loses sweetness and foam becomes coarse or flat.
Wild shaking
Too much force creates spills and large bubbles instead of silky foam.
Old milk
Warm or stale milk usually froths poorly. Fresh and cold is the better start.
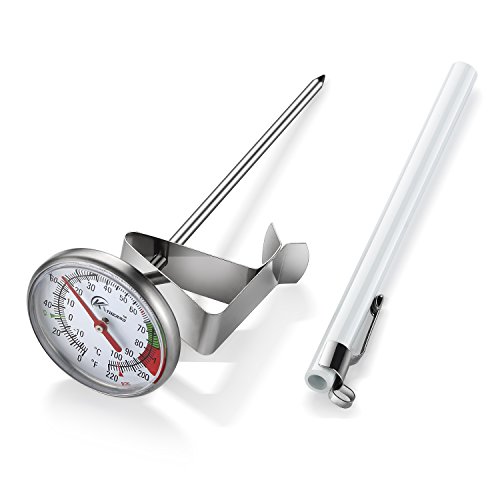
KT THERMO Instand Read 2-Inch Dial Thermometer,Best for The Coffee Drinks,Chocolate Milk Foam
DESIGN:Multi-stage design of the fixed clip, adjust the thermometer read the location of the disk surface to facilitate…
As an affiliate, we earn on qualifying purchases.
As an affiliate, we earn on qualifying purchases.
From plain milk to café texture.
Manual frothing works because each choice affects the next: milk composition, heat, aeration, bubble size, and final drink texture.
Can non-dairy milk froth manually?
Yes. Oat, soy, and some almond milks work well, especially barista-style versions designed for foam stability.
What is the easiest method?
The jar shake is simplest: fill halfway, seal, shake for 30–60 seconds, then warm briefly to set the foam.
Can I make microfoam at home?
Yes. A French press or manual pump gives the best chance of fine, stable microfoam without electricity.
What makes milk foam so good, and how can you get it right by hand?
Milk foam is all about trapping tiny air bubbles within heated milk, creating a silky, velvety texture. The key is introducing air gradually and controlling temperature. When done well, even simple methods like shaking can produce microfoam that’s just as creamy as machine-made froth. For example, heating milk to around 150°F (65°C) helps the foam stick together, giving that smooth mouthfeel you want in your latte.
Choosing the right milk matters, too. Whole milk or 2% tends to froth better because of its fat content, which stabilizes the bubbles and creates a creamier foam. However, some plant-based options like oat or soy milk now froth beautifully as well, thanks to their composition. The trick is in technique—whether you’re whisking, shaking, or pumping air—and understanding how each method influences bubble size, foam stability, and texture. Proper control over these factors determines whether your foam is velvety microfoam or larger, less desirable bubbles. Recognizing why these differences matter helps you adjust your process for optimal results, especially when aiming for a specific coffee style like a cappuccino or latte art.
5 foolproof ways to turn milk into foam without plugging in
- Jar Shake: Fill a clean jar halfway with cold milk, screw the lid tight, and shake vigorously for 30-60 seconds. Removing the lid and microwaving the jar for 30 seconds helps to stabilize the foam, as heat causes the bubbles to expand and set, resulting in a creamier, more durable froth. This method is quick, portable, and perfect for one cup, but it requires careful shaking to avoid spills and over-aeration, which can lead to large, unstable bubbles. The tradeoff is simplicity versus control—shaking is easy but less precise than other methods.
- French Press Pump: Pour heated milk into a French press, then pump the plunger up and down rapidly for 20-30 seconds. The motion injects air into the milk, creating a rich foam. Because the pressure and motion are more controlled than shaking, this method produces finer, more stable microfoam suitable for latte art or cappuccinos. The tradeoff is that it requires a bit more effort and a dedicated tool but offers better consistency and foam quality, especially with milk that has higher fat content.
- Whisk or Hand Frother: Use a manual whisk or a hand-held frother to whisk hot milk vigorously for about 30 seconds to a minute. The rapid movement introduces air and aerates the milk, but the quality of foam depends heavily on technique and patience. A good whisk can produce decent microfoam when used correctly, but it demands sustained effort. The tradeoff here is between effort and control—more effort can yield better foam, but it takes practice to master the motion for consistent results.
- Stovetop and Stir: Heat milk gently in a saucepan until steaming, then vigorously stir or whisk in a circular motion. While this method doesn’t produce microfoam, it can create a light, airy top layer with some foam. It’s useful when you lack specialized tools but want a quick froth for a casual drink. The tradeoff is in foam fineness; it’s less refined than other methods but still adds a pleasing texture to your beverage.
- Pump-Action Frother: Use a manual pump frother, similar to a small bike pump, which you press repeatedly into heated milk. This method forces air into the milk with each pump, creating microfoam similar to electric frothers. It requires effort but offers consistent results and is portable. The tradeoff is that it takes some strength and rhythm but rewards you with professional-looking foam, especially if you aim for latte art or a silky cappuccino.
Compare your options: Which manual frother suits your style?
| Method | Ease | Foam Quality | Best For |
|---|---|---|---|
| Jar Shake | High | Good, with large bubbles | Single cup, quick froth |
| French Press | Medium | Very fine microfoam | Rich cappuccinos, small batches |
| Whisk | Medium | Varies, depends on technique | Flexible, for quick use |
| Stovetop Stir | Low | Light, airy top layer | Simple, no special tools |
| Manual Pump Frother | Low | Consistent microfoam | Serious foam lovers |
How to get perfect foam every time: tips from the manual pros
Start with cold, fresh milk straight from the fridge. Warm it gently to around 150°F before frothing—use a thermometer if you can. Whisk or shake steadily, not wildly—it’s about introducing air gradually. Patience pays off: lift your froth after about 30 seconds of vigorous effort, then let it rest for a moment before pouring.
For milk with better microfoam, try adding a tiny pinch of sugar or a splash of vanilla before frothing. These ingredients help stabilize bubbles and improve creaminess. Remember, practice makes perfect—each batch gets smoother as your hand gets steadier.
Don’t make these common mistakes—avoid ruining your foam
Overheating milk beyond 160°F causes large bubbles and a scorched flavor. Use a thermometer or stop when it’s steaming hot but not boiling. Shaking too hard or too long can spill milk and create large, uneven bubbles instead of fine foam. Be gentle with your stirring or pumping.
Using old or warm milk reduces foam quality. Cold milk from the fridge creates a better, denser froth. Also, avoid using non-dairy milks with stabilizers or thickeners that don’t froth well—try different brands or recipes for best results. Understanding these pitfalls helps you troubleshoot and refine your technique, ultimately leading to more consistently satisfying foam.
Frequently Asked Questions
Can I froth non-dairy milk without an electric frother?
Absolutely. Many plant-based milks like oat, soy, and almond froth well manually. Just heat them gently and use a jar, French press, or whisk to introduce air. Some brands even produce specially formulated non-dairy milks that foam better than traditional cow’s milk.
What’s the easiest method for frothing milk without electricity?
The simplest is the jar shake. Fill a jar halfway with cold milk, screw on the lid, then shake vigorously for about 30-60 seconds. Microwave the jar briefly afterward—about 30 seconds—to set the foam. It’s fast, portable, and requires no special tools.
How hot should the milk be for good froth?
About 150°F (65°C) is ideal. Use a thermometer for best control. Over 160°F, milk tends to scorch and produce larger bubbles, which ruins microfoam. Aim for steaming hot but not boiling.
Can I make microfoam at home without a fancy machine?
Yes. Techniques like using a French press or a manual whisk can produce very fine microfoam. The key is rapid, steady motion—pumping the French press or whisking vigorously for at least 20-30 seconds. The tradeoff is that achieving perfect microfoam requires patience and consistent effort, but with practice, these methods can rival electric frothers in quality.
Any quick tips for better manual frothing?
Use cold, fresh milk straight from the fridge. Warm it gently to 150°F before frothing. Introduce air gradually—don’t rush—and practice your motion. Small tweaks, like adding a pinch of sugar, can improve foam stability and creaminess. Understanding these nuances helps you produce consistently better foam and elevates your manual frothing skills.
Conclusion
Frothing milk without power tools is about knowing your tools and controlling the process. A simple jar, French press, or whisk can turn plain milk into a velvety cloud—no electricity required. With a little practice, you’ll get that perfect, creamy froth every time, whether for a cozy morning or a spontaneous coffee break.
So next time you crave a latte, remember: your own hands and some basic tools can produce barista-quality foam. That’s skill, simplicity, and independence—all in one cup.