
TL;DR

Get kitchen gear delivered free with Prime
- Fast, free delivery on millions of items
- Prime Video, Amazon Music and more included
- Member-only deals all year
A proper grit progression involves starting with coarse stones to reshape, then moving to medium for refinement, and finishing with fine grit for polishing. This method ensures a sharp, long-lasting edge—think of it as sculpting with different sandpapers for smoothness and precision.
Ever grabbed a dull knife that struggles to cut through a tomato? That frustration ends with the right sharpening routine. A whetstone grit progression isn’t just about making your knife sharper—it’s about doing it efficiently, with less effort and more control.
Think of it like sanding wood: start with rougher grit to shape, then finer grit to smooth. Applying this idea to your blades transforms an ordinary sharpening session into a precise craft, giving you edges that slice effortlessly and last longer.
Always begin with a coarse grit to fix major damage or reshape dull blades.
Progress through medium to fine grits to refine and polish the edge for sharpness and durability.
Maintain consistent angles and strokes across all grit stages for best results.
Regularly flatten your whetstone to keep the grit surfaces even and effective.
Match your grit progression to the blade’s condition and your sharpening goals for optimal results.
How to Use a Whetstone Grit Progression
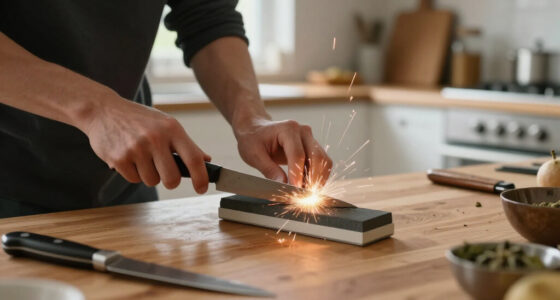
Treat sharpening like sculpting: shape with coarse abrasive, refine with medium grit, then polish with fine grit. The deliberate sequence removes damage efficiently, preserves blade life, and produces an edge that cuts cleanly and stays sharp.
Each stone removes the scratch pattern left by the one before it.
Consistent angle, pressure, and strokes matter more than speed.
Do not remove more metal than the blade actually requires.
Three grits. Three distinct jobs.
A lower grit number means larger abrasive particles and faster metal removal. Higher numbers create progressively finer scratch patterns. Move forward only after the current grit has completed its job.
Shape
200–400 gritRepair chips and nicks, reset the bevel, and reshape a badly dulled edge. Skip this stage when the blade only needs routine maintenance.
Refine
800–2000 gritRemove coarse scratches, establish a clean apex, and create a practical working edge for most kitchen cutting tasks.
Polish
3000–8000 gritReduce the burr and smooth the bevel with gentle strokes. The result is a cleaner, more precise and highly polished edge.
As grit rises, cutting speed decreases while surface refinement increases. A fine stone cannot efficiently erase deep damage that belongs on a coarse stone.
A repeatable sharpening routine
Prepare the correct lubricant for your stone, keep the bevel angle stable, and use the evidence on the edge—not the clock—to decide when to advance.
Inspect
Look for chips, flat spots, severe dullness, or a merely tired edge. The blade’s condition determines the starting grit.
Choose, don’t guessSet the edge
For damage, begin at 200–400 grit. Use roughly 10–15 controlled strokes per side with even pressure and a fixed angle.
Raise a consistent burrRefine
Move to 800–2000 grit. Repeat the angle and stroke pattern until the coarse scratches are replaced by a finer, even finish.
Erase prior scratchesPolish
Finish at 3000–8000 grit with lighter, sweeping strokes. Alternate sides near the end to minimize the remaining burr.
Reduce pressureValidate
Test with paper or a tomato. The blade should enter cleanly without tearing, crushing, snagging, or excessive force.
Stop when completeAdvance when the damage is gone, the scratch pattern is uniform, and the burr is consistent or minimized for that stage. Changing grits too soon carries unresolved defects into every later step.
Not every blade needs the full ladder.
Starting too fine wastes time on damage. Starting too coarse on a healthy blade removes unnecessary steel. Use this condition-based guide.
| Blade condition | Coarse 200–400 |
Medium 800–2000 |
Fine 3000–8000 |
Recommended route |
|---|---|---|---|---|
| Chipped or badly damaged | ✓ Required | ✓ Required | ~ Optional | 400 → 1000 → 6000 |
| Very dull, no major chips | ~ As needed | ✓ Required | ✓ Finish | 800 → 2000 → 4000 |
| Routine kitchen maintenance | ✗ Skip | ✓ Start here | ✓ Finish | 1000–2000 → 4000–8000 |
| Light touch-up | ✗ Skip | ~ Optional | ✓ Start here | 3000–6000 only |
Every stage must hand off cleanly.
The progression works as a connected system. Technique and stone condition influence every link, from diagnosis to final cutting performance.
Flatten the stone regularly
Check after every few uses. A dipped surface changes the contact angle and creates an inconsistent bevel. Use a lapping plate or suitable flattening stone when unevenness appears.
Use the proper lubricant
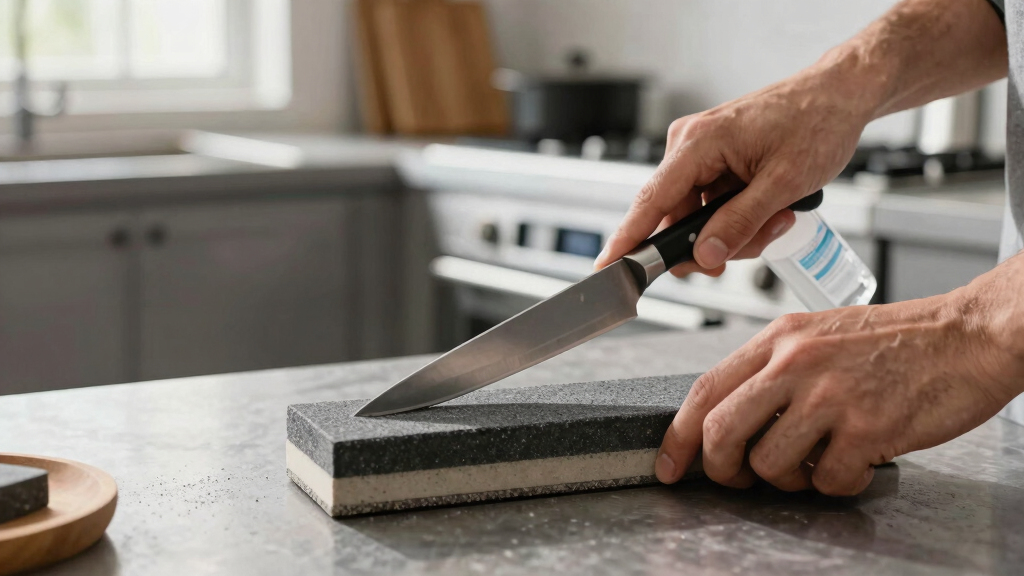
Water or oil—depending on the stone—carries away swarf, limits loading, and keeps fresh abrasive exposed. Follow the stone manufacturer’s requirements and never mix oil into a water stone.
Choose stones by workflow
Synthetic stones offer predictable grit and consistency. Hybrid combination stones simplify progression, while diamond stones cut quickly and excel at coarse repair and flattening.
Do not chase polish too early
A mirror finish cannot compensate for an edge that never reached a clean apex. Resolve damage and coarse scratches before using a high-grit finishing stone.
Sharpening questions, resolved.
When should I move to the next grit?
Move on when the current scratch pattern is even, damage is removed, and the burr is controlled across the full edge.
Can I skip grits?
Yes for a light touch-up. A damaged or heavily dulled blade benefits from the complete progression because each stage solves a different problem.
What works for most kitchen knives?
For routine sharpening, start around 1000–2000 grit and finish around 4000–8000. Add 200–400 only for repair or reshaping.
How do I know the edge is finished?
It should slice paper or tomato skin smoothly with minimal force. Stop once performance is clean; unnecessary polishing adds wear without guaranteed benefit.
What a Whetstone Grit Progression Actually Is (And Why It Matters)
Whetstone grit progression is a planned sequence of abrasive sizes to sharpen a knife from dull to razor-sharp. The grit number indicates particle size: lower numbers are coarser, higher are finer. Using the right order—coarse, medium, then fine—ensures you remove damage efficiently and finish with a polished edge.
Understanding why this sequence matters helps you appreciate the nuances of sharpening. Starting with coarse grit is essential because it quickly removes nicks, dents, or material damage—think of it as the rough sculpting phase. Skipping this step or starting with a fine grit can trap imperfections, making subsequent sharpening less effective and more time-consuming. Moving to finer grits then refines the edge, smoothing out the scratches from previous stages and polishing the surface for a razor-sharp finish. This progression balances material removal with finishing quality, ensuring your blade is both functional and aesthetically refined. The tradeoff is that rushing through grits or choosing improper sequences can lead to uneven edges, increased wear, or a less durable sharpness, which diminishes the longevity of your tool.
As an affiliate, we earn on qualifying purchases.
Why You Need to Start with Coarse Grit and Finish with Fine Grit
Starting with coarse grit (around 200-400) is like roughing out a sculpture—quickly shaping the blade and fixing major damage. Moving to medium (800-2000) refines the shape, smoothing out scratches. Finishing with fine grit (3000-8000) polishes the edge, giving it the sharpness and polish of a mirror.
For example, if your kitchen knife has chips or nicks, begin with a 400-grit stone. Once the edge is reshaped, switch to a 1500-grit to smooth out the scratches. Finish with an 8000-grit for that razor-sharp, polished look.
Choosing the correct sequence is crucial because each grit serves a specific purpose: coarse grits remove damage and reshape, medium grits refine the profile and eliminate coarse scratches, and fine grits polish the edge for smoothness and cutting efficiency. If you skip or misuse these stages, you risk leaving behind scratches or unevenness that compromise cutting performance and durability. Moreover, starting with a grit that’s too fine for a damaged blade can prolong the process and fail to correct deep imperfections. Conversely, using coarse grit on a well-maintained blade might be unnecessary and could remove more metal than needed, reducing the lifespan of your blade. Therefore, understanding the role of each grit helps you optimize your sharpening process, balancing efficiency with blade longevity.
As an affiliate, we earn on qualifying purchases.
Step-by-Step: How to Progress Through Grits Without Messing Up
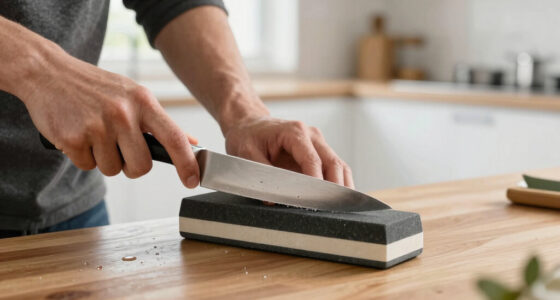
- Start with a coarse grit (200-400) if your blade is dull or damaged. Use about 10-15 strokes per side, maintaining a consistent angle. This step is critical because it resets the edge and prepares it for refinement; neglecting it can leave damage behind, forcing you to redo steps later.
- Move to a medium grit (800-2000). Repeat the same number of strokes, focusing on removing the scratches from the coarse grit. This stage refines the shape and smooths out the roughness, which directly impacts cutting performance and the ease of finishing.
- Finish with a fine grit (3000-8000). Use gentle, sweeping strokes to polish the edge, checking for burrs and smoothness. This final step enhances cutting precision and creates a surface that resists dulling, but only if previous stages have been properly completed.
- Periodically check your edge’s sharpness by slicing through paper or a tomato. When the blade effortlessly cuts with minimal effort and burrs are minimized, your grit progression is complete. Skipping this validation can lead to over-polishing or incomplete sharpening, reducing edge lifespan.
For example, after reshaping a battered paring knife with coarse grit, you might switch to 1000, then finish with 6000 grit for a polished, razor-sharp edge. This deliberate sequence ensures each stage builds on the previous one, resulting in a finely honed blade that performs well and lasts longer.
As an affiliate, we earn on qualifying purchases.
Frequently Asked Questions
How do I know when to move to the next grit?
When the edge feels smooth and burrs are minimized after testing, it’s time to upgrade to a finer grit. Using paper or slicing a tomato can help gauge sharpness.Can I skip grits for quick touch-ups?
Yes, for minor dullness, you might only need a medium or fine grit. But for heavily dulled or damaged blades, following the full progression yields better, longer-lasting results.What grit should I start with for a very dull or damaged knife?
Begin with a coarse grit, around 200-400, to reshape and remove chips. Once the damage is fixed, move to finer grits for refinement.How often should I flatten my whetstone?
Check your stone after every few uses. Flatten if you notice dips or uneven surfaces—this keeps grit exposed and consistent, ensuring effective sharpening.What’s the best grit progression for kitchen knives?
Usually, starting at 1000-2000 grit and finishing with 4000-8000 grit gives a sharp, polished edge suitable for most kitchen tasks.As an affiliate, we earn on qualifying purchases.
Conclusion
Think of grit progression as sculpting your knife into a work of art—each stage carefully shaping and polishing. Skip steps, and you risk a dull, uneven edge that won’t last. Follow the sequence, practice patience, and your blades will cut like new, every time.
Remember: a good edge isn’t just about speed; it’s about precision and care. Your sharpest tools depend on a thoughtful grind—so sharpen with purpose, not haste.
Halloween Picks
halloween
As an affiliate, we earn on qualifying purchases.