
TL;DR

Get kitchen gear delivered free with Prime
- Fast, free delivery on millions of items
- Prime Video, Amazon Music and more included
- Member-only deals all year
Replace each water filter element according to the system’s time or capacity limit, because service life depends on the cartridge, water quality, and how much water you use. Shut off and depressurize the system as its manual directs, fit the exact compatible element, flush it as instructed, and check carefully for leaks. A new cartridge only addresses the contaminants its specific type and certification cover.
A filter can look clean on the outside while its cartridge is already past the service limit printed in the manual. That matters in a hand-powered kitchen or a house on stored water: a clogged element can slow every pot you fill, while an exhausted one may no longer perform as intended. Replacing water filter elements on schedule keeps maintenance tied to the system’s design instead of guesswork.
This guide shows you how to find the right replacement interval, identify the correct element, and work through a careful change without turning a small task into a wet cabinet. You’ll also learn what a replacement can and cannot do. A fresh carbon cartridge may improve taste, for example, but it does not automatically make unsafe water safe to drink. Match the filter to the water problem, then keep a simple record of when you serviced it.
Use the manual’s time or volume limit for the exact system, and follow whichever limit arrives first.
Match a replacement by model, intended use, and relevant certification claims; similar dimensions do not prove equivalent performance.
Shut off and depressurize as directed, inspect seals, restore water slowly, flush as instructed, and check for leaks.
Treat slow flow, changed taste, odor, or an alert as prompts to inspect the system, not proof of contaminant removal.
Record each stage’s replacement date separately, especially in multi-stage or off-grid systems.
Replacing Water Filter Elements A practical guide
Use the schedule for your exact system, fit the right element, and follow the manual through flushing and leak checks. A replacement maintains intended performance; it does not expand what the filter is designed to remove.
Know what each element does
Filter types perform different jobs, so match the element to the water concern and its tested claims.
Sediment
Catches grit and other particles; it is not a general-purpose safety treatment.
Activated carbon
Can reduce certain substances that affect taste and smell. It does not automatically make unsafe water safe.
RO and UV
Reverse osmosis membranes and UV lamps have different functions and model-specific service instructions.
Set the replacement interval
Use the manufacturer’s time or treated-water capacity limit for the exact model. If both apply, replace the element when the first limit is reached.
- Check the system manual and element capacity.
- Account for water quality and household use.
- Track each stage separately in multi-stage systems.
- Slow flow, changed taste or odor, and service alerts prompt an inspection.
- A timer or flow meter may track time or volume, not contaminant removal.
- These clues do not replace the rated schedule or water testing.
Replace the element carefully
The manual takes priority because housings, valves, and pressure-release methods vary.
Match the model, size, intended use, and relevant certification claims.
Follow the system’s instructions before opening the housing.
Remove the old element, inspect seals, and seat the new element in the correct orientation.
Restore water slowly, check for leaks, flush as instructed, reset any indicator, and record the date.
Know what your filter can actually remove
Replacing water filter elements maintains a system’s intended performance, but it does not change what that system was designed to remove. Different elements capture particles, reduce certain chemicals, or improve taste and odor; the cartridge type and its tested claims tell you which job it does. A sediment element, an activated carbon cartridge, a reverse osmosis membrane, and a UV lamp are not interchangeable tools.
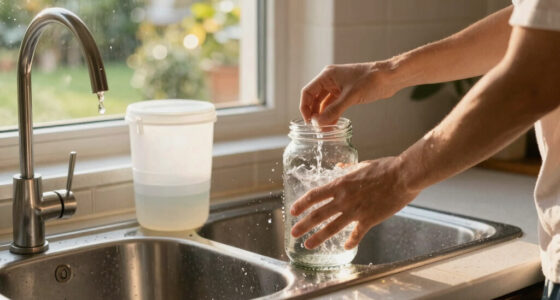
Think of a filter as a sieve built for a particular job. A sediment element can catch grit that clouds a jar, while activated carbon can reduce certain substances that affect taste and smell. A UV component treats water differently and is not a conventional cartridge. If your well water has a safety concern, a standard taste filter should not be treated as proof that the water is drinkable.
Before buying a replacement, read the system label and manual for the contaminant claims and certification. Some products carry NSF/ANSI certifications, but the relevant standard and specific reduction claim matter; certification does not mean a filter removes every contaminant. For example, if a cabin’s water tastes earthy after heavy rain, first identify whether the installed element is rated for the issue you want to address. Good taste alone is not a water test.
Products Worth Considering

Philips Café Aromis Automatic Espresso Machine with LatteGo Pro Milk System

Ninja Mega Kitchen System Blender and Food Processor, 1500W, 72-oz Pitcher, 8-Cup Bowl, Black (BL770)

Weber Searwood XL 600 Wood Pellet Smoker Grill, 36 inches, Black
As an affiliate, we earn on qualifying purchases.
Use the maker’s schedule instead of guessing
There is no universal replacement interval for every filter element. Your manufacturer may set a time limit, a treated-water volume, or both, and the actual service life varies with incoming water quality, household use, and cartridge capacity. Follow the schedule for your exact model rather than borrowing a neighbor’s rule of thumb.
Imagine two households using the same cartridge: one has clear municipal water and fills a few glasses a day; the other draws from a sediment-heavy source and cooks for a large family. Their elements face different workloads, even if both installed them on the same date. A manual might state a number of months or a gallon limit; if it gives both, treat them as separate limits and replace the element when the first one is reached.
A timer or flow meter can help you keep track, but it may measure elapsed time or volume rather than directly detect contaminant removal. A sudden drop in flow, a changed taste or odor, or a service alarm is a reason to inspect the system and consult its instructions. Those signs do not replace the rated interval. Keep a pencil note inside the cabinet with the installation date and meter reading, so the next change is based on a record rather than memory.
Replace an element without flooding the cupboard
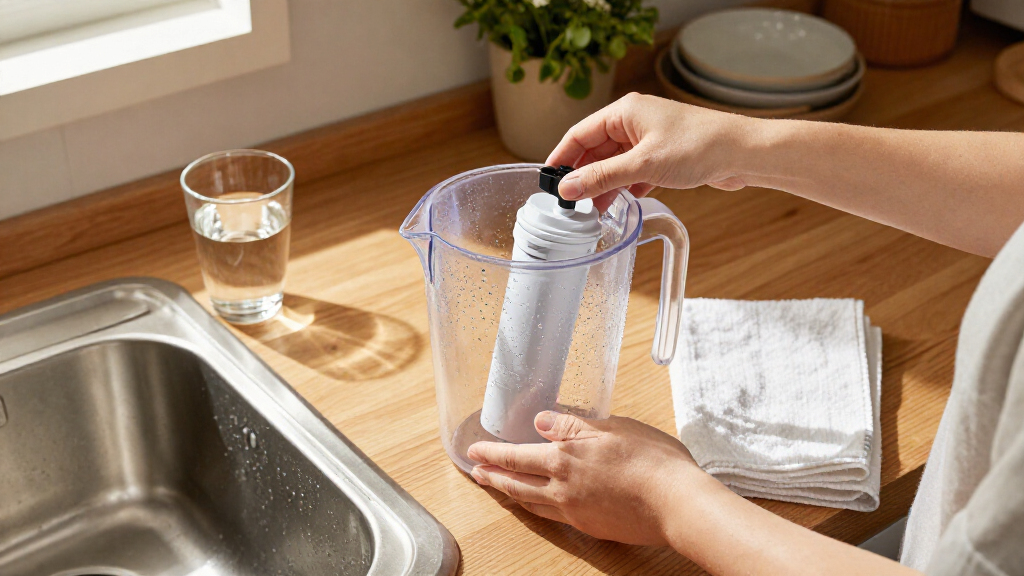
To replace a cartridge, identify the exact part, shut off and relieve pressure as directed, remove the old element, inspect the housing and seals, install the new one in the correct orientation, then restore water slowly and flush it. Your manual takes priority because housings, valves, and pressure-release methods differ. Set a towel and a shallow bowl under the housing; even a tidy system can hold standing water.
- Confirm the replacement: compare the model number, size, and intended use with the system manual.
- Shut off and depressurize: use the specified valve and release pressure in the way the manual describes.
- Remove the old element: open the housing carefully and catch water that drains out.
- Clean and inspect: clean the housing only if the maker permits it, and look for damaged or displaced seals.
- Fit and flush: install the element with its seals seated and orientation correct, then restore water slowly and flush as instructed.
For example, if you feel resistance while tightening a housing, stop and check the seal instead of forcing the cap. A pinched seal can lead to a slow leak that appears hours later. Once flow returns, dry the fittings and check again after a few minutes. Reset the service indicator if the model has one, and write down the date. Some systems require sanitizing or special tools; follow their model-specific steps rather than improvising.
Read slow flow and odd taste as useful clues
A change in flow, taste, odor, or clarity can tell you to check the filter, but none of those signs proves by itself that the water is safe or unsafe. A clogged element may slow a stream to a thin trickle, while a new cartridge can release trapped air and make water look cloudy for a short time. The right response depends on how the system behaves and what its manual says.
Suppose you install a fresh cartridge and the first glass looks milky. Some cartridges need flushing, and air bubbles can make water appear cloudy; follow the stated flush volume or duration and see whether the appearance clears. If it stays cloudy, flow remains poor, or a leak appears, stop and check the cartridge seating, seals, and installation instructions. Do not keep running water through a system that is visibly leaking into a cabinet.
A persistent change in taste or odor also deserves attention, especially if the water source itself has changed after flooding, repairs, or a long period of disuse. Replacing the cartridge may address a taste issue only when the element is rated for it. If you have a water-quality concern, check local health guidance or contact a qualified water professional. Filter maintenance is not a substitute for testing when the safety of the source is uncertain.
Replace each system stage on its own schedule
In a multi-stage system, each component can have a different service life, so replacing everything at once is not always necessary. A reverse osmosis setup may use several prefilters and a membrane with separate schedules. A UV system uses a lamp that needs model-specific replacement and cleaning instructions; it is not a cartridge you can swap by feel.
| Component | Typical role | What to check |
|---|---|---|
| Sediment element | Captures particles such as grit | Its model schedule and changes in flow |
| Activated carbon | Can reduce certain chemicals and improve taste or odor | Its tested claims, time or volume limit, and flush directions |
| Reverse osmosis membrane | Performs a distinct separation step in an RO system | The system’s separate membrane schedule |
| UV lamp | Provides UV treatment rather than cartridge filtration | Model-specific lamp and cleaning instructions |
For a kitchen with a three-stage system, mark each change on the same calendar but give each stage its own date. That way you won’t discard a newer element just because another stage is due. Use only a replacement rated for the same intended function, and check the warranty terms if you are considering a compatible third-party part. Similar shape does not automatically mean similar performance.
Build a simple maintenance record that survives a power outage
A durable maintenance record makes replacement easier when a digital reminder stops working or you forget when the last change happened. Write down the element model, installation date, water meter reading if relevant, and the next limit from the manual. Keep the note where you can find it, such as inside the cabinet door or with the system booklet.
Imagine the power is out at a rural home and the app-connected monitor is offline. A paper card still tells you that the carbon element went in during April and that the manual sets both a time and volume limit. That small record can prevent you from treating an indicator as the only authority. Smart reminders and delivery programs can reduce the chance of forgetting, but their value depends on accurate data and a compatible replacement arriving when needed.
Store a spare only if it is sealed and kept under the conditions specified by its manufacturer. Before installing it, confirm the wrapper is intact, the part number matches, and the system has not changed. For old cartridges, follow local waste guidance and the maker’s instructions; do not assume an ordinary recycling bin accepts them. A simple date card is not glamorous, but in a manual kitchen it is a reliable tool—like a pencil mark on a jar lid that tells you what’s inside.
Frequently Asked Questions
How do I know when to replace my water filter element?
Check the manual for the element’s time limit, treated-water capacity, or both, and follow the first limit you reach. Reduced flow, a taste or odor change, or a service alert can prompt an inspection, but these signs do not replace the rated schedule.
Can I keep using a cartridge after its rated life?
Follow the stated time or volume limit rather than extending service based on appearance. An overused element can clog or perform outside the conditions under which the system was designed and tested.
Can I use a compatible third-party replacement?
Check that the replacement fits the exact system and carries claims suited to the same intended use. Review its relevant certification and your system’s warranty terms; a cartridge that physically fits may still have different performance.
Why is my water cloudy or slow after replacing a filter?
Some new cartridges release air or need a specified flush, which can briefly affect appearance or flow. Follow the manual’s flushing directions, then check installation, orientation, and seals if the problem continues or a leak appears.
Do I need to replace every stage at the same time?
No. Stages can have different service lives, and reverse osmosis components may follow separate schedules. Record each stage’s date and replace it according to its own instructions.
Does a new filter make any water safe to drink?
No single replacement guarantees that water is safe for every use. The answer depends on the source and on the system’s tested capabilities for specific contaminants; contact local health authorities or a qualified water professional if you have a safety concern.
Conclusion
Replace each element by its own schedule, using the exact part and the instructions for your system. Then flush it as directed, check for leaks, and write down the date while the job is fresh in your mind. A clean stream and a well-kept record belong together: one serves the next pot of water, the other helps you know when to tend the filter again.