
TL;DR
Cleaning and adjusting your hand coffee grinder is straightforward and essential. Regular maintenance prevents flavor contamination, keeps burrs sharp, and ensures consistent grind size for perfect brewing results.
Clean your grinder weekly using a soft brush, rice, or compressed air to prevent flavor contamination.
Inspect burrs every 6-12 months; replace them when they become dull or chipped for consistent grind quality.
Make small, incremental adjustments—quarter turns—and test brew to dial in your perfect grind for each brew method.
Avoid forcing parts or using harsh chemicals; gentle handling maintains the grinder’s longevity.
Understand your adjustment system—knobs, stepped settings, or micro screws—to make precise, repeatable changes.
How to Clean Your Hand Grinder Without Damaging It
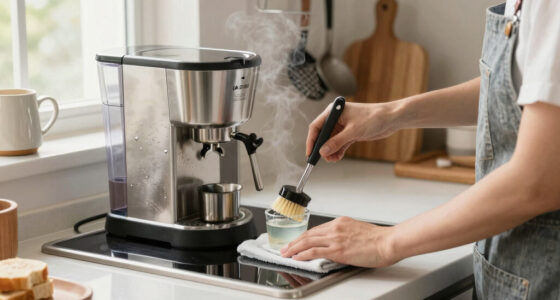
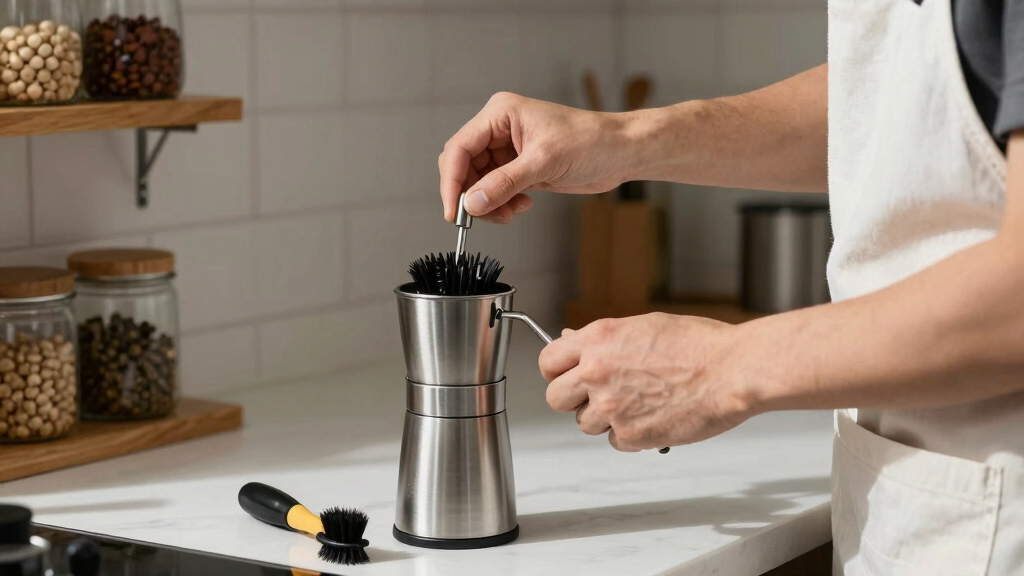
Cleaning your hand grinder regularly is the key to fresh, flavorful coffee and longer-lasting burrs. The goal is to remove coffee oils, dust, and residue without harming delicate parts. A few simple tools—like a soft brush, rice, or compressed air—are all you need.
Start by disassembling the hopper and removing the burrs. Use a small, soft brush to sweep away loose grounds. For stubborn oils, pour a handful of dry rice into the burr chamber, turn the handle a few times, then brush away the rice and residue. This process is effective because rice acts as a gentle abrasive, lifting oils and particles without damaging metal burrs. Avoid harsh chemicals unless specified by the manufacturer, as they can damage internal parts or leave residues that affect flavor.
Once cleaned, wipe external surfaces with a damp cloth. Reassemble carefully, ensuring all parts fit snugly. Doing this weekly for daily brewers keeps your grinder free of buildup and flavor contamination.
manual coffee grinder cleaning brush
As an affiliate, we earn on qualifying purchases.
As an affiliate, we earn on qualifying purchases.
When and How to Replace Your Burrs for Consistent Grinding
Burrs are the heart of your grinder. Over time, they dull or chip, leading to uneven grind sizes and poor extraction—think of it like sharpening a knife; dull blades struggle to cut evenly, resulting in inconsistent flavor extraction. The typical lifespan of burrs in a manual grinder is 1-2 years with regular use, but this can vary based on usage intensity and bean hardness. Signs you need new burrs include increased effort to grind, noticeable variation in particle size, or visual wear such as rounded or chipped edges.
To check burr condition, remove the burr set and inspect the edges closely—sharp, well-defined edges produce more uniform grounds. If the edges are rounded, chipped, or you notice a significant drop in grind consistency, it’s time to replace them. Using dull burrs forces you to apply more pressure, which can accelerate wear and even damage the grinder mechanism. Replacing burrs involves unscrewing the old set and installing the new, but it’s crucial to follow manufacturer instructions carefully—improper installation can lead to misalignment, affecting grind uniformity. Regular inspection and timely replacement ensure your coffee remains flavorful and your grinder continues to perform reliably, much like maintaining a precision tool for consistent results.
burr coffee grinder replacement burrs
As an affiliate, we earn on qualifying purchases.
As an affiliate, we earn on qualifying purchases.
How to Dial in Your Grind Settings for Different Brewing Styles
Adjusting your grinder’s settings is straightforward but requires small, deliberate turns. Whether you’re brewing espresso, French press, or AeroPress, the right grind makes all the difference. For example, a grind suitable for espresso should be extremely fine—almost like powdered sugar—because pressure forces water through quickly, extracting maximum flavor in a short time. Conversely, a French press requires a coarse, chunky grind that allows water to steep without passing through too rapidly, preventing over-extraction and bitterness.
Start with the manufacturer’s recommended setting for your brewing method. Make tiny adjustments—just a quarter turn—and then brew a test cup. Record the setting that yields the best extraction—this might take a few tries, as factors like bean freshness and humidity can influence the ideal setting. For instance, if your espresso tastes sour or under-extracted, try a slightly finer grind; if your French press yields a sludgy brew, adjust to a coarser setting. Remember, these factors are interconnected—what works for one batch may need tweaking for the next, especially in different environments or with different beans. Regularly fine-tuning your grind ensures you consistently extract the best flavors from your beans, much like tuning a musical instrument for perfect pitch.
hand coffee grinder maintenance kit
As an affiliate, we earn on qualifying purchases.
As an affiliate, we earn on qualifying purchases.
Compare Common Adjustment Methods and Their Ease of Use
| Adjustment Method | Ease of Use | Precision | Best For |
|---|---|---|---|
| Knob or screw dial | Easy | Moderate | Quick changes, general tuning |
| Stepped settings | Very easy | High (fixed steps) | Consistent, repeatable settings |
| Micro-adjustment screws | Moderate | High (fine tuning) | Precise dialing for espresso |
Most manual grinders feature one or more of these systems. For example, a grinder with stepped settings can be compared to a camera with preset focus points—easy to use but less flexible for subtle changes. Micro-adjust screws are like fine-tuning a musical instrument, allowing for precise control, which is especially useful when dialing in espresso shots where tiny differences matter. Understanding these tradeoffs helps you pick the right adjustment system for your needs and skill level, ensuring you can make confident, consistent changes that optimize your brew quality.
coffee grinder rice cleaning tool
As an affiliate, we earn on qualifying purchases.
As an affiliate, we earn on qualifying purchases.
Avoid These Common Maintenance Mistakes
Even seasoned coffee lovers slip up sometimes. The most common mistake? Over-tightening adjustment screws, which can strip threads, damage burrs, or cause misalignment—imagine overtightening a bolt on a bicycle wheel; it may seem secure but can cause warping or breakage over time. Using harsh chemicals or water on internal parts can lead to rust, especially if your grinder isn’t made of rust-resistant materials. This is akin to leaving water in a metal toolbox—corrosion will eventually set in, compromising the integrity of your equipment.
Another pitfall: forcing parts during disassembly or reassembly. For example, prying apart a stubborn burr set without proper tools can crack plastic components or misalign precision parts, which then affects grind consistency. Neglecting regular cleaning, especially in high-use scenarios, results in oil and coffee residue buildup, making the grinder harder to turn and potentially introducing off-flavors. Think of it like not changing the oil in a car; over time, performance degrades, and repairs become more costly.
Patience and gentle handling are essential—using the right tools and following manufacturer instructions can prevent these issues. Regular, careful maintenance preserves the grinder’s performance and extends its lifespan, much like routine car servicing keeps a vehicle running smoothly for years.