
TL;DR
Get ready for Prime Big Deal Days — try Prime free
Exclusive member deals on October 6–7, plus fast free delivery. Cancel anytime.
Start your free trialAs an affiliate, we earn on qualifying purchases.
You can make fresh breadcrumbs with just bread, a grater or rolling pin, and some drying. It’s cheaper, fresher, and customizable compared to store-bought options. Drying bread well is key to long-lasting, crisp breadcrumbs.
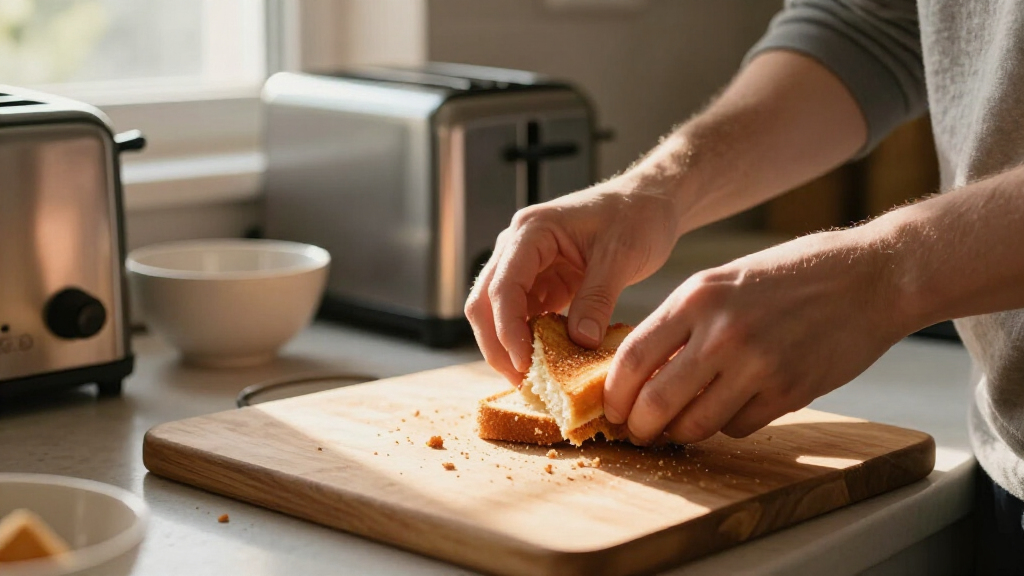
Craving breadcrumbs that are warm, crispy, and packed with flavor? Making them by hand isn’t just satisfying—it’s a skill that keeps your off-grid kitchen self-reliant. No fancy machines needed—just some stale bread, a grater, and a little patience.
This guide walks you through simple steps to turn leftover bread into perfect breadcrumbs. You’ll learn how to choose the right bread, dry it properly, and process it manually. Plus, tips on flavoring and storage. Ready to transform scraps into something useful? Let’s get started.
Use stale or dried bread to get the best, crispy breadcrumbs.
Thoroughly drying bread in the oven or air is essential for shelf stability.
Manual tools like a grater or rolling pin give you control over texture and flavor.
Season and toast breadcrumbs to enhance flavor and versatility.
Store in airtight containers in cool, dry places or freeze for longevity.
Choose the Best Bread for Perfect Breadcrumbs
Fresh bread is too soft; it turns to mush when processed. Instead, pick stale or dried bread—think day-old baguette or sourdough. The drier the bread, the crisper your breadcrumbs will be. This dryness is crucial because moist bread can become gummy or mold quickly once processed, reducing shelf life and texture quality.
For a richer flavor, use rustic or sourdough bread, as their complex flavors deepen your final dish. Want a finer texture? Remove crusts first—though keeping them adds crunch and depth. Cutting bread into small cubes makes drying and processing easier, ensuring more uniform crumbs.
Imagine slicing a baguette into 1-inch pieces, then laying them out on a baking sheet. The goal? Remove moisture without turning the bread to dust. That’s step one to homemade, shelf-stable breadcrumbs. Properly dried bread not only enhances texture but also prevents spoilage, which is vital if you plan to store breadcrumbs for future use.
As an affiliate, we earn on qualifying purchases.
How to Dry Bread for Crisp Breadcrumbs
- Preheat your oven to around 250°F (120°C). No need to go higher; slow drying prevents burning and preserves flavor.
- Spread bread pieces evenly on a baking sheet lined with parchment paper. Uniform spacing ensures even drying, which is essential for consistent texture.
- Bake for 15-20 minutes, flipping halfway, until they turn golden and feel dry and firm. Keep an eye on them—overdrying can make crumbs too brittle, while underdrying risks mold and spoilage.
- Let the bread cool completely before processing. Warm bread will produce softer crumbs and may introduce moisture back into storage.
Alternatively, air-drying in a dry, airy spot works if you’re not in a rush—just leaves the bread out for 24-48 hours, flipping occasionally. Although slower, air-drying can preserve more delicate flavors and textures, especially for high-quality bread varieties.
Drying is the secret to long-lasting breadcrumbs that won’t mold. Think of it like preparing firewood—you want it dry enough to burn cleanly and store safely over time.
As an affiliate, we earn on qualifying purchases.
Manual Ways to Turn Dried Bread into Breadcrumbs
Making breadcrumbs by hand means using tools you already have. Here are your best options:
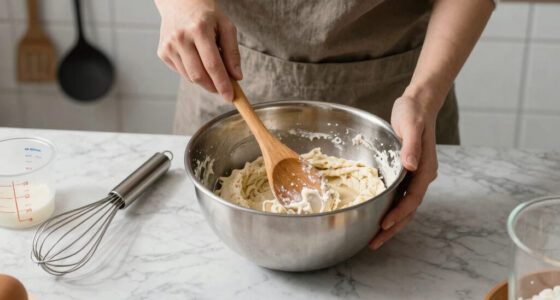
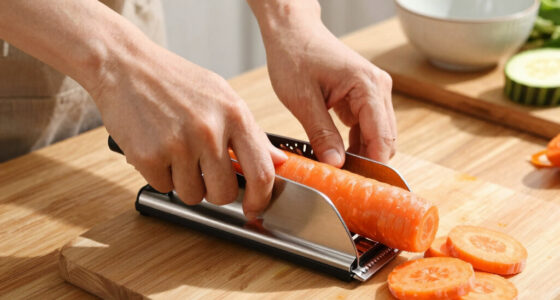
- **Box grater:** Rub dried bread against the coarse side—ideal for coarse crumbs that add texture to dishes like casseroles or stuffing. The grater allows for control over the size, but requires some effort and patience.
- **Rolling pin:** Place bread in a sturdy plastic bag or between parchment paper and crush with the rolling pin until you reach the desired texture. This method is versatile for creating both coarse and fine crumbs, depending on how much you crush.
- **Knife:** Chop bread into small pieces, then rub or chop further for finer crumbs. While labor-intensive, this method gives you precise control over crumb size and shape, which can be important for certain recipes.
If you have a hand-crank food mill, it can turn dried bread into uniform crumbs quickly. The key? controlling the size by how much you process—small adjustments can make a big difference in the final texture and how well the crumbs adhere or melt in recipes.
For example, a quick crush with a rolling pin can give you coarse crumbs for topping casseroles, while grating yields finer breading for cutlets. Each manual method offers tradeoffs between effort, control, and texture, so choose based on your needs and patience.
airtight storage containers for breadcrumbs
As an affiliate, we earn on qualifying purchases.
As an affiliate, we earn on qualifying purchases.
How to Get the Texture You Want
Finer or coarser? It’s all about how long and how hard you process the dried bread. Finer breadcrumbs are ideal for coating delicate foods like fish or making bread pudding, where a smooth texture is desired. Coarser crumbs provide crunch and are better for toppings or rustic presentations.
For fine breadcrumbs, grate or crush until the pieces are tiny, almost powdery. Using a sifter or fine-mesh sieve after processing helps separate finer crumbs from larger chunks, giving you more control and consistency. For coarser crumbs, stop sooner or break into larger pieces—these are excellent for adding texture and visual appeal to baked dishes.
Understanding the implications of crumb size helps you tailor your recipes. Fine crumbs melt into sauces or batters, creating smooth textures, while coarse crumbs stay intact in baking, providing crunch and visual interest. The tradeoff is that finer crumbs may absorb more moisture, so adjusting your recipe accordingly is wise.
As an affiliate, we earn on qualifying purchases.
Flavoring and Enhancing Your Breadcrumbs
Plain dried bread makes neutral breadcrumbs, but adding flavor takes them to the next level. Mix in herbs, garlic powder, or grated cheese during processing or after. For example, a handful of chopped parsley or a teaspoon of smoked paprika can transform your breadcrumbs into a flavor-packed topping that elevates any dish.
When you toast breadcrumbs in a skillet with a bit of fat, such as butter or olive oil, they turn golden and aromatic—adding both flavor and crunch. This step not only enhances taste but also extends shelf life by reducing moisture.
Remember, seasoned breadcrumbs are versatile. Keep some plain for general use, and add flavor as needed. Developing your own flavor combinations allows you to customize recipes, making each dish uniquely yours while reducing reliance on pre-flavored store-bought options.
Storing Homemade Breadcrumbs for Long-Lasting Freshness
Proper storage is key to keeping your breadcrumbs crispy and free of mold. Use an airtight container—glass jars or sealed plastic bags work well—and ensure they are completely dry before sealing. Moisture is the enemy, as it promotes mold growth and softens breadcrumbs, reducing their usefulness.
Keep them in a cool, dry place away from direct sunlight. For longer shelf life, refrigerate or freeze. Frozen breadcrumbs can last up to 6 months without losing flavor or texture, making them ideal for batch preparation.
For example, store a jar on a pantry shelf for 1-2 weeks, but transfer to the freezer if you won’t use them soon. Label with the date to track freshness. Proper storage prevents spoilage, maintains crispness, and ensures your homemade breadcrumbs are ready whenever you need them.
Frequently Asked Questions
Can I make breadcrumbs from any bread?
Most bread works, especially stale or dried bread. Whole grain, sourdough, or rustic loaves add flavor. The key is dryness—moist bread creates soft crumbs that can mold faster.
How long do homemade breadcrumbs last?
When stored properly in an airtight container, they last about 1-2 weeks at room temperature. For longer storage, refrigerate or freeze, where they can last up to 6 months.
Can I make breadcrumbs without a food processor?
Yes. Use a box grater, crush with a rolling pin, or chop finely with a knife. These manual methods give you control and don’t require electric tools.
How do I prevent breadcrumbs from becoming soggy?
Ensure bread is thoroughly dried before processing. Store breadcrumbs in a dry, airtight environment. Toasting them lightly before storage can also help keep them crispy.
What are good flavor additions for homemade breadcrumbs?
Add herbs, garlic powder, cheese, or spices during processing or afterward. Toasting breadcrumbs with a bit of butter or oil enhances flavor and crunch.
Conclusion
Making breadcrumbs by hand isn’t just a skill—it’s a way to reclaim flavor, reduce waste, and stay self-reliant in your kitchen. With a little drying and some simple tools, you can customize every batch to your taste.
Next time you have leftover bread, skip the store-bought stuff. Crank out your own breadcrumbs—crisp, fresh, and full of personality. Your recipes will thank you—and so will your off-grid pantry.
Fall Picks
fall essentials
As an affiliate, we earn on qualifying purchases.