
TL;DR

Get kitchen gear delivered free — and shop member deals
- Fast, free delivery on millions of items
- Access to Prime Big Deal Days deals on October 6–7
- Prime Video, Amazon Music and more included
A Dutch oven is a versatile tool perfect for slow cooking, baking, and frying. Proper preheating, temperature control, and maintenance are key for success, especially for beginners.
Imagine a pot that can simmer a hearty stew, bake crusty bread, and fry crispy chicken—all in the same day. That’s the magic of a Dutch oven. Its thick cast iron walls hold heat like a warm hug, turning simple ingredients into comforting meals. If you’re just starting out, don’t worry—this guide will show you how to unlock its potential without fuss or fussiness.
Whether you’re off-grid, cooking over a campfire, or just want a reliable kitchen companion, mastering a few basic techniques transforms Dutch oven cooking from a mystery into a skill you’ll trust. Ready to get your hands dirty and your meals richer? Let’s dive into the essentials, step by step.
Preheat your Dutch oven gradually, whether on the stove or in the oven, to prevent warping or cracking.
Enameled Dutch ovens reduce the fuss—no seasoning needed—and are ideal for acidic dishes like tomato sauce.
A well-seasoned cast iron Dutch oven can last for generations, making it a lifetime investment.
Start with simple recipes like stews, bread, and fried foods to build confidence.
Proper cleaning—hot water, dry thoroughly, oil occasionally—keeps your Dutch oven performing at its best.
Why a Dutch Oven Is Your Kitchen Workhorse
When you hear ‘Dutch oven,’ think of a cast iron marvel that handles everything. It’s renowned for its ability to retain heat evenly—think of a loaf of bread with a crackling crust or a stew that’s tender all the way through. This versatility comes from its thick walls and dense material, which hold onto heat longer than a regular pot.
For a beginner, this means less fussing over temp fluctuations. You can set it on a low flame or in a hot oven, and it’ll do the work for you. Plus, it’s durable—many Dutch ovens have been handed down through generations, gaining a beautiful seasoning and patina along the way.
As an affiliate, we earn on qualifying purchases.
How to Preheat Your Dutch Oven Without Burning It
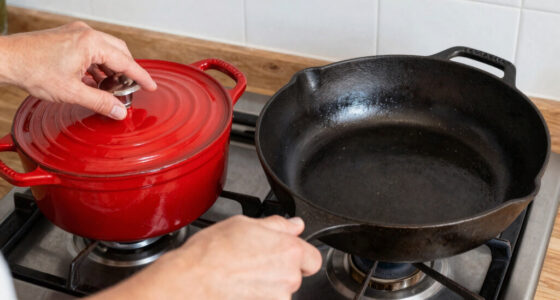
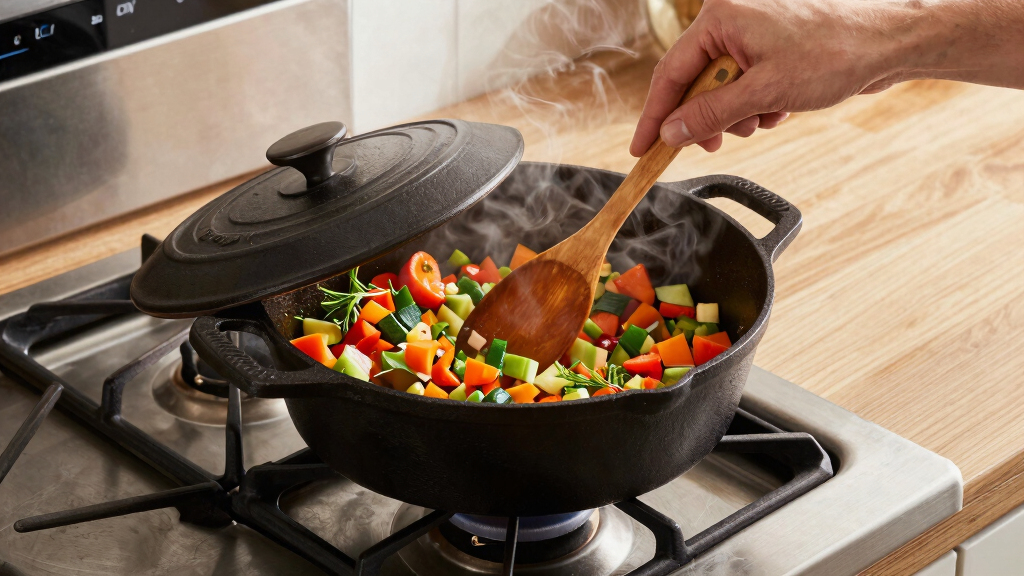
Preheating is the secret to even cooking and a good crust. In a Dutch oven, this means slowly warming the cast iron to avoid hot spots or cracking. Start by placing the empty pot on your stove over **medium-low heat**. Let it sit for about 5-10 minutes—listen for a gentle hum, not a screech.
For oven use, place the Dutch oven in cold before the oven heats up. Set the oven to your desired temperature and let the cast iron warm up gradually—this prevents thermal shock and preserves the surface.
A real-world example? When baking bread, preheat your Dutch oven for at least 20 minutes at 450°F. The hot interior creates that perfect crust.
As an affiliate, we earn on qualifying purchases.
Mastering Basic Cooking Techniques in a Dutch Oven
Getting comfortable with a Dutch oven means trying out a few core techniques. Here are three you’ll use often:
- Slow Simmering: Perfect for stews or soups. Keep your heat on medium-low, and let the flavors meld for hours. The cast iron keeps the heat steady and the liquid gentle.
- Baking Bread: Use the preheated Dutch oven to trap steam. Place your dough inside, cover with the lid, and bake at 450°F for 30-40 minutes. The result? A crusty, rustic loaf.
- Frying: Fill the Dutch oven with about 2-3 inches of oil, heat it to 350-375°F, then fry your chicken or veggies. The thick walls keep oil temperature stable, so your fries stay crispy.
In each case, start with simple recipes. A beef stew, a loaf of bread, or crispy fried chicken—each showcases what your Dutch oven can do.
As an affiliate, we earn on qualifying purchases.
Comparing Enameled and Unenameled Dutch Ovens — Which Is Better for Beginners?
| Feature | Enameled Dutch Ovens | Unenameled Cast Iron |
|---|---|---|
| Ease of Cleaning | Very easy—simply wash with soap and water | Requires scrubbing, hot water, and oiling |
| Maintenance | No seasoning needed; resistant to rust | Needs seasoning and careful handling to prevent rust |
| Durability | Long-lasting, but chipping can happen if dropped | Virtually indestructible, lasts generations |
| Cooking Acidic Foods | Excellent—won’t react with tomato or citrus | Can react, affecting flavor and surface |
| Cost | Typically more expensive | More affordable |
For beginners, enameled Dutch ovens are a great starting point—less fuss, easier cleanup. But if you’re eager to learn seasoning and care, traditional cast iron offers unmatched longevity and adaptability.
As an affiliate, we earn on qualifying purchases.
Cleaning and Maintaining Your Dutch Oven Without Ruining It
Keeping your Dutch oven in top shape means knowing what to do after each use. For cast iron, avoid soap—hot water and a stiff brush are enough. Wipe out the food, dry thoroughly, then rub a light coat of oil to prevent rust.
For enameled versions, wash with warm soapy water, then dry. Avoid metal scrubbers or knives that can chip the enamel.
Remember: a well-maintained Dutch oven can last for decades, handed down like a family heirloom.
Common Beginner Slip-Ups & How to Avoid Them
Even seasoned cooks slip up—so don’t worry if your first few meals aren’t perfect. The biggest mistake? Overheating or rushing preheats, which can warp or crack the cast iron. Another? Forgetting to dry the cast iron thoroughly—rust loves dampness.
Pro tip: always use a timer. For example, when baking bread, don’t open the oven too early. Let the Dutch oven do its job uninterrupted for those crucial first 20 minutes.
And if your food sticks? It’s usually because the surface isn’t seasoned enough. A quick fix: re-season with a thin coat of oil and bake at 375°F for an hour.
Frequently Asked Questions
How do I season my cast iron Dutch oven?
Apply a thin layer of vegetable oil all over the interior, then bake upside down in an oven at 375°F for about an hour. Repeat as needed to build up a smooth, non-stick surface. Let it cool completely before wiping out excess oil.
Can I cook acidic foods like tomato sauce in a Dutch oven?
Enameled Dutch ovens are ideal for acidic dishes—they won’t react or stain. For unenameled cast iron, it’s best to avoid prolonged contact with acids to prevent surface damage and flavor alteration.
What’s the best way to clean my Dutch oven after use?
For cast iron, rinse with hot water, scrub with a stiff brush or scraper, dry thoroughly, and apply a light coat of oil. For enameled, wash with warm soapy water, dry, and avoid metal scrubbers to protect the surface.
How do I prevent my Dutch oven from rusting?
Always dry it completely after cleaning, especially if unenameled. Lightly oil the interior or exterior after each wash, and store in a dry place. Avoid soaking or leaving it wet for long periods.
Is a Dutch oven good for outdoor cooking?
Absolutely. Dutch ovens are renowned for their ability to handle campfire heat. Place it directly on hot coals or hang it over the fire for slow, even cooking—perfect for off-grid or outdoor adventures.
Conclusion
Mastering basic techniques turns a Dutch oven into your most reliable kitchen partner. Its ability to handle everything from bread to braise makes it a true workhorse for any cook. Remember, patience and care turn simple cast iron into a family treasure.
Next time you hear that satisfying sizzle or crackle, you’ll know you’re tapping into a tradition of durability and flavor—one pot, endless possibilities.
Fall Picks
fall essentials
As an affiliate, we earn on qualifying purchases.