TL;DR
Cooking pizza in a cast iron skillet is straightforward and yields crispy, evenly cooked crusts. Preheat the skillet, use quality ingredients, and watch the timing for perfect results every time.
Ever tried making pizza at home that rivals your favorite pizzeria? If you have a cast iron skillet sitting in your kitchen, you already have a secret weapon. It’s not just for searing steaks or frying bacon—this heavy-duty pan can turn out a crispy, flavorful pizza with just a few simple steps.
In this guide, you’ll learn how to leverage your skillet’s heat retention, prep the perfect dough, and avoid common pitfalls. You’ll see that making pizza in a cast iron isn’t complicated — it’s about understanding the heat, timing, and ingredients. Ready to turn your skillet into a pizza oven? Let’s get started.
High-hydration dough stretched to fit a hot, preheated skillet creates the best crispy crusts.
Preheat your skillet in the oven for at least 20 minutes at 500°F to mimic a professional pizza oven.
Partial stovetop baking before oven finishing prevents sogginess and speeds up cooking.
Use quality ingredients and proper topping placement to avoid burning and maximize flavor.
Finish with a quick broil and proper resting for a professional look and texture.
Pick the Right Dough for that Crusty Finish
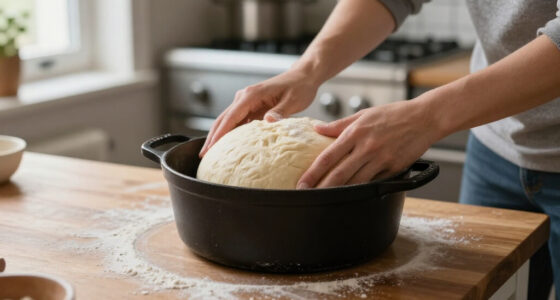
Your dough is the foundation. For best results, aim for a high-hydration dough—around 65-70% water relative to flour—so it stretches easily and crisps up in the pan. Use bread flour for chewiness and structure. Let it ferment at least 24 hours for flavor and gluten development. When ready, shape it to fit your skillet, about 10-12 inches in diameter, with a slightly thicker edge for a crust that holds toppings and bakes evenly.
Imagine stretching soft, elastic dough over your fingertips, feeling the slight resistance as it springs back. That’s what creates a light, airy crumb with a crispy exterior after baking.
Choosing the right dough impacts the final texture and flavor of your pizza. A high-hydration dough develops a more open crumb, contributing to a lighter, airier crust that contrasts beautifully with the crispy exterior. Fermentation time enhances flavor complexity, giving your pizza a depth that store-bought dough can’t match. The shape and thickness of your dough influence how evenly it cooks; a thicker edge ensures a sturdy crust that can support toppings without becoming soggy or burnt, especially in the intense heat of your skillet.
As an affiliate, we earn on qualifying purchases.
Preheat Your Skillet for That Perfect Crispy Base
Preheating is everything. Heat your oven to 500°F (260°C) and place your cast iron skillet inside for at least 20-30 minutes. This ensures the pan is blazing hot when you add your dough. The intense heat immediately sears the bottom, forming that irresistible crunch. For an extra boost, you can set the skillet on the stovetop over medium-high heat for 2-3 minutes before transferring it to the oven.
Think of the skillet as a mini brick oven—its heat radiates evenly, cooking the pizza from the bottom up and giving you that authentic pizzeria crust.
Proper preheating is a crucial step because it creates a thermal barrier that pushes moisture out of the dough rapidly, resulting in a crisp crust. If the skillet isn’t hot enough, the dough may steam rather than sear, leading to a soggy or pale bottom. Conversely, if it’s too hot or heated unevenly, parts of the crust may burn before the toppings are ready. Achieving the right preheat balance ensures even, golden browning and a satisfying crunch, which is the hallmark of a professional-quality pizza.
As an affiliate, we earn on qualifying purchases.
Step-by-Step: How to Assemble and Cook Your Pizza
- Roll or stretch your dough to fit your skillet, about 12 inches across. Place a light coating of oil on the bottom.
- Carefully remove the hot skillet from the oven. Lay the dough in the skillet, pressing it against the sides for a slight lip.
- Partially bake the dough for 3-5 minutes on the stovetop over medium heat. This prevents sogginess and jumpstarts the crispy crust by sealing the surface early, which is especially important in high-heat environments where moisture can quickly seep into the dough.
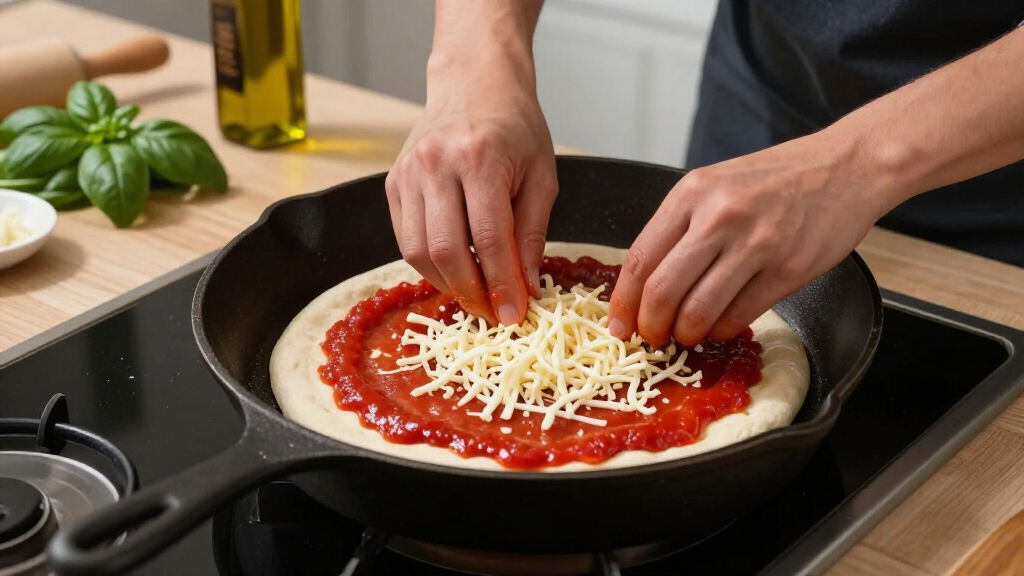
- Remove from heat, spread your sauce evenly, add cheese, and toppings.
- Pop the skillet back into the oven. Bake at 500°F for 8-12 minutes, until cheese bubbles and crust is golden brown. This final step allows the toppings to meld and the crust to develop its characteristic crispness.
- For extra crispness, broil for 1-2 minutes at the end, watching carefully so toppings don’t burn. This quick blast caramelizes the cheese and edges, adding depth of flavor and texture.
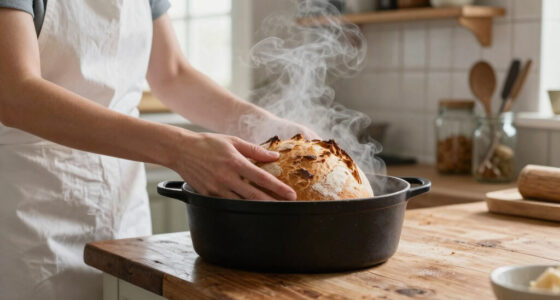
- Let sit for 5 minutes, slice, and enjoy that crackly crust and melty cheese.
Imagine the sizzle as toppings hit the hot skillet, the aroma filling your kitchen—this is homemade pizza magic.
Following this sequence ensures the dough develops a sturdy, crispy base that can support toppings without becoming soggy or burnt. Partially baking before adding toppings allows moisture to escape, which is crucial in the high-heat environment of the skillet. This step reduces the risk of a soggy crust and ensures even cooking. The final bake and optional broil give the crust its golden finish and bubbly cheese, but timing is essential—overcooking can dry out toppings or burn the crust, so keep a close eye.
As an affiliate, we earn on qualifying purchases.
Compare Baking in Skillet vs. Using a Pizza Stone
| Feature | Cast Iron Skillet | Pizza Stone |
|---|---|---|
| Heat Retention | Excellent, holds high heat evenly | High, but heats more slowly |
| Ease of Use | Very straightforward, no extra equipment | Requires preheating, handling hot stone |
| Crust Texture | Crispy, slightly uneven surface possible | Very even, professional crust |
| Cleanup | Simple, avoid soap to preserve seasoning | More delicate, needs careful cleaning |
Choosing between a skillet and a pizza stone depends on your setup. Skillets are more forgiving and versatile, especially if you like stovetop finishing or live off-grid. A stone can give you that bakery-quality crust but requires more handling and preheating. Consider the tradeoffs: while a skillet offers convenience and rapid heat transfer, a pizza stone can produce an even more professional crust but demands extra steps and care. Your choice depends on your priorities—ease versus perfection—and your willingness to manage additional equipment.
As an affiliate, we earn on qualifying purchases.
Tips for Topping That Don’t Burn and Keep Flavor High
- Use high-quality, fresh ingredients—cheese, vegetables, meats.
- Apply toppings evenly—avoid heavy layers that trap moisture or burn easily.
- Pre-cook or partially cook dense toppings like sausage or roasted vegetables to reduce cooking time. This step is crucial because it allows you to control the moisture content, preventing the toppings from releasing excess water during baking, which can make the crust soggy or lead to uneven cooking. Plus, pre-cooking enhances flavor concentration and ensures toppings are cooked through without overexposing the crust to high heat. Balancing raw and cooked ingredients helps you achieve a harmonious texture and flavor profile, with toppings that are tender and flavorful without compromising the crispness of the base.
- Limit toppings near the edges to prevent burning and ensure even crisping.
- Finish with a sprinkle of herbs or a drizzle of oil after baking for aroma and flavor.
Imagine the crisp bites of caramelized onions, the melty stretch of cheese, and the aroma of fresh basil—precise topping placement makes all the difference. Balancing toppings is a tradeoff: too many or heavy toppings can trap moisture, leading to sogginess, while too little can make the pizza feel sparse. Partially cooking dense toppings ensures they don’t release excess moisture during baking, which could compromise crust crispness. Topping placement and quality ingredients directly influence the final texture and flavor, making your pizza not just visually appealing but also delicious and evenly cooked.
Finish Like a Pro: Broil or Rest for That Perfect Finish
Once your pizza looks golden and bubbly, a quick broil at high heat for 1-2 minutes can give the cheese that browned, slightly crispy top. This step intensifies the flavor and creates a contrasting texture that elevates the overall eating experience. Watching carefully is essential because cheese can burn quickly—overdoing it diminishes quality and can ruin the presentation. Resting the pizza for 5 minutes after baking is equally important; it allows the cheese to set, preventing it from sliding off when sliced, and helps flavors meld, resulting in a more cohesive taste. This pause also makes slicing easier and cleaner, giving you neat, professional-looking slices. Skipping this step risks a messy, less appealing presentation and can compromise the texture of the toppings.
Envision slicing into a hot, crisp crust, the cheese stretching just right, the aroma inviting you to take that first bite. Resting is the secret to a neat, satisfying slice.
How to Keep Your Cast Iron Skillet in Top Shape After Pizza Night
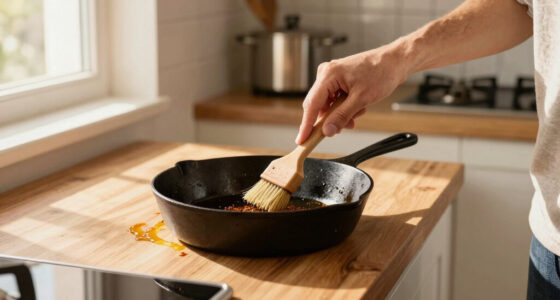
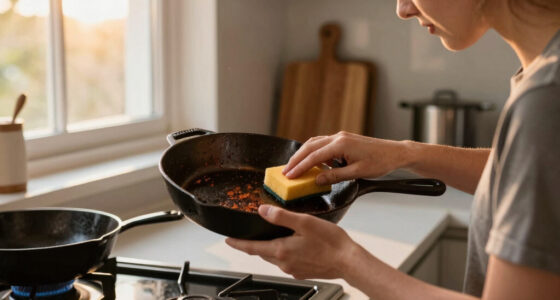
Cleaning your cast iron skillet correctly is vital for maintaining its non-stick qualities and preventing rust. Rinse with hot water and use a stiff brush—avoiding soap, which can strip the seasoning. Dry thoroughly to prevent moisture from causing rust. Applying a thin layer of oil before storing creates a protective barrier that enhances the seasoning layer over time. Regular use and proper care lead to a naturally non-stick surface that improves flavor and ease of cleaning with each use. If food sticks or the surface becomes dull, re-season the skillet by applying a light coat of oil and heating until it smokes lightly. This process rebuilds the seasoning, ensuring the skillet remains resilient and effective for future pizzas. Neglecting maintenance can lead to rust or sticky spots, which not only diminish performance but can also impart off-flavors to your next pizza. Think of your skillet as a living surface—consistent care and seasoning transform it into a lifelong tool that elevates your pizza craft, ensuring each pie is better than the last.
Frequently Asked Questions
Can I use any cast iron skillet for pizza?
Almost any well-seasoned cast iron skillet around 10-12 inches works well. The size should fit your oven and allow enough room for toppings without overflowing. Thicker pans retain heat better and help achieve that crispy crust.
Do I need to preheat the skillet before adding the dough?
Yes. Preheating your skillet at 500°F for 20-30 minutes creates the hot surface needed for a crispy, golden crust. This step is key to avoiding a soggy bottom and locking in flavor.
How do I prevent the crust from burning while baking?
Monitor your oven temperature closely, keep baking time within 10-15 minutes, and consider using a foil shield or a pizza stone for extra insulation. Finishing with a quick broil can add color without overcooking toppings.
Can I make gluten-free pizza in a cast iron skillet?
Yes, but gluten-free dough often needs different handling. Use a dough with higher moisture, and watch baking times carefully—usually slightly longer or shorter depending on thickness. Partial pre-baking can help prevent sogginess.
What’s the best way to clean my cast iron after making pizza?
Rinse with hot water and a stiff brush—avoid soap that can strip seasoning. Dry thoroughly, then apply a thin layer of oil before storing. Regular use and proper care build a non-stick surface that improves with age.
Conclusion
Transforming your cast iron skillet into a mini pizza oven is simpler than you think. It’s about understanding heat, timing, and good ingredients. With a little practice, you’ll get that satisfying crackle on the crust and gooey cheese every time.
Next time you crave pizza, pull out your skillet, get that oven hot, and turn simple ingredients into a crusty masterpiece—off-grid or in your busy kitchen. Your taste buds will thank you for it.