
TL;DR

Get kitchen gear delivered free with Prime
- Fast, free delivery on millions of items
- Prime Video, Amazon Music and more included
- Member-only deals all year
Canning is a reliable way to preserve seasonal foods, but safety matters. Follow tested recipes, sterilize everything, and process jars correctly to enjoy fresh flavors year-round. This guide walks you through each step to start confidently.
Always use tested recipes from reputable sources for safety.
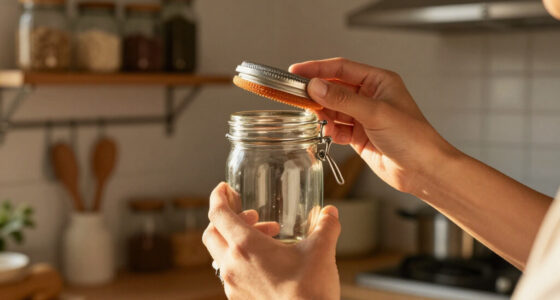
Sterilize jars and lids thoroughly before filling.
Leave correct headspace and remove air bubbles to ensure a good seal.
Process high-acid foods in a water bath, low-acid foods in a pressure canner.
Check seals carefully before storing; discard any jars that aren’t sealed properly.
What You Need to Know Before You Start Canning
Canning is about safely preserving food by controlling bacteria, yeasts, and molds. For beginners, understanding the difference between high-acid and low-acid foods is key. High-acid items like berries, jams, and pickles can be water bath canned because their natural acidity inhibits harmful bacteria, making the process simpler and quicker. Low-acid foods—think green beans, meats, or vegetables—require pressure canning to reach the temperatures necessary to destroy spores of bacteria like Clostridium botulinum, which can cause serious illness. Equipment matters: sturdy jars, reliable lids, and either a water bath or pressure canner. Choosing the right equipment and understanding these distinctions ensures your canned foods are safe and shelf-stable. Failing to use proper methods or equipment can lead to spoilage or dangerous bacterial growth, so grasping these foundational concepts is essential for safe home canning.As an affiliate, we earn on qualifying purchases.
Step 1: Prepare Your Kitchen and Ingredients
Start with a clean workspace. Wash your jars, lids, and tools with hot, soapy water to remove any dirt or residue that could harbor bacteria. Inspect jars carefully—cracks or chips can compromise the seal or cause breakage during processing, so discard any damaged ones. Choose fresh, ripe produce because the quality of your ingredients directly impacts the flavor, texture, and safety of the final product. For example, when canning strawberry jam, select bright red berries free of mold or soft spots—these imperfections can lead to spoilage or uneven gelling. Preparing your ingredients by washing, peeling, chopping, or cooking as the recipe dictates ensures uniformity and reduces the risk of bacterial growth. Additionally, sterilizing your jars and tools reduces the chance of introducing contaminants that could cause spoilage or foodborne illness, making your entire process safer and more reliable.pressure canner for low-acid foods
As an affiliate, we earn on qualifying purchases.
As an affiliate, we earn on qualifying purchases.
Step 2: Fill Jars Correctly — Leave Space for Safety
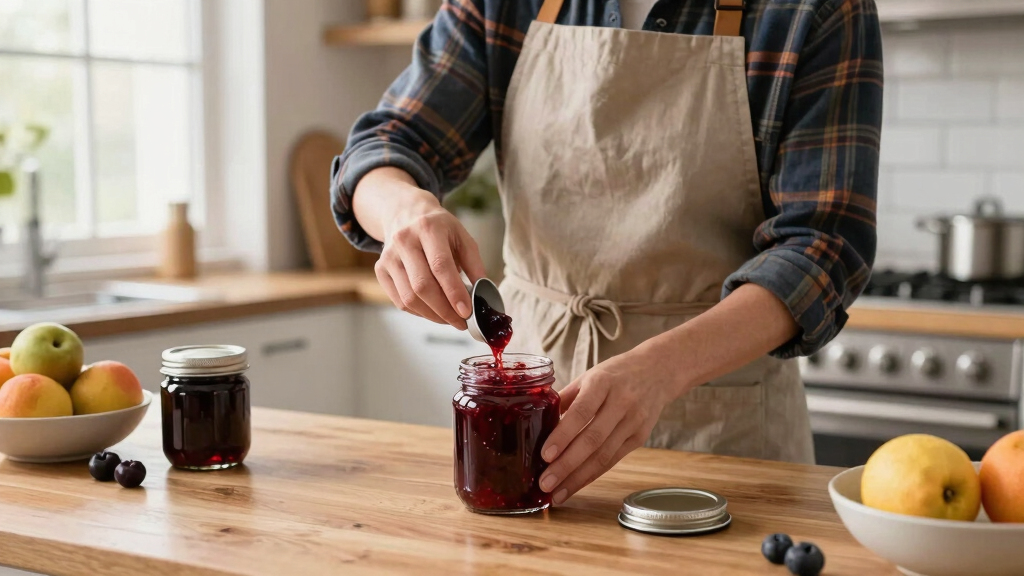
Pour your prepared food into jars, leaving the recommended headspace—usually about ¼ inch for jams and ½ inch for vegetables or meats. This space allows for the expansion of contents during processing and helps ensure a proper seal. Using a funnel prevents spills and helps maintain cleanliness. Tapping the jars gently with a non-metallic tool dislodges trapped air bubbles that can interfere with sealing and lead to spoilage or mold growth. For example, when canning peaches, leaving adequate headspace allows the fruit to expand during heat processing without breaking the jar or compromising the seal. Proper filling techniques are critical because inadequate headspace or trapped air can cause seals to fail, which can allow bacteria to enter and spoil the food, even after processing. Ensuring correct filling is a simple step that significantly enhances safety and longevity of your canned goods.As an affiliate, we earn on qualifying purchases.
Step 3: Remove Air Bubbles and Seal Jars
Use a bubble remover tool or a clean plastic spatula to gently slide around the inside of the jar, helping to release any trapped air that could prevent a proper seal or cause spoilage. Air bubbles can create pockets where bacteria or mold can develop if not removed. Wiping the rim with a clean, damp cloth ensures no food residue remains that could interfere with sealing. Center the lid on the jar, then screw on the band until it’s fingertip tight—over-tightening can prevent the lid from sealing properly, while under-tightening might allow contaminants to enter during processing. Think of this step as giving your jars a snug hug, ensuring they are sealed tightly during heat processing. Proper sealing is crucial because it prevents air and bacteria from entering, which are the main causes of spoilage and foodborne illness. Achieving a good seal means your canned foods will stay safe and fresh for months or even years.As an affiliate, we earn on qualifying purchases.
Step 4: Process the Jars — Water Bath or Pressure Canner
Place jars in your water bath or pressure canner, ensuring they are fully submerged and not touching each other to allow even heat transfer. For high-acid foods like jams or pickles, boiling the jars in water for the recommended time—such as 10 minutes—destroys bacteria and molds. For low-acid foods such as green beans, meats, or vegetables, use a pressure canner set to the specific PSI (pounds per square inch) and processing time—often 11 psi for 20-30 minutes—to reach the temperatures necessary to kill spores of botulinum bacteria. The importance of following tested processing times cannot be overstated; underprocessing can leave spores alive, risking botulism, while overprocessing can degrade food quality. Modern guidelines emphasize precise timing and pressure settings because they directly influence the safety and shelf stability of your canned foods. Properly processing your jars ensures the heat penetrates evenly and kills all potential pathogens, giving you peace of mind that your preserved foods are safe to store and enjoy.How to Know Your Canned Food Is Safe
Once cooled, pressing down the center of each lid should not cause it to pop back—this indicates a good seal. A properly sealed lid will be concave and remain sealed when gently pressed, which means the vacuum has been maintained during processing. Examine each jar for signs of spoilage: mold growth, foul smell, or any bulging lids—these are indicators that the food may have spoiled or that the seal failed. When in doubt, it’s safest to discard the jar to prevent foodborne illness. Properly processed and sealed jars can last 1-2 years when stored in a cool, dark pantry, but always inspect before use. Regularly checking your seals and appearance of the contents helps prevent consuming spoiled food, which could cause illness. Developing this habit of thorough inspection is essential for long-term safety, especially as homemade canned goods lack the preservatives found in commercial products. Ensuring safety isn’t just one step—it’s an ongoing process that protects your health and preserves your confidence in home canning.Frequently Asked Questions
How long does home-canned food last?
Properly sealed jars can last 1-2 years if stored in a cool, dark place. Always check seals before eating, and discard any jars with signs of spoilage.Can I can foods that aren’t in tested recipes?
It’s safest to stick to tested recipes, especially when you’re starting out. Deviating can risk spoilage or foodborne illness.What’s the biggest mistake beginners make?
Skipping proper sterilization and not following processing times are common pitfalls. Both are critical to ensure safety and longevity of your canned foods.Conclusion
Canning isn’t just preserving food; it’s reclaiming independence in your kitchen. With patience and attention to detail, you turn seasonal harvests into year-round flavor. Start small, follow the safe steps, and soon you’ll see: preserving your own food is within reach—and deeply satisfying.Fall Picks
fall essentials
As an affiliate, we earn on qualifying purchases.