TL;DR

Get kitchen gear delivered free with Prime
- Fast, free delivery on millions of items
- Prime Video, Amazon Music and more included
- Member-only deals all year
To organize a tiny kitchen, first remove expired food and tools you rarely use, then group what remains by task and frequency. Keep daily essentials within easy reach, make cabinets visible with well-fitted organizers, and protect a clear prep surface. Measure before adding storage, keep heavy cookware low, and spend a few minutes each week returning things to their places.
In a tiny kitchen, one misplaced lid can turn dinner into a rummage through every cabinet. A few deliberate choices can change that: the pan you reach for belongs near the stove, the knife you use for vegetables needs a safe home near your work surface, and the counter should have room for the cutting board.
This guide shows you how to organize a tiny kitchen around the way you actually cook. You’ll start with a useful clear-out, give tools a clear place and use vertical and cabinet storage with care. You’ll also find ways to keep a small kitchen working if you rent, cook by hand, preserve food, or share the room with other people.
The aim isn’t an empty counter or a row of matching jars. It’s a kitchen where you can find what you need without moving three other things first. Work with the shelves, drawers, and surfaces you already have; add storage only when it solves a specific problem.
Clear expired food, duplicates, and tools you rarely use before shopping for organizers.
Group kitchen tools by task, then place the items you reach for most often within easy reach.
Measure cabinet width, depth, height, door swing, and appliance clearance before choosing storage.
Keep heavy cookware low, knives secure, and a workable patch of counter clear for food preparation.
Use a brief weekly reset to return tools, check leftovers, and adjust storage that keeps causing trouble.
How to Organize a Tiny Kitchen Make Every Inch Work
Make daily cooking easier by clearing what you do not use, grouping tools by task, and keeping essentials within easy reach.
Start with what you have
Clear space before shopping, then sort the keepers by how often you use them.
Remove expired food, duplicates, and tools you rarely use.
Keep cooking tools near the stove and prep supplies near your work surface.
Daily essentials get easy access; specialty gear can go farther away.
Make storage easier to use
Choose solutions that suit your routine, kitchen layout, and whether you rent.
Bring items into view
Shelf risers, pull-out baskets, and turntables can make hidden items easier to reach.
Use vertical space
Hooks and door racks can free counter space; check weight limits and door clearance.
Keep it flexible
Removable hooks, tension racks, and portable carts can add storage with little or no drilling.
Measure before you buy
An organizer only helps when it fits the space and the items inside it.
- Cabinet width, depth, and height
- Door swing and appliance clearance
- Room to lift pots or pull baskets
- Leave a workable prep surface
- Keep heavy cookware low
- Store knives securely
Keep the system working
A simple reset helps prevent clutter from creeping back.
- Return tools to their usual places.
- Check leftovers and clear the counter.
- Adjust storage that keeps causing trouble.
Start with a clear-out that makes room for the tools you use
To organize a tiny kitchen, begin by removing expired food, duplicates, and tools you do not reach for. This first pass frees space and shows you what you need to store before you spend money on bins, racks, or baskets. Clear one cabinet or drawer at a time, so you can keep cooking and avoid a pile that takes over the whole room.
Take everything out of one space and sort it into three groups: daily use, occasional use, and no longer useful. Check dates on food, set aside chipped dishes you never choose, and look twice at gadgets that only do one job. If you have two can openers but always use the hand-crank one, the other is taking up room without helping dinner.
Imagine making a simple pot of beans. You need the pot, a wooden spoon, a bowl for sorting beans, and maybe a hand mill. If each item is buried behind holiday platters or a blender you rarely use, the storage arrangement adds work before cooking even starts.
Occasional tools still matter. A pressure canner, roasting pan, or large stockpot may earn its space if you use it seasonally; store it higher or in a less convenient cupboard, with heavy items kept low enough to lift safely. The rule is simple: frequency earns easy access, while specialty gear can live farther away.
As you clear, notice what your kitchen lacks. Maybe you own enough dishes but have nowhere to set a hot pan, or perhaps food packages vanish behind one another. Write down the actual problem. That list will help you choose a useful fix instead of buying organizers because they look tidy.
Products Worth Considering

Ninja Foodi Air Fryer 10 Qt DualZone XL 6-in-1 Grey (DZ401)

Vitamix Touch & Go Advance 32-Ounce Bar Blender, White
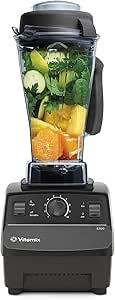
Vitamix 5200 Blender with 64 oz. Container, Black
As an affiliate, we earn on qualifying purchases.
Group tools by task so cooking takes fewer steps
Organize a tiny kitchen by putting each tool near the task it supports. Keep cooking spoons and potholders near the stove, plates near the sink or dish rack, and knives and cutting boards near the main prep surface. A good arrangement cuts down on trips across the kitchen and makes it easier to put things back after a meal.
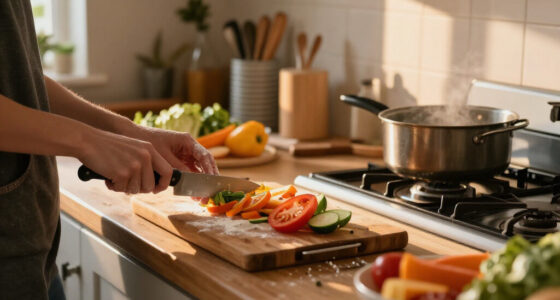
Try a short task walk-through before you move everything. To make soup, you might take beans from the pantry, rinse them at the sink, chop vegetables on the counter, then reach for a pot and spoon at the stove. If the knife is in a drawer across the room and the pot sits behind a heavy Dutch oven, the setup works against your routine.
Use this sequence to plan each zone:
- Choose three regular tasks, such as making breakfast, preparing vegetables, and cooking a pot of soup.
- List the tools and ingredients you reach for during each task.
- Place shared tools in a handy spot between tasks, rather than duplicating them.
- Test the arrangement while cooking, then move anything that causes an awkward reach.
This doesn’t require dedicated counters for every activity. In a narrow kitchen, a single clear work surface can serve as the prep zone; keep the board, knife, and mixing bowl close by, but store them when you need room to roll dough or sort beans.
If two people cook together, task-based storage can prevent traffic jams. One person can reach for dishes by the sink while the other works at the stove. A simple label or a consistent drawer location also helps children or guests return utensils without asking where they belong.
Use walls and doors for storage without crowding your counters
Vertical storage can add useful capacity to a tiny kitchen while keeping the counter open. A wall hook for a frequently used strainer, a magnetic strip for suitable knives, or a small shelf for everyday cups can move items within reach without taking up precious prep space. The best choice depends on your wall, the weight of the items, and whether you own or rent the home.
For example, if you use a cast-iron skillet most mornings, a sturdy, properly installed hook may free a low cabinet shelf for pots. Check that the wall and hardware can hold the load, and place heavy cookware where you can lift it without stretching or pulling at an awkward angle. Keep knives secured away from children and from spots where someone might brush against the blade.
Doors can hold light, flat items such as wraps, lids, or a few small containers if the door still closes fully. Before attaching a rack, open and shut the door slowly. Look for contact with shelves, hinges, handles, and anything stored nearby. Removable hooks and tension-mounted racks can suit renters, but adhesive products have weight limits and may not stick well to every surface.
Open shelves trade closed storage for quick access. A short shelf holding the bowls you use every day may be useful; a whole wall of mixed jars and seldom-used gadgets can look busy and collect dust. Keep only a small, consistent group in view, and leave enough room to lift items down safely.
Don’t hang storage above a flame or in a way that blocks ventilation or appliance clearances. For electrical, gas, structural, or roof work, use a licensed professional and follow local code and permit requirements. Turn off power where relevant and wear suitable protective equipment during permitted tasks; never guess at what is behind a wall.
Make cabinets easier to see before you add organizers
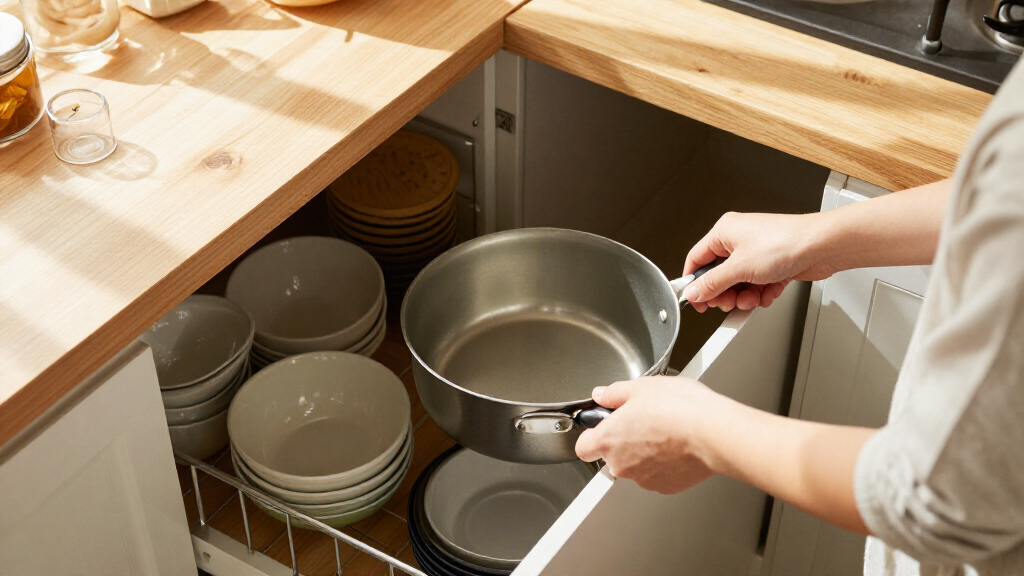
Cabinet organizers help when they bring hidden items into view and fit the space you have. A shelf riser can separate plates from bowls; a pull-out basket can expose food at the back; and a turntable can make bottles easier to reach in a deep corner cabinet. None of these fixes works well if it blocks the door or leaves wasted space around the items.
Measure the cabinet’s usable width, depth, and height, then check the door swing and nearby appliance clearances. Include the space needed to lift a pot or pull out a basket. For instance, a rack that fits an empty cabinet may stop the door from closing once you load it with jars. A tape measure and a list of what you want to store can spare you a return trip.
Then arrange food so you can see what you own. Keep frequently used grains and seasonings at an easy height; group baking supplies together and put rarely used ingredients farther back. Clear containers can help you spot oats or lentils at a glance, but decanting everything is optional. If you transfer food, keep its name, date, and cooking directions where you can find them, and discard packaging only when you no longer need its instructions or safety information.
Consider the tradeoff: a turntable can help with small jars, but it may waste space around wide containers. Stackable bins can group packets, yet a bin that is too deep can hide what sits below. For a narrow pantry shelf, a shallow basket you can pull out may make supplies easier to reach than several neat rows.
Store heavy cookware on low shelves and place stable, frequently used items where you can reach them without climbing. The goal is a cabinet you can use with one hand while cooking, not a display that looks organized only when everything is untouched.
Protect one clear work surface for the cooking you actually do
A usable prep area matters more than an entirely bare counter. Keep enough space for the cutting board, bowl, or hand tool you use most often, and move anything that crowds that work. A tiny kitchen feels less cramped when you can begin preparing food without first shifting a toaster, a stack of mail, and yesterday’s dishes.
Choose countertop residents by how often you use them and whether they interfere with cooking. If you grind coffee by hand every morning, keeping the grinder accessible may make sense. If a stand mixer comes out twice a year, it can live on a sturdy shelf or in a cupboard when you are not using it.
When counter space runs short, a movable cart can hold ingredients or tools and roll away when you need to open a drawer. A fold-down surface may suit some layouts, but check that it does not block a walkway, door, or appliance. Even a board set safely over a sink can provide extra room for rinsed vegetables, provided it sits securely and leaves the sink available when you need it.
Picture an evening of bread-making in a studio kitchen. You clear the main counter, park the kettle and oil bottle at the side, and put flour and a bowl on the work surface. When the dough has been mixed, you can wipe the counter clean without carrying five appliances to another room.
Clear surfaces also make cleanup simpler. Crumbs and flour show up more clearly, and you can wipe the counter without lifting a row of decorative objects. Aim for a clear working patch sized for your regular tasks; leave daily-use items out only when they fit without taking over that patch.
Choose a setup that fits renting, hand tools, and real-life routines
The best way to organize a tiny kitchen depends on its dimensions, your routine, and what changes you are allowed to make. A renter with one drawer may rely on freestanding racks and removable hooks, while a homeowner may install a shelf after checking the wall and local requirements. Both can improve access by measuring first and keeping the most-used items close.
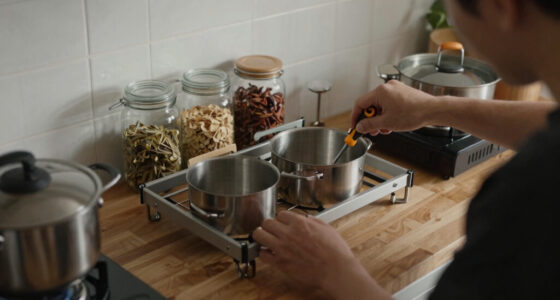
For a hand-powered kitchen, give tools a secure, convenient place near where you use them. A manual grinder might belong near the kettle, while a grain mill may need a stable surface you can clamp or fasten according to its instructions. Don’t leave a heavy hand tool perched at the edge of a high shelf; a sudden pull can shift it or send other items down.
Small kitchens also benefit from clear categories that are easy to maintain. Put wraps together, keep lids with their pans, and group preservation supplies in one bin. If you can’t remember where something belongs after a week, the system has too many steps. A simple drawer divider may solve the problem better than labeling every compartment.
For renters, try a tension rod under a sink for light cleaning cloths, a portable cart, or a freestanding shelf where the floor plan allows. Check product weight guidance, surface compatibility, and door clearance before relying on an adhesive hook or removable strip. Ask your landlord before drilling or making a change covered by your rental agreement.
Leave ventilation openings and appliance clearances unobstructed, and don’t store fuel or heat-sensitive items where they create a hazard. Your layout should support the kitchen you have: a one-burner setup, a shared family room, and a preserving station each call for different priorities.
Keep the kitchen organized with a short weekly reset
A short weekly reset keeps a tiny kitchen usable by returning tools to their assigned spots and dealing with food before it disappears into the back of a cabinet. You do not need a full reorganizing project every Sunday. Ten focused minutes can restore the clear counter and visible shelves that make daily cooking easier.
Use a small routine: put away clean dishes, return tools to their home, wipe the main prep surface, and check leftovers and produce. If you find an open bag of rice behind the flour, move it to the front and note whether you need more. A quick check can also catch a jar that leaks or a lid that no longer fits.
Ask whether the current system failed or whether someone simply forgot to put something away. If the same spoon keeps ending up on the counter, perhaps its drawer is awkwardly far from the stove. If the pantry bin overflows every week, it may hold too many categories or need a more realistic limit.
In a household that cooks different meals, shared spaces need visible rules. Keep the everyday mugs on one shelf, return knives to their safe storage after use, and agree on where leftovers go. When every person knows the clear place for common items, the kitchen stays easier to use even after a busy evening.
Seasonal needs shift, too. During a preserving week, jars and lids may need temporary priority; after the batch is finished, return the counter and shelves to their normal jobs. Treat the layout as a working arrangement you can adjust, not a project that must stay picture-perfect.
Frequently Asked Questions
Where should I start organizing a tiny kitchen?
Start with one cabinet or drawer, remove expired food and duplicates, then group what remains by task and how often you use it. For example, keep everyday cooking tools close to the stove and put specialty baking equipment in less convenient storage.
How can I add storage without remodeling?
Try a shelf riser, drawer divider, freestanding rack, removable hook, or compact cart if it fits your layout. Measure first, check weight limits, and make sure doors and appliances still work freely.
What should I keep on the counter?
Keep only daily-use tools or appliances that do not crowd the space where you prepare food. If your hand grinder gets used every morning, it may earn a spot; a specialty appliance used twice a year can usually go away between uses.
Are open shelves useful in a tiny kitchen?
They can make everyday dishes easy to reach and free up cabinet space, but open shelves collect dust and show visual clutter. Use them for a small number of items you use often, and store less-used or busy-looking supplies behind a door.
How do I organize a tiny kitchen when I rent?
Favor freestanding carts, tension-mounted racks, and removable hooks where the surface and weight guidance allow. Check your rental rules before drilling or applying adhesive products, and make sure doors, walkways, and appliances remain clear.
Conclusion
Make your tiny kitchen easier to use by starting with what you cook, clearing what you do not need, and giving the remaining tools a sensible home. Measure before you add storage, protect a working patch of counter, and keep heavy items low and secure.
When dinner starts, you should be able to reach for the pot without moving a tower of pans first. Let that small, practical ease be the sign that your kitchen is working.