
TL;DR
Listen free for 30 days with Audible
Thousands of audiobooks and originals — cancel anytime.
Start your free trialAs an affiliate, we earn on qualifying purchases.
Making kimchi at home involves salting vegetables, preparing a spicy paste, and fermenting for 1-5 days. Proper sanitation and timing create tangy, probiotic-rich kimchi your family will love.
Imagine the rich, tangy aroma of homemade kimchi filling your kitchen. It’s not just a side dish; it’s a symbol of tradition, health, and flavor. If you’ve ever thought about making your own, now’s the perfect time.
In this guide, you’ll learn the straightforward steps to craft your own kimchi, from selecting ingredients to perfecting fermentation. No fancy equipment needed—just a few fresh vegetables, some salt, and patience. Let’s turn simple ingredients into a probiotic powerhouse that’s tailor-made for your taste buds.
Salting vegetables correctly is essential for crisp texture and successful fermentation.
Use gloves and clean utensils to prevent contamination during mixing and packing.
Fermentation times vary; taste test after 2 days to decide when it’s just right.
Store kimchi in airtight containers in the fridge, where it keeps for up to 3 months.
Experiment with ingredients and flavors to create your signature batch.
What Ingredients Make Kimchi Taste Amazing?
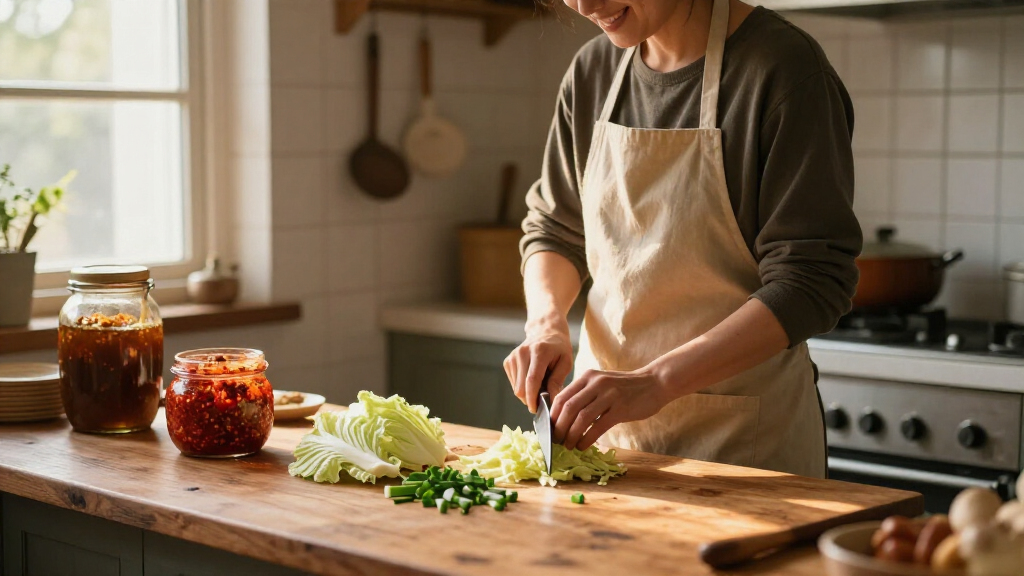
The core ingredients are simple but crucial. You need napa cabbage or other crunchy vegetables like radish or cucumber. Sea salt (preferably coarse) draws out moisture and starts the fermentation process.
Then, there’s the spicy kick: Korean chili flakes (gochugaru). Fresh garlic, ginger, and green onions contribute depth and aroma. For umami, traditional recipes often include fish sauce or fermented shrimp. You can customize with carrots, pear, or other flavor enhancers to suit your palate.
Using fresh, high-quality ingredients makes a noticeable difference. For example, a farm-fresh napa cabbage with crisp leaves and a tangy, earthy gochugaru will elevate your batch from ordinary to unforgettable.
As an affiliate, we earn on qualifying purchases.
How to Prepare Vegetables for Perfect Fermentation
The key to good kimchi starts with salting the vegetables properly. Here’s how:
- Cut the napa cabbage into quarters or manageable pieces.
- Sprinkle salt generously between layers, focusing on the core and thicker parts.
- Let it sit for 1-2 hours, tossing occasionally. You’ll notice the cabbage wilting and releasing water—this is good.
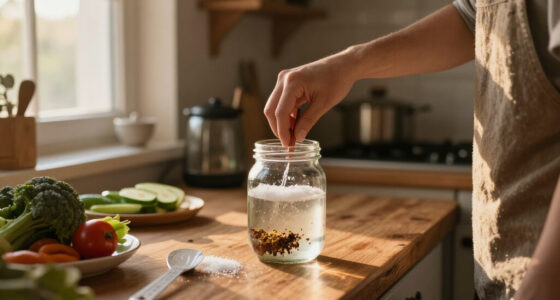
Rinse thoroughly to remove excess salt, then drain well. The moisture drawn out during salting helps create a crisp texture and fosters the right environment for fermentation.
Think of it as preparing the vegetables so they can absorb the flavors of the paste and develop the ideal texture. Proper salting prevents overly soft or mushy kimchi, which can happen if vegetables are under-salted or over-salted. The process also inhibits spoilage bacteria, making the fermentation safer and more predictable.
As an affiliate, we earn on qualifying purchases.
How to Make the Spicy Paste That Defines Your Kimchi
The paste is the flavor backbone—spicy, savory, and fragrant. Combine in a blender or bowl:
- 2-3 tablespoons of gochugaru
- 3 cloves of garlic
- 1-inch piece of ginger
- 2 tablespoons of fish sauce or soy sauce (for vegan options)
- Optional: a small pear or apple for sweetness
Blend until smooth. You want a thick, sticky consistency that coats the vegetables evenly. This spice mix will infuse your kimchi with heat and depth.
Creating the paste with the right balance of ingredients is crucial because it impacts the final flavor profile. Too much chili can overpower the subtle sweetness from garlic and ginger, while too little can result in a milder, less vibrant kimchi. The addition of sweet fruit like pear or apple helps mellow the heat, balancing spiciness with a natural sweetness that enhances fermentation by providing fermentable sugars. Sensory-wise, the paste should be fragrant and fiery red, indicating proper chili incorporation.
Kimchi making kit with ingredients
As an affiliate, we earn on qualifying purchases.
As an affiliate, we earn on qualifying purchases.
Mixing the Vegetables and Paste for Flawless Kimchi
Now, it’s time to combine. Wear gloves to prevent staining and discomfort. Gently squeeze the paste into the drained cabbage and other vegetables, massaging it evenly into every fold and layer.
Ensure each piece is well coated—this ensures consistent flavor and fermentation. For larger batches, work in a big bowl or directly in your fermentation jar.
Think of it as massaging flavor into crunchy leaves. The vibrant red color should evenly spread, and the smell will shift from raw vegetables to a spicy, pungent aroma that hints at fermentation magic to come. Proper mixing ensures that the lactic acid bacteria are evenly distributed, which is essential for uniform fermentation and preventing spoilage or uneven sourness. An improper mix can lead to inconsistent fermentation, with some parts over-fermenting while others remain underdeveloped, affecting taste and texture.
As an affiliate, we earn on qualifying purchases.
Frequently Asked Questions
How long does homemade kimchi last in the fridge?
Typically, kimchi stays good for 1-3 months in the fridge. Its flavor deepens over time, becoming tangier and more complex with each week. Always check for off smells or mold before eating.
Can I make kimchi without fish sauce?
Yes, you can substitute fish sauce with plant-based options like soy sauce, miso, or salt alone. These alternatives still provide umami and help with fermentation, but the flavor will be slightly different.
How do I know when kimchi is ready to eat?
Kimchi is ready when it develops a tangy, sour flavor and a pleasantly fermented aroma. Usually, this takes 1-5 days at room temperature, depending on your taste preferences and room conditions.
What if my kimchi tastes too sour or salty?
If it’s too sour, try eating it sooner next time or rinse lightly before serving. If it’s too salty, soaking briefly in water before mixing can help balance the flavor. Adjust ingredients in your next batch accordingly.
Is fermentation at home safe?
Yes, with proper sanitation, correct salt levels, and controlled temperatures, fermentation is safe. Avoid introducing unclean utensils or leaving kimchi at unsafe temperatures to prevent spoilage.
Conclusion
Making kimchi at home isn’t just about preserving vegetables; it’s about crafting a living dish that reflects your taste and care. Small adjustments—like salt levels, fermentation time, or added ingredients—transform a simple batch into something uniquely yours.
Next time you see a head of napa cabbage, imagine it turning into a tangy, probiotic-rich treasure. With patience and practice, you’ll find yourself reaching for homemade kimchi more often—because nothing beats a batch made by your own hands, full of flavor and tradition.
Grilling season Picks
grills
As an affiliate, we earn on qualifying purchases.