TL;DR

Get kitchen gear delivered free with Prime
- Fast, free delivery on millions of items
- Prime Video, Amazon Music and more included
- Member-only deals all year
Fermenting vegetables at home is simple and safe when you control salt levels and keep everything submerged. It enhances flavor and probiotics, lasting months in your fridge. Start with basic veggies and experiment for best results.
Imagine transforming everyday vegetables into tangy, probiotic-rich delights with just a few simple steps. Fermentation isn’t just for experts; it’s a practical skill that turns scraps into health-boosting treats. Whether you’re aiming to preserve summer’s bounty or boost your gut health, knowing how to ferment vegetables at home opens up a world of flavor and self-reliance.
This guide walks you through choosing produce, prepping it right, and maintaining a safe, effective fermentation. It’s about practical, no-nonsense techniques anyone can master in their own kitchen, off-grid or otherwise.
Use non-iodized salt at about 2-3% of the vegetable weight for safe, flavorful fermentation.
Keep vegetables fully submerged under brine to prevent spoilage and mold.
Start tasting around day 3 to find your preferred flavor and crunch—longer fermentations deepen the sourness.
Store fermented vegetables in the fridge to preserve flavor and extend shelf life for several months.
Experiment with herbs and spices to create unique flavors and keep the process fun.
Pick the Right Vegetables and Prepare Them for Fermentation
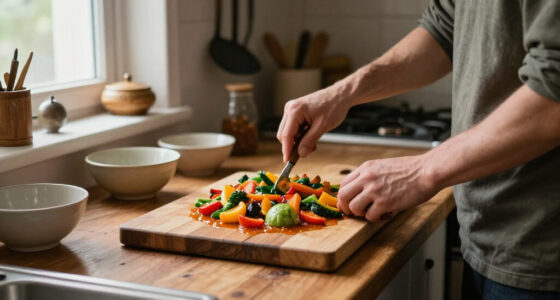
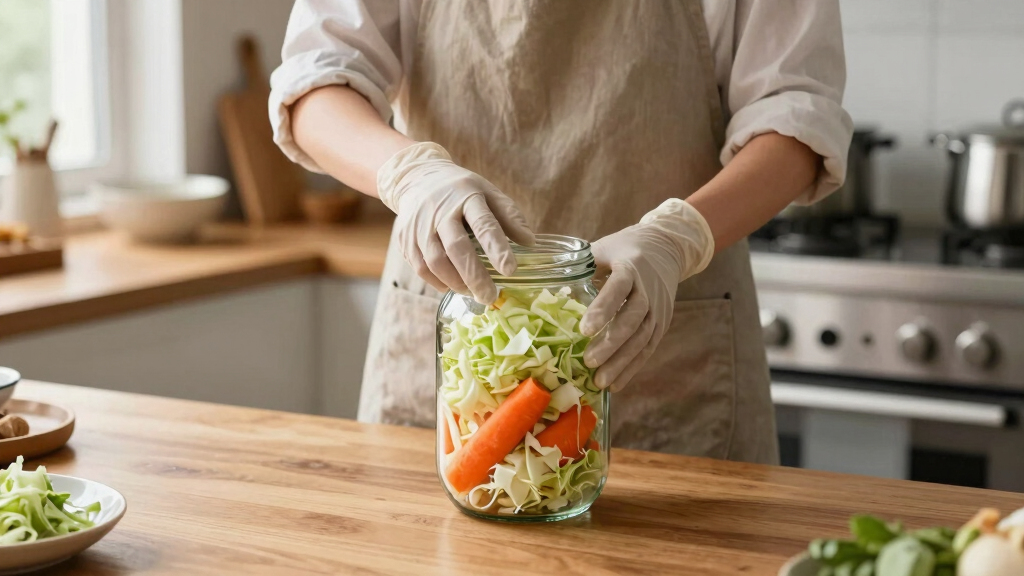
Freshness is your best friend. Choose firm, blemish-free vegetables—think crunchy cabbage, crisp carrots, or fresh cucumbers. Wash them thoroughly with cold water, scrubbing off dirt and pesticides. For even fermentation, cut vegetables into uniform pieces—think matchstick carrots or shredded cabbage—so they ferment evenly.
For example, when making sauerkraut, thinly slicing cabbage ensures it ferments faster and develops a tangy crunch. Uniform pieces also help distribute salt evenly, creating a stable environment for beneficial bacteria to thrive.
fermentation vegetable starter kit
As an affiliate, we earn on qualifying purchases.
As an affiliate, we earn on qualifying purchases.
How to Salt and Brine Vegetables for Safe Fermentation
Salt is the secret sauce. Use non-iodized salt—sea salt or kosher salt work best. The standard ratio? About 2-3% salt by weight of your vegetables. For example, if you have 1 kilogram of shredded cabbage, add around 20-30 grams of salt.
Mix the salt thoroughly into the vegetables. This draws out water, creating a natural brine that inhibits spoilage bacteria and favors lactic acid bacteria. Think of it as giving your vegetables a salty, probiotic-friendly environment to flourish.
Why does this matter? Proper salting not only prevents harmful bacteria from taking hold but also helps develop the characteristic tang and crunch of fermented vegetables. Too little salt can lead to spoilage; too much can inhibit fermentation altogether, so finding the right balance is essential for both safety and flavor.
Tradeoffs exist here: using too little salt risks spoilage, while too much can slow fermentation or make the final product overly salty. The key is precision—understanding that the right salt level creates an environment that selectively encourages beneficial bacteria while suppressing harmful ones, ensuring safety and optimal flavor development.
non-iodized sea salt for fermentation
As an affiliate, we earn on qualifying purchases.
As an affiliate, we earn on qualifying purchases.
Choose the Right Container and Keep Vegetables Submerged
Use glass jars, ceramic crocks, or food-grade plastic containers—nothing reactive or porous. The key is keeping vegetables submerged under brine. Air exposure invites mold and spoilage.
Use fermentation weights, small jars, or clean stones to press vegetables down. For example, when making kimchi, pressing the cabbage below the spiced brine keeps it safe from mold. Cover the jar with a cloth or an airlock lid to let gases escape while blocking dust and insects.
Why is this important? Complete submersion ensures that all vegetables are in an anaerobic environment, which is crucial for the growth of beneficial bacteria and the prevention of mold and yeast. If parts of the vegetables are exposed to air, they risk developing spoilage organisms that can ruin the batch or pose health risks. The choice of container and proper pressing are fundamental to a successful and safe fermentation process.
Tradeoffs include the convenience of different containers; glass is ideal for visibility and inertness, but ceramic or food-grade plastic can be easier to handle. Ensuring a tight seal or breathable cover depends on your environment and batch size. Proper pressing and sealing prevent oxygen exposure, which is critical because even a small amount of air can allow spoilage organisms to take hold, compromising safety and flavor.
fermentation weight and airlock set
As an affiliate, we earn on qualifying purchases.
As an affiliate, we earn on qualifying purchases.
Monitor and Taste Your Fermentation — When Is It Done?
Fermentation needs daily check-ins. Look for mold, which can appear as fuzzy spots—skim these off immediately. Smell your jar; it should smell tangy and fresh, not foul or rotten.
Start tasting after 3 days. If it’s tangy and crunchy, it’s ready. Longer fermentation—up to 3 weeks—develops deeper flavors. For example, a batch of sauerkraut left for 2 weeks often tastes like a sour, crunchy snack that pairs well with hearty meals.
Why does this matter? Regular tasting allows you to monitor the development of flavors and textures, which vary depending on ambient temperature, vegetable type, and personal preference. Early tasting prevents over-fermentation or spoilage, while extended fermentation can deepen flavors but may risk becoming too sour or mushy if left too long. Understanding these nuances helps you craft ferments tailored to your taste and safety standards.
Tradeoffs involve the timing: tasting too early might mean missing out on full flavor, while waiting too long could result in over-sourness or mushiness. Developing an intuition for your specific environment and ingredients ensures you get the perfect balance of flavor, texture, and safety.
As an affiliate, we earn on qualifying purchases.
How to Store Fermented Vegetables for Long-Term Freshness
Once your vegetables reach the flavor you like, transfer the jar to the refrigerator. Cold slows fermentation, preserving flavor and texture for months.
Keep the vegetables submerged and sealed. In the fridge, they may become less crunchy but will still be probiotic-rich and tasty. For example, a jar of homemade pickles stored properly can last over 6 months with no loss of quality.
Why does this matter? Proper refrigeration halts active fermentation, locking in the desired flavor and texture while preventing spoilage. If not stored correctly, residual bacteria can continue fermenting, leading to over-sourness or spoilage. Using airtight containers and keeping the vegetables submerged ensures that the beneficial microbes remain active but controlled, maintaining quality over time.
Tradeoffs include the potential loss of crunchiness over time; however, the probiotics and flavor are preserved. The key is to balance storage time with your preferred texture, understanding that cooler temperatures will slow fermentation but may also affect the vegetable’s crispness.
Latest Trends and Simple Hacks for Better Fermentation
New fermentation kits with built-in airlocks and weights make the process cleaner and safer. They reduce mold risk and simplify daily checks. Many fermenters now include recipe ideas and flavor infusions, like adding garlic or herbs during the process.
Experimenting with spices, such as adding ginger to carrots or dill to cucumbers, creates exciting flavors. Recent trends also focus on sustainable practices: using organic produce and reusable jars aligns with eco-conscious values.
For example, I added a pinch of coriander seeds to my radish ferment, giving it a subtle, spicy zing that transformed the simple vegetable into a gourmet snack.
Why does this matter? Staying current with tools and flavor trends not only enhances your success rate but also keeps the process engaging and adaptable to your evolving tastes. Modern hacks can save time, improve safety, and inspire creativity, making your fermentation journey more enjoyable and sustainable.
Frequently Asked Questions
How long does it take to ferment vegetables?
Most ferments are ready between 3 days and 3 weeks. It depends on temperature, the vegetable, and your taste preference. Cooler environments slow fermentation but develop richer flavors over time.Do I need special equipment?
Basic tools like glass jars, weights, and non-iodized salt are enough. Fancy fermentation kits with airlocks can make the process easier and cleaner, but they’re not necessary for success.What if mold or scum forms?
Light, fuzzy mold can usually be skimmed off. If the entire batch develops foul smell or fuzzy mold, discard it. Proper submersion and cleanliness are your best defenses.Can I ferment vegetables without salt?
Salt is highly recommended. It controls bacteria, flavor, and safety. Fermenting without salt is risky and can lead to spoilage or unsafe conditions.How do I know if my fermented vegetables are safe to eat?
They should smell tangy, look vibrant, and have no foul odor or fuzzy mold. Consistent submersion and clean utensils help ensure safety and quality.Conclusion
Fermentation is a simple, ancient craft with modern perks. With a few basic tools—salt, a jar, and some vegetables—you can turn everyday produce into tangy, probiotic-packed treats. The key is patience and attention to detail—trust your senses, not just recipes.
Once you see how easy and rewarding it is, you’ll start thinking of your kitchen as a fermentation lab. So, grab that cabbage, salt, and jar. Your next delicious, health-boosting snack is just a few days away.
Columbus Day / Indigenous Peoples' Day Picks
long weekend sales
As an affiliate, we earn on qualifying purchases.