
TL;DR
Play games included with Prime
Start a Prime free trial and play with Amazon Luna on your devices.
Start playingAs an affiliate, we earn on qualifying purchases.
Cast iron cookware offers unmatched durability and heat retention for camping. Pack carefully with protection and choose the right size. Proper cleaning and seasoning keep it rust-free and ready for outdoor cooking.
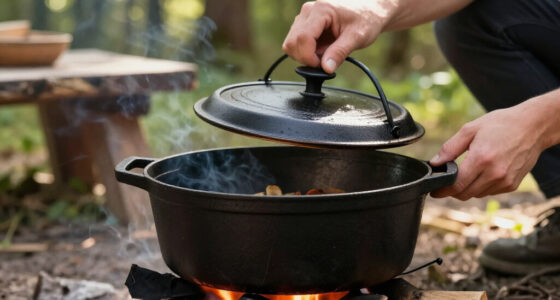
Imagine the rich, smoky aroma of a skillet-fried breakfast bubbling over a campfire. That’s the magic of cast iron—built to withstand the wild, ready to serve up hearty meals in any setting. But to keep that magic alive on your camping trips, you need more than just the right recipes—you need smart packing and proper care. This guide breaks down what you need to know to make your cast iron last for generations, whether you’re backpacking into the mountains or car camping at a lakeside.
From choosing the right size and protecting it en route, to cleaning and seasoning in the wild, every detail counts. You’ll learn how to avoid rust, maintain that perfect non-stick surface, and even how recent innovations can make your outdoor cooking easier. Think of cast iron as a trusted friend—tough, reliable, and always ready for the next adventure. Ready to turn your camping gear into a lifetime companion? Let’s get started.
Wrap cast iron tightly in a cloth or padding to prevent damage during transport.
Always dry thoroughly and apply a thin oil layer after cleaning to prevent rust.
Use hot water and salt for outdoor cleaning—skip soap to preserve seasoning.
Lightweight cast iron options exist—ideal for backpacking and reducing strain.
Regular re-seasoning extends cast iron’s lifespan and keeps it non-stick.
Cast Iron for Camping: Packing & Care
Cast iron brings unmatched durability and heat retention to the campsite. Choose the right piece, protect it in transit, remove every trace of moisture, and maintain its seasoning to turn one rugged pan into a lifetime cooking companion.
A well-seasoned skillet can serve multiple generations with consistent care.
A lightweight 10-inch design can weigh far less than a standard skillet.
Complete drying and a whisper-thin oil coat form the essential rust barrier.
Pack the weight so it cannot become a weapon.
Cast iron’s mass is part of its cooking advantage—and its packing challenge. Padding prevents scratches and chips, while deliberate placement keeps cookware stable whether it travels in a backpack or vehicle.
Wrap every surface
Use a thick towel, cloth sleeve, or layered padding. Place fabric between nested pieces so lids and cooking surfaces cannot grind together.
Stop all movement
Use a sturdy box or dedicated container. Fill gaps with cloth, paper, or foam until the cookware cannot rattle, slide, or strike other gear.
Carry weight close
In a backpack, position the heaviest piece high and close to your back. In a vehicle, secure it low so sudden stops cannot send it forward.
Match the pan to the journey.
A large Dutch oven excels at base camp. A lightweight skillet makes more sense when every mile and pound must be carried.
Moisture is the real wilderness hazard.
Rust forms when exposed iron meets water and oxygen. Seasoning slows that reaction, but residual water, trapped humidity, or damp storage can breach the barrier and begin oxidation.
Break the chain at moisture.
Heat-drying evaporates water hiding in pores and seams. A very thin oil layer then reinforces the seasoned surface without leaving a sticky residue.
Use hot water, coarse salt, and a stiff brush.
Towel first, then heat over low coals or a camp stove.
Wipe until the surface looks nearly dry, not glossy or wet.
Add a dry cloth or paper towel to absorb lingering humidity.
One campsite, three workhorses.
Select cookware by the meals you plan, the heat source available, and how far the piece must travel. Multi-functional pieces save space; enameled surfaces simplify care but still require careful transport.
| Piece | Best uses | Primary strength | Ideal camping style | Pack note |
|---|---|---|---|---|
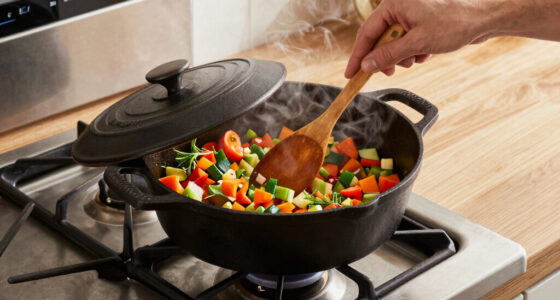
| Skillet | Frying, sautéing, pancakes | Fast, versatile handling | Backpacking or car camping | Choose 8–10 inches for portability |
| Dutch oven | Baking, stews, roasting | Slow, even coal cooking | Vehicle-accessible base camp | Secure the lid and pack low |
| Griddle | Bacon, sandwiches, pancakes | Large cooking surface | Group and family camps | Protect broad surfaces from impact |
Ready for immediate use; carry oil for post-cleaning touch-ups.
Thinner walls reduce carrying strain while preserving strong heat retention.
Resists rust and needs no seasoning, but enamel can chip under hard impact.
The five-minute ritual after every meal.
Consistent care matters more than complicated care. Complete this sequence while the cookware is still warm, and the pan will remain smooth, protected, and ready for breakfast.
Loosen residue while the iron remains comfortably warm.
Avoid prolonged soaking, especially overnight.
Use coarse salt for stubborn, cooked-on residue.
Evaporate moisture from the entire surface.
Apply a thin coat, cool, wrap, and keep dry.
Know when seasoning needs help.
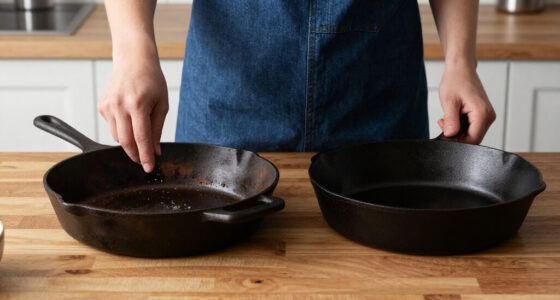
A healthy surface looks dark, dry, and smooth. Dull patches, stickiness, food adhesion, or rust spots signal that the protective layer has thinned and should be restored.
Five small items. Decades of protection.
- Stiff-bristle cleaning brush
- Small container of coarse salt
- High-smoke-point cooking oil
- Dedicated drying and wrapping cloth
- Absorbent paper towel for storage
Do not soak the pan or leave water standing on the cooking surface.
Warm the pan, wipe on an extremely thin oil layer, and heat until bonded.
Check the base, handle, lid rim, and nested surfaces before repacking.
Clean, dry over heat, oil lightly, cool completely, and store with airflow.
Treat the seasoning as a working shield.
Wrap tightly and immobilize each piece before transport.
Choose lightweight or multi-purpose iron when distance and pack space matter.
Use hot water, salt, and a brush for practical field cleaning.
Heat-dry completely, then apply the thinnest possible coat of oil.
Re-season at the first sign of dullness, sticking, or surface rust.
How to Pack Cast Iron for Camping Without Damage
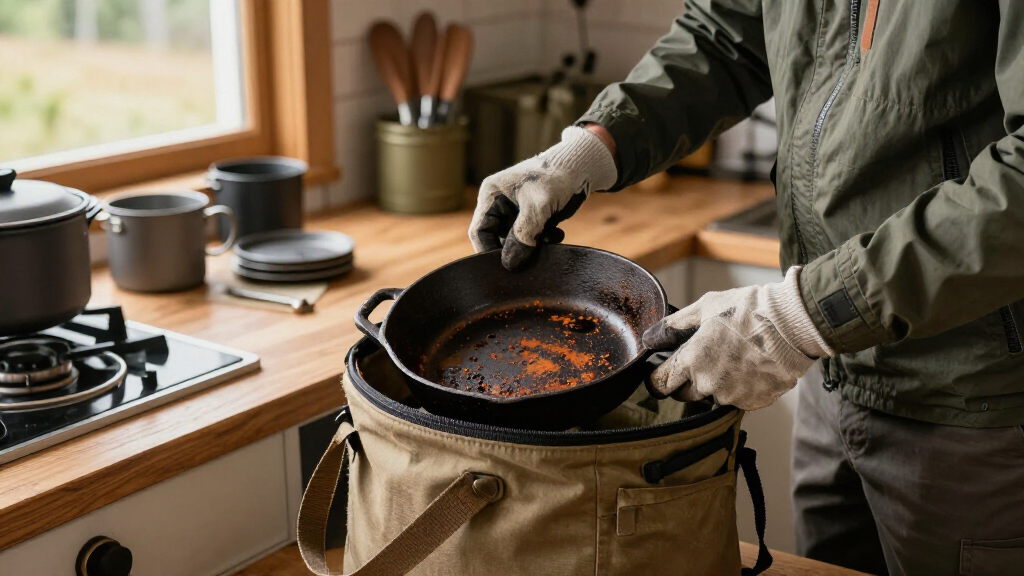
Cast iron is heavy. That means you need to pack it smartly to prevent dents, chips, or warping. Wrap each piece in a thick cloth or old towel. Place it in a dedicated container or sturdy box—nothing rattling around. Carry the heaviest cookware close to your back in a backpack or secure it tightly in your vehicle.
For example, if you’re bringing a 12-inch skillet, wrap it in a thick towel, then nestle it in a box filled with crumpled paper or packing foam. This prevents scratches and absorbs shocks. Remember, a little extra padding now saves you from a cracked pan later.
Choose pieces wisely: a large Dutch oven might be great for stews, but if weight is a concern, opt for a smaller skillet or dual-purpose piece. Pre-seasoned cookware is ready to go, but keep a small bottle of oil handy for touch-ups if needed.
As an affiliate, we earn on qualifying purchases.
Best Ways to Keep Cast Iron from Rusting in the Outdoors
Rust is the biggest enemy of cast iron, especially when moisture and humidity are involved. Beyond just preventing rust, understanding why it occurs helps you take more effective precautions. Rust forms when iron reacts with water and oxygen, creating iron oxide—a process accelerated in humid environments. This not only damages the surface but can also compromise the integrity of your cookware over time.
Understanding the chemistry behind rust shows why certain practices are vital. When you clean your skillet with hot water and coarse salt, you’re removing food residues and oils that can trap moisture—a key contributor to rust. Avoiding soap preserves the seasoning layer, which acts as a barrier to moisture. Drying thoroughly is crucial because residual water creates the perfect environment for oxidation.
Heating the skillet over fire or coals after cleaning evaporates any remaining moisture, reinforcing the protective layer of oil you apply afterward. This process essentially bakes a barrier into the surface, making it less permeable to water. Proper storage in a dry place, with a paper towel or cloth inside to absorb humidity, is equally critical. Think of it as giving your cast iron a shield against the elements, especially in unpredictable outdoor conditions.
For example, after a dinner of skillet-fried potatoes, scrubbing out the residual bits, drying thoroughly, then heating it over the fire to ensure all moisture is gone, followed by a light oil coat, creates an effective rust barrier. This routine preserves the seasoning and prolongs its lifespan, even in humid environments. Neglecting these steps can lead to rust that weakens the cookware and diminishes its non-stick qualities, ultimately shortening its useful life.
lightweight cast iron cookware for backpacking
As an affiliate, we earn on qualifying purchases.
As an affiliate, we earn on qualifying purchases.
How to Clean and Re-Season Your Cast Iron in the Field
Cleaning cast iron outdoors can be simple: hot water, salt, and a stiff brush. Avoid soap—it’s unnecessary and can strip seasoning. For stubborn residue, scrub with coarse salt, then rinse with hot water. Dry immediately with a towel or heat over coals to evaporate moisture.
Re-season when needed by applying a thin coat of oil and heating it over the fire or in a camp oven. If your skillet develops rust spots or loses its non-stick slickness, re-season it by heating it up, then wiping it with oil—repeat a few times if necessary. Understanding when to re-season is crucial; a dull or sticky surface indicates the seasoning has worn thin or been compromised, affecting cooking performance and rust resistance. Regular maintenance ensures the seasoning layer remains robust, creating a natural non-stick surface and protecting against moisture.
For example, if your skillet has developed a dull appearance after a few camping trips, scrub out the rust with salt, dry it thoroughly, then coat with oil and heat until it smokes. That restores its surface and keeps rust away. Recognizing these signs and acting promptly preserves your cast iron’s longevity and cooking quality. Proper re-seasoning not only restores non-stick properties but also reinforces the protective layer, making the skillet more resistant to rust and damage during future trips.
cast iron care kit for outdoor cooking
As an affiliate, we earn on qualifying purchases.
As an affiliate, we earn on qualifying purchases.
Lightweight Cast Iron Options and When to Use Them
Traditional cast iron is heavy—sometimes over 10 pounds for a large skillet. But modern makers now craft lighter versions using thinner walls or alloy blends. These weigh less but still retain heat well.
Use lightweight options for backpacking, long hikes, or when you want to save your back. A 10-inch skillet might weigh 2 to 3 pounds, compared to 4-5 pounds for standard versions. They’re perfect for casual camping or when you’re packing multiple pieces.
For example, a friend once took a lightweight cast iron skillet on a week-long backpacking trip. It cooked evenly over a campfire and didn’t add much weight to his pack—making all the difference in comfort.
As an affiliate, we earn on qualifying purchases.
The Most Versatile Cast Iron Pieces for Camping
| Piece | Uses | Benefits |
|---|---|---|
| Skillet | Frying, sautéing, pancakes | Quick heating, easy to handle |
| Dutch oven | Baking, stews, roasting | Great for slow cooking over coals |
| Griddle | Breakfast bacon, pancakes, sandwiches | Large surface for multiple items |
What’s the Best Care Routine for Your Cast Iron After Camping
Once you’re back home, give your cast iron a proper cleaning. Rinse off any food debris with hot water—no soap needed. Dry it thoroughly and apply a light coat of oil before storing. If it’s been exposed to a lot of moisture, re-season it to restore the non-stick surface.
Keep it in a dry, well-ventilated cabinet, ideally with a rag or paper towel inside to absorb any lingering moisture. Regular maintenance—every few uses—keeps your cast iron in top shape for decades.
For example, after a weekend of camping, you might scrub your skillet with salt, dry it over the stove, then coat with oil and heat briefly. This routine prevents rust and maintains that perfect seasoning.
Frequently Asked Questions
Can I bring my cast iron skillet on a backpacking trip?
Yes, but choose a lightweight model to reduce weight. Wrap it carefully and consider a smaller size for easier packing. It’s durable enough for open fire cooking, making it a reliable choice for backpackers.How do I prevent rust during a camping trip?
Dry your cast iron thoroughly after cleaning, then apply a thin layer of oil. Keep it in a dry place, and consider heating it over coals to evaporate any residual moisture. This routine keeps rust at bay even in humid conditions.Is soap safe for cleaning cast iron outdoors?
Avoid soap whenever possible; it can strip seasoning. Use hot water and coarse salt instead. For stubborn residue, scrub with salt, rinse, and dry immediately—then reapply oil if needed.How often should I re-season my cast iron after camping?
Re-season whenever the surface becomes dull or sticky. A quick coat of oil and heating over fire restores the non-stick layer and protects against rust, ensuring your skillet lasts for generations.Are enameled cast iron better for camping?
Enameled cast iron is easier to clean and rust-resistant, making it a good option for campers who prefer low-maintenance cookware. However, it’s usually heavier and can chip if handled roughly, so choose based on your needs.Conclusion
Your cast iron is more than just cookware; it’s a trusted companion on every camping adventure. Proper packing and care turn it into a lifetime tool—ready to serve hearty meals through decades of off-grid cooking. Treat it well, and it will reward you with countless smoky mornings and crackling suppers.
Remember, the secret lies in protecting its surface and keeping moisture at bay. When you respect the process, your cast iron won’t just last—it will become part of your outdoor story.
NFL season / tailgating Picks
team gear
As an affiliate, we earn on qualifying purchases.