
TL;DR

Get kitchen gear delivered free with Prime
- Fast, free delivery on millions of items
- Prime Video, Amazon Music and more included
- Member-only deals all year
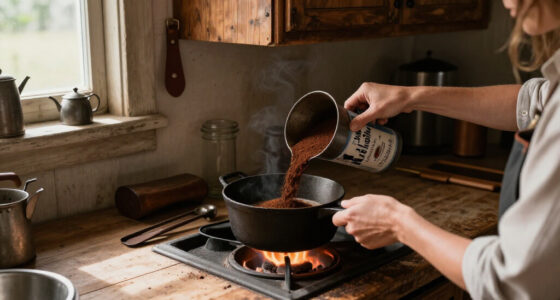
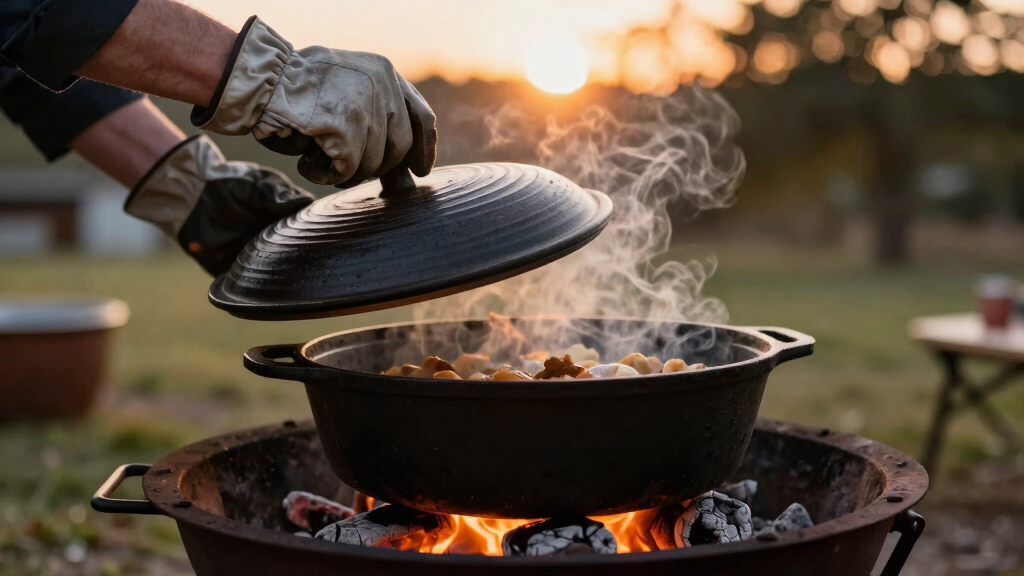
Cooking with a Dutch oven over coals is a time-tested way to prepare hearty meals outdoors. Proper setup, temperature control, and safety are key to successful, flavorful dishes—whether baking bread or slow-cooking stews.
Proper coals placement—both underneath and on top—creates an oven-like environment for consistent cooking.
Adjust heat by adding or removing coals, and move coals during cooking for fine-tuning temperature.
Safety is paramount: always handle hot coals with tools and wear protective gear outdoors.
Investing in accessories like adjustable stands and coal rakes simplifies heat management.
Dutch ovens excel at a variety of recipes—from baking bread to slow-cooked stews—making outdoor cooking versatile and rewarding.
How to Set Up Your Coals for Perfect Dutch Oven Cooking
Getting your coals right is the foundation of successful outdoor Dutch oven cooking. To mimic an indoor oven, you need to strategically place coals both underneath and on top of your Dutch oven. This setup creates even heat, crucial for everything from baking bread to braising meats.
Start by arranging about 10-15 coals in a circle under your Dutch oven for indirect heat, then place 8-12 coals on the lid for even top heat. Adjust the number for desired temperature—more coals for higher heat, fewer for gentle simmering. A good rule of thumb: use about 1 coal per square inch of Dutch oven surface for moderate heat.
As your meal cooks, shift coals using tongs or a coal rake—adding or removing coals as needed. This lets you fine-tune your heat, especially during long cooks like stews or bread baking. Remember, safety comes first: always handle hot coals with heat-resistant gloves and work on fireproof surfaces.
Why does this matter? Because even heat distribution prevents hotspots that can burn or undercook parts of your dish. The tradeoff is that managing coals requires attention and patience, but mastering it results in more consistent, professional-quality results outdoors.
As an affiliate, we earn on qualifying purchases.
Managing Temperature: The Key to Great Outdoor Dutch Oven Meals
Controlling temperature over coals is an art. Too hot, and your food burns or sticks; too cold, and it won’t cook evenly. The main trick is adjusting the number of coals and their placement, which directly influences the heat intensity and distribution. Understanding this balance is vital because it determines whether your dish develops a perfect crust, remains tender, or ends up burnt or undercooked.
If your dish needs a slow, low simmer—like a stew or bread—using fewer coals and keeping them on the lid allows heat to radiate gently, mimicking an oven’s even temperature. Conversely, for tasks like searing meat or frying, piling more coals on top and underneath creates the high heat necessary for browning and crisping, but it also increases the risk of scorching if not monitored closely.
For example, when baking bread, starting with about 20 coals on top provides initial oven-like heat to develop a crust. Reducing the coals after 10-15 minutes prevents over-baking or burning the crust while the interior continues to cook. Regularly checking your food’s appearance, smell, and internal temperature helps you understand how your heat setup affects the outcome. The tradeoff? More precise heat control demands experience and attention, but it grants you the ability to produce professional-grade meals outdoors.
As an affiliate, we earn on qualifying purchases.
Comparison Table: Coals vs. Temperature Control Techniques
| Method | Best For | Pros | Cons |
|---|---|---|---|
| More coals on top | High heat, searing, baking | Quick heat rise, good browning, ideal for creating crusts or caramelization | Risk of burning or scorching if overused; may cause uneven cooking if not monitored |
| Fewer coals on top | Slow simmering, gentle baking | Provides even, consistent heat that mimics an oven, perfect for delicate dishes | Slower response to heat adjustments; requires patience and planning |
| Coals only underneath | Long, slow braises and stews | Maintains stable low heat, minimizes scorching, ideal for tenderizing tough cuts | Limited top heat; longer cook times needed for thorough cooking |
Choosing the right method involves understanding your dish’s needs and your control level. High heat techniques are great for quick, crispy results but demand vigilance. Low and slow methods foster tender, flavorful meals but require patience and consistent heat management. Balancing these techniques allows you to adapt to different recipes and outdoor conditions effectively.
As an affiliate, we earn on qualifying purchases.
Safety Tips for Handling Hot Coals and Cast Iron Outdoors
Handling hot coals and cast iron can be dangerous if you’re not careful. Always wear heat-resistant gloves, and use long-handled tools to move or add coals. Keep a bucket of water or a fire extinguisher nearby for safety.
Set up your cooking station on a stable, fireproof surface—like a stone or dirt patch. Never leave hot coals unattended, and make sure to fully extinguish them after cooking. Remember, a moment of carelessness can lead to burns or fires.
Why does this matter? Because improper handling can cause severe burns, start unintended fires, or damage your equipment. The tradeoff is that following safety protocols might seem cumbersome, but it’s essential for a safe, enjoyable outdoor cooking experience. Respecting the fire and taking precautions ensures you can focus on your meal rather than emergencies.
As an affiliate, we earn on qualifying purchases.
Modern Accessories and Tools for Better Coals Control
Today’s outdoor cooking gear makes managing coals easier. Adjustable stands, coal scoops, and specialized tongs help you fine-tune heat without fuss. Some setups even include adjustable height supports, giving you more control over your cooking environment.
For example, a coal rake allows you to spread or gather coals quickly, helping you adapt to different heat requirements during a cook. A tripod stand can elevate your Dutch oven for more even heat distribution, especially in windy conditions or uneven terrain. These tools reduce guesswork, making outdoor cooking more precise and enjoyable, ensuring you can focus on your recipe instead of fighting the fire.
Plus, new accessories like chimney starters help ignite coals faster and cleaner, reducing the time and effort needed to get your heat just right. Investing in a few key tools not only simplifies your process but also enhances safety and consistency, leading to better results and more confidence in your outdoor culinary skills.
Baking, Stewing, and More: Recipes That Shine Over Coals
Cooking with a Dutch oven over coals isn’t just about slow stews—it’s a full culinary toolkit. You can craft crusty bread, tender roasts, hearty chili, or even sweet cobblers. The key is knowing which dishes benefit from direct or indirect heat and how to manage your coals accordingly.
For instance, a bread dough placed in a preheated Dutch oven with coals on top creates a bakery-like crust that mimics a traditional oven, provided the heat is well-controlled. A stew simmers gently with coals underneath and on top, allowing flavors to meld deeply and evenly. Desserts like peach cobbler bake beautifully with consistent, moderate heat on all sides, but require careful management of coals to prevent burning.
Understanding the nuances of heat application helps you adapt recipes to outdoor conditions. Patience and preparation are your best friends—knowing when to add or remove coals, how to position them, and how to monitor temperature ensures your dishes turn out perfect. The tradeoff? Mastery of these techniques takes practice, but it opens a world of outdoor culinary possibilities that taste just as good as indoor meals.
Cleaning and Caring for Your Dutch Oven After Outdoor Use
After a day of outdoor cooking, cleaning your Dutch oven is simple but important. For unenameled cast iron, scrub with hot water and a stiff brush—avoiding soap, which can strip seasoning. Dry thoroughly, then apply a light coat of oil to prevent rust. Proper cleaning preserves the seasoning layer, which is crucial for non-stick properties and rust prevention, especially after exposure to outdoor elements.
Enameled Dutch ovens are easier: rinse with water and mild soap, then dry completely. Avoid metal scrubbers to prevent scratching the enamel surface. Proper care extends the lifespan of your cookware and ensures it performs well for many future adventures.
Storing your Dutch oven in a dry, ventilated space prevents moisture buildup that can lead to rust or mold. Regular maintenance, including seasoning your cast iron periodically, keeps the surface resilient and ready for the next outing. Proper care isn’t just about cleanliness—it’s about maintaining the integrity of your cookware, ensuring it continues to deliver excellent results in the wild.
Frequently Asked Questions
How do I control the heat when cooking with coals?
Adjust the number and placement of coals—more coals on top for higher heat, fewer for lower. Moving coals away from the oven also helps fine-tune the temperature, giving you precise control over your cooking environment.What type of coals should I use for outdoor cooking?
Natural lump charcoal burns hotter and cleaner, ideal for most tasks. Briquettes offer consistent, longer-burning heat but produce more ash. Choose based on your needs and environmental preferences.Can I bake bread or desserts in a Dutch oven over coals?
Absolutely. Dutch ovens are perfect for baking bread, cobblers, and cakes outdoors. Use indirect heat for gentle baking and keep an eye on the coals to prevent burning.What safety precautions are essential?
Always wear heat-resistant gloves, use long-handled tools, and cook on fireproof surfaces. Keep a water bucket or extinguisher nearby, and fully extinguish coals after cooking to prevent accidents.How should I clean my Dutch oven after outdoor use?
For unenameled cast iron, rinse with hot water and scrub with a brush, then dry and oil. Enameled versions are easier: just wash with soap and water, then dry thoroughly. Proper maintenance keeps your Dutch oven in top shape.Conclusion
Mastering coals turns outdoor Dutch oven cooking into a dependable skill. It’s about patience, control, and respecting the fire—then savoring hearty, flavorful meals that taste like they came from a rustic kitchen. Next time you set up your fire, remember: the real magic lies in the dance of coals and cast iron.Fall Picks
fall essentials
As an affiliate, we earn on qualifying purchases.